


English
8
System Setup Function
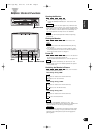
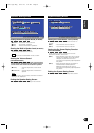
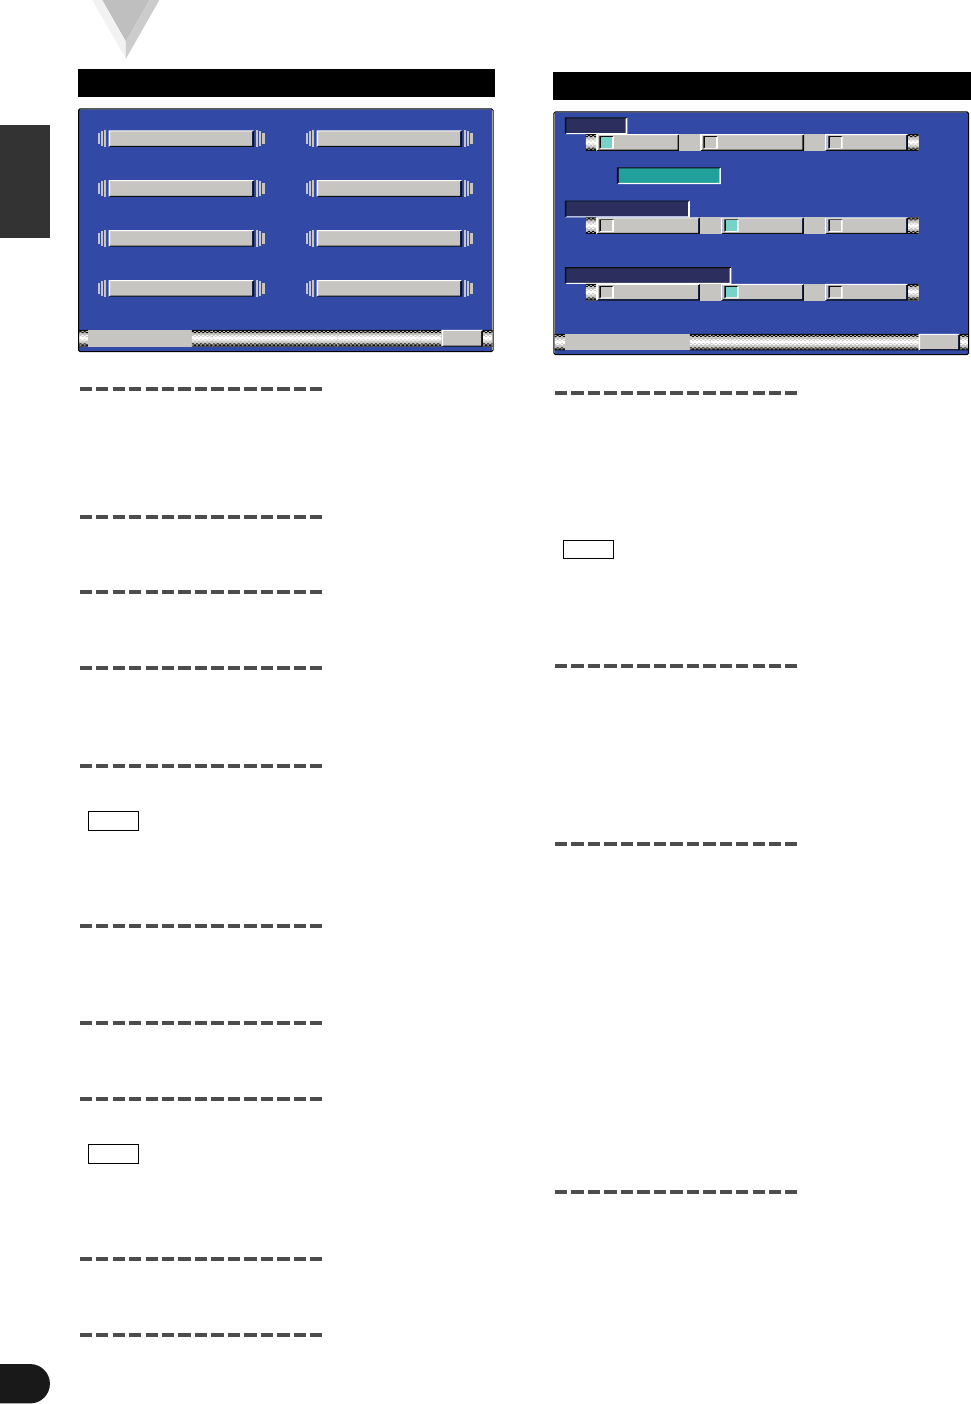
Switching to the Setup Menu Screen
Press the FNC button on the monitor. The source
control screen is displayed (Page 13-22).
Touch [ MENU ] to switch to the setup menu
screen.
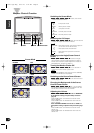
Switching to the AV Setting Screen
Touch [ AV SET ] to switch to the AV setting screen
(Page 8).
Switching to the Speaker Setting Screen
Touch [ SPEAKER ] to switch to the speaker setting
screen (Page 9).
Switching to the System Setting Screen
Touch [ SYSTEM ] to switch to the system setting
screen (Page 9).
Switching to the FM Transmitter Setting
Screen
Touch [ FM-TX ] to switch to the FM transmitter
setting screen (Page 10).
When the Center unit is connected this function is not
displayed.
Switching to the TV Area Setting Screen
< VZ-7000P only >
Touch [ TV AREA ] to switch to the TV area setting
screen (Page 10).
Switching to the Video Setting Screen
< VZ-7000P only >
Touch [ VIDEO ] to switch to the video setting screen
(Page 11).
Switching to the Clock Adjustment Screen
Touch [ CLOCK ] to switch to the clock adjustment
screen (Page 11).
When the Center unit is connected this function is not
displayed.
Switching to the Touch Panel Adjustment
Screen
Touch [ TOUCH ] to switch to the panel adjustment
screen (Page 12).
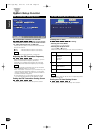
Canceling the Setup Menu Screen
Touch [ RTN ] to switch to the menu screen.
NOTE
NOTE
2
1
CLOCK
TOUCH
R
TN
SET PU
AV SET
TV AREASYSTEM
SPEAKER
VIDEO
FM- TX
Setup Menu Screen
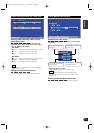
Setting the Navigation Input [NAV]
Touch [ RGB ], [ AVIN ] or [ OFF ] to switch the
Navigation input setting between the Video and the
Navigation modes according to a navigation
connected.
[7OFF] : Set the video mode
[7AVIN] : Set the navigation mode
[7RGB] : Set the navigation mode
• If a navigation unit is connected to AV IN, be sure to
set it to [ AVIN ].
• If a navigation unit is connected to NAVI interface
terminal’s, be sure to set it to [ RGB ].
Setting the AV Output [AV-OUT]
Touch [ NORM ], [ TV ] or [ VD ] to switch the AV OUT
terminal’s output setting between normal, TV and
video mode.
[7NORM] : Same picture/sound as the picture on the
monitor
[7TV] : Picture/sound from television.
[7VD] : Picture/sound from AV IN terminal.
Setting the Video 2 Input [VD2-MODE]
Touch [ AUTO ] , [ VD ] or [ OFF ] to switch the
VIDEO 2 IN terminal’s input setting between auto,
video and off mode.
[7AUTO] : It becomes the Back View Camera mode
setting.
When the video signal input to the VIDEO
2 terminal, the monitor image is switched
to the image of the device connected to
the VIDEO 2 IN terminal.
[7V D] : It becomes the video mode setting.
Operate the V.SEL button when the
image from the device connected to
VIDEO 2 IN terminal is shown on the
monitor.
[7OFF] : It becomes the OFF mode setting.
Use this setting when there’s nothing
connected to the VIDEO 2 IN terminal.
Ending the AV Setting Screen
Touch [ RTN ] to return to the setup menu screen.
NOTE
OFFRGB
R
TN
AV ETS
TV VD
NAV
AV - UOT
VD2 MODE
VD OFFAUTO
AV I N
NORM
AV - NI
AV Setting Screen
C-01177(H)-Eng 02.3.20 3:12 PM Page 8