35
Function Setup Function Setup
ENGLISH
ENGLISH
Introduction Connections Playback Function Setup Others
To make the most of its feature, set up your speakers appropriately by referring to the table below.
Speaker setting options are available at the following locations;
<Speaker setting for the audio signal output from the HDMI OUT jack >
(Available when you have HDMI cable connected to the HDMI OUT jack)
SETUP A Quick A HDMI Audio Out A HDMI Multi(LPCM)
SETUP A Custom A Audio A HDMI Audio Out A HDMI Multi(LPCM)
<Speaker setting for the audio signal output from the 7.1ch AUDIO OUT jacks >
SETUP A Quick A 7.1ch Audio Out A Multi Channel
SETUP A Custom A Audio A 7.1ch Audio Out A Multi Channel
How to navigate through the “HDMI Multi(LPCM)” and “Multi Channel” setting
1) Use [U / V] to select the menu item.
2) Use [U / V] to select setting items.
•Use [RETURN] to go back to the previous screen.
3) Use [Y / Z] to select desired options.(Except for “Test Tone” and “Default”.)
For “Test Tone”:
Use [Y / Z] to select “Manual” or “Auto”, then press [ENTER].
• The test tone will be output. If you select “Manual”, use [U / V] to select desired speaker, then use
[Y / Z] to adjust the volume. If you select “Auto”, use [Y / Z] to adjust the volume of the speaker
that output the test tone.
• If you want to stop the test tone, press [RETURN].
For “Default”:
Press [ENTER] to reset the “Speaker Configuration”, “Channel Level” or “Delay Time”
setting to the default.
4) Press [SETUP] to exit.
• For “Speaker Configuration” setting, the settings of each speaker size may be adjusted
automatically corresponding to each setting. (e.g. If “Front” is set to “Small”, you cannot set
“Center”, “Surround” and “Surround Back” to “Large”.)
• If you connect to 5.1-channel surround system, set “Surround Back” in “Speaker Configuration” to
“None”.
• “None” for “Center”, “Subwoofer”, “Surround” and “Surround Back” is not available for the speaker
setting for the audio signal output from the HDMI OUT jack .
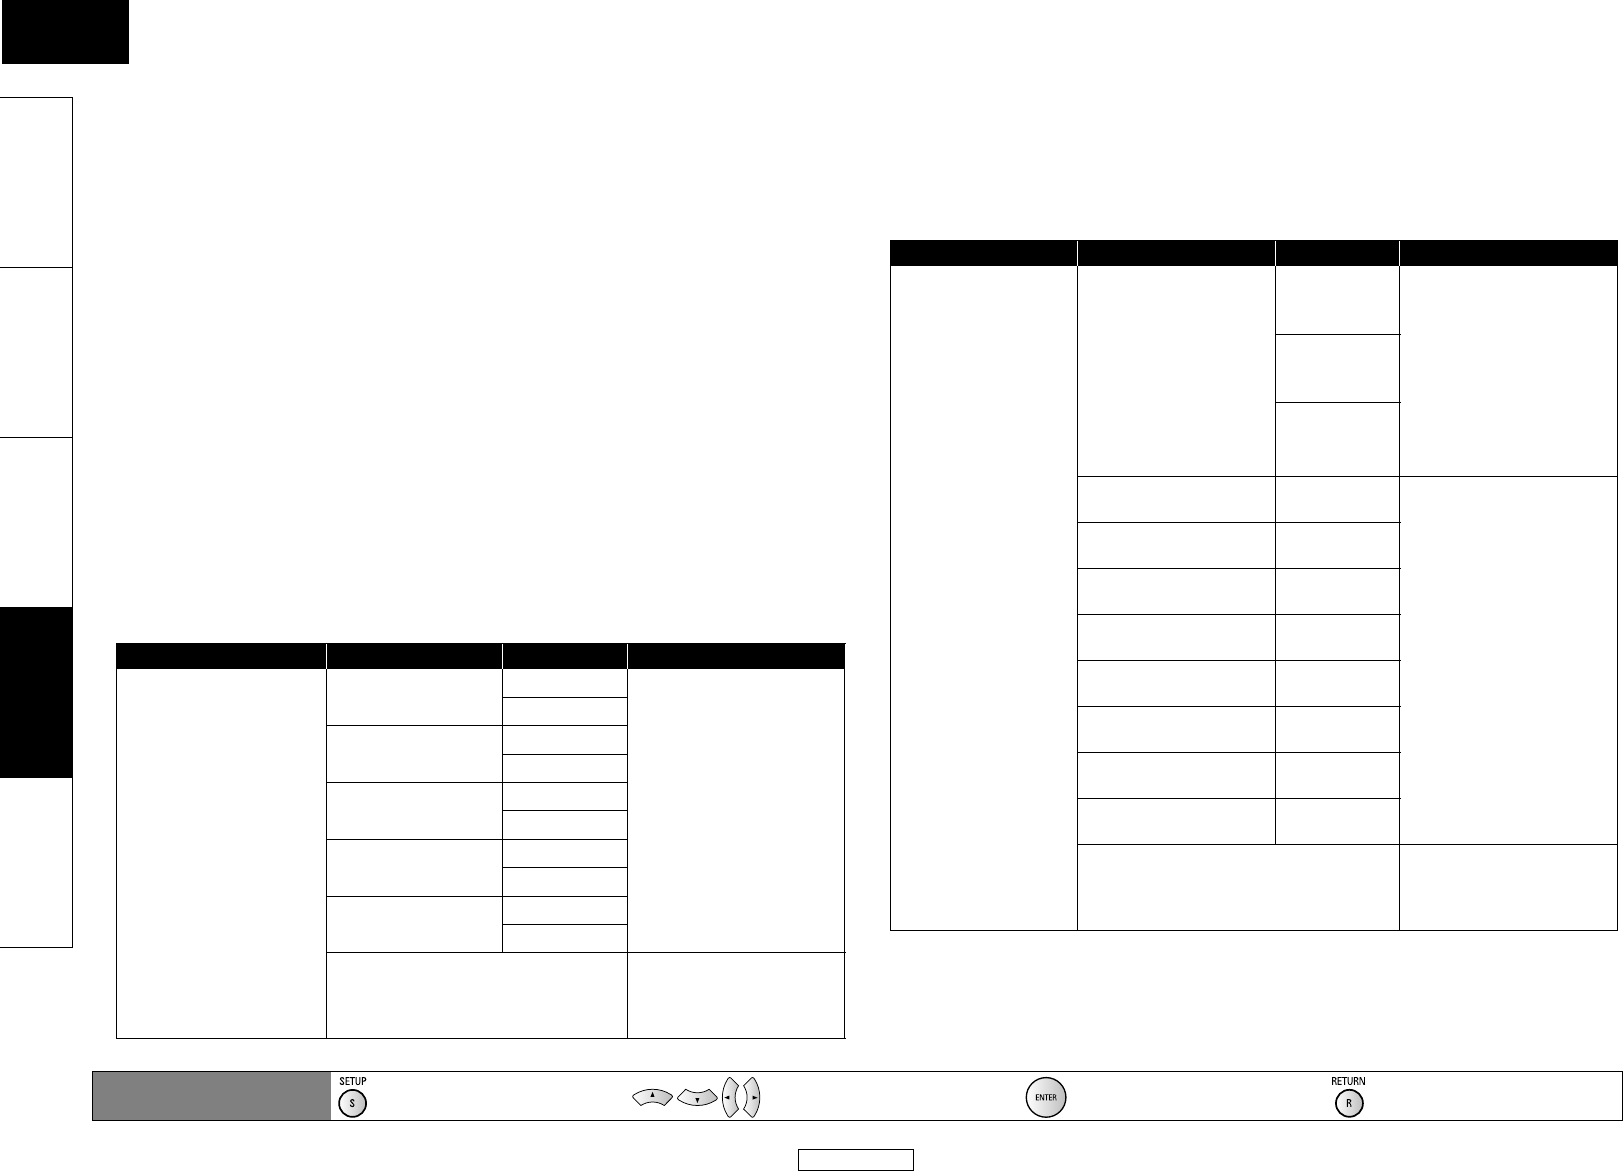
Menu Setting items Options Descriptions
Speaker Configuration
Select the desired
speaker to set. Then
change the setting
appropriately by
referring to the
descriptions.
Front
Large*
Large:
For the large speakers
with strong low frequency
reproduction capabilities.
Small:
For the small speakers
which do not provide
strong bass sound.
None:
No speakers.
For “Subwoofer” there is
only “On” or “None”.
Small
Center
Large*
Small/None
Subwoofer
On*
None
Surround
Large*
Small/None
Surround Back
Large*
Small/None
Default Select “Default”, then
press [ENTER] to reset the
“Speaker Configuration”
setting to the default.
Menu Setting items Options Descriptions
Channel Level
Tests or sets the
volume for each
speaker.
Test Tone:
“Test Tone” is the test
tone which can be
output from the
speakers so that you
can adjust the volume
for each speaker.
Off* Select “Off” to deactivate
the “Test Tone” feature.
Select “Manual”, then
press [ENTER] to manually
set the volume for the
desired speaker.
Select “Auto”,then press
[ENTER] to automatically
output the test tone from
each speaker.
Manual
Auto
Front Lch 0 dB to -12 dB
(0 dB*)
If you have selected
“Manual” in “Test Tone”,
select the desired speaker
to set and adjust the
volume for the selected
speaker.
If you have selected
“Auto” in “Test Tone”, test
tone will be output
automatically in order.
Adjust the volume of the
speaker that output the
test tone.
Center 0 dB to -12 dB
(0 dB*)
Front Rch 0 dB to -12 dB
(0 dB*)
Surround Rch 0 dB to -12 dB
(0 dB*)
Surround Back Rch 0 dB to -12 dB
(0 dB*)
Surround Back Lch 0 dB to -12 dB
(0 dB*)
Surround Lch 0 dB to -12 dB
(0 dB*)
Subwoofer 0 dB to -12 dB
(0 dB*)
Default Select “Default”, then
press [ENTER] to reset the
“Channel Level” setting to
the default.
Remote control operation
buttons
:
Displaying the menu
Cancel the menu
:
Move the cursor
(Up/Down/Left/Right)
: Confirm the setting : Return to previous menu
E5KB0UD_v3_EN.book Page 35 Tuesday, June 30, 2009 11:21 AM


