receiver. This allows you to operate your equipment (VCR, DVD player, etc) with your
original remote or the remote supplied from the location where the CableLink Receiver is
used (e.g. at your remote TV). The antenna must be placed in an upward position.
2. A/V Output: Connect this output with your remote TV (or VCR) by means the supplied
RCA cable and the scart adaptor.
3. Channel Selector: Channel Selector: To set the 2,4GHz channel. Setting of Transmitter
and Receiver should be same (A,B,C or D).
4. Power input: The supplied mains adaptor is connected to this input jack.
5. Power switch: This is for switching the receiver on and off. When switched on, no
indicator lights up.
6. 2,4 GHz Antenna. Receives the audio/video signals from the transmitter.
7. IR Window: Point your remote to this window to transmit IR commands to the
equipment connected to your CableLink Receiver.
5. Installation of the system.
Attention: Because of technical reasons, you need to place the CableLink
transmitter and receiver together when installing the system. After finishing
the installation you can move the receiver to wherever you wish to connect
your TV. During the installation the receiver needs to be connected to a
(random) TV.
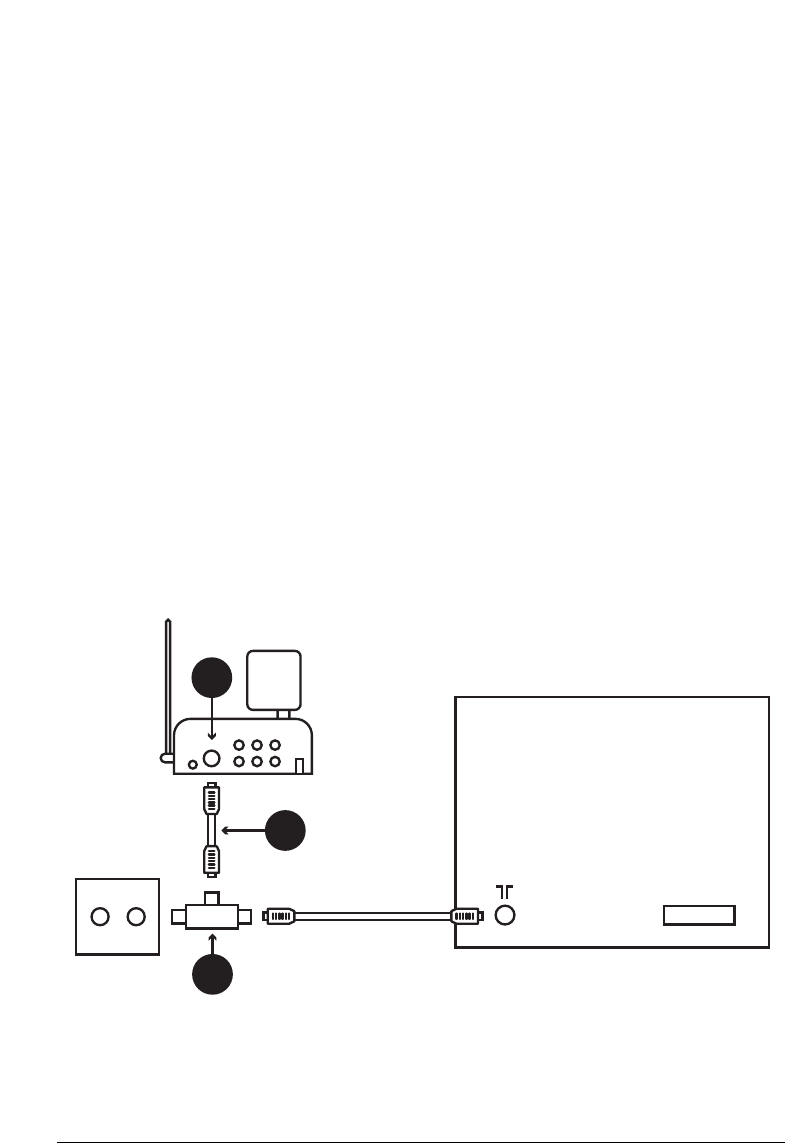
You can connect the CableLink in two different ways. Do you own a satellite receiver, VCR or
DVD player? In that case, use method 5.2 to connect your CableLink. Do you not have this
type of equipment? Then use method 5.1 to connect your CableLink.
5CABLELINK
TV
SCART
RADIO TV
3
C
A


