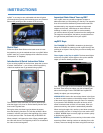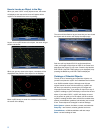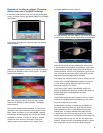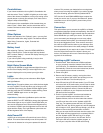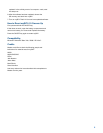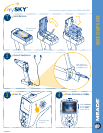
scroll down to the “New Location/Time” line and press
DONE. Next, choose your state or country: Press the UP or
DOWN ARROWS to scroll through the list one line at a time.
Press the right or left arrows to scroll through the list one
page at a time. Once your country or state is highlighted,
press ENTER and the City list displays.
Scroll through the list of cities and choose the city nearest
to your location (the city can be as far away as 100 miles
or 160km). Once your choice is highlighted press ENTER.
Enter the date in the format: mm/dd/20yy. For example, if
you wish to enter March 6, 2008, press the following keys:
0 (zero), ENTER, 3, ENTER (mm)
0, ENTER, 6, ENTER (dd)
0, ENTER, 8, ENTER (20yy)
Press DONE after you have entered the date.
Next enter the time: Enter the hour and minutes, as correct
to the minute as possible, in 12 hour AM/PM format. For
example, if you wish to enter 9:20 p.m. press the
following keys:
0, ENTER, 9, ENTER (hour)
2 ENTER, 0, ENTER (minutes)
0 ENTER, 0, ENTER (seconds)
Select PM. If you make a mistake, press the DEL key.
mySKY compensates for Daylight Savings automatically.
When you are nished entering the time, press DONE.
Your location, time and date are now stored in memory
until you change the batteries or they run down. The next
time you turn on mySKY, the Time and Location screen will
display current time and day with your last location as the
rst choice. If the information is correct, select the top line
and press DONE.
Select the Demonstration mode if you wish to get
a demonstration of mySKY’s operation during the daytime
or when you are inside.
Sensor Calibration
When mySKY has your time and location, you will be
asked to place mySKY on a stable surface while it adjusts
its sensors. This usually takes about 30 to 45 seconds.
If it takes longer, make sure the mySKY is not setting on
any operating machinery, speaker or other surface that is
moving or vibrating. When the mySKY is done adjusting the
sensors, the sights on the top of the unit will light up and
the screen will display the SkyMap screen. You are now in
the default “Identify” mode and you can immediately begin
identifying night sky objects and use other mySKY features.
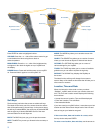
Identify Mode
mySKY has several modes of operation. The most
important mode is “Identify” – this is the default mode.
mySKY is ready to identify celestial objects, such as
stars, constellations, planets and so forth. The SkyMap
on the screen shows the area of the sky where you are
pointing mySKY. Center an object in the sights and pull the
TRIGGER. mySKY will tell you what the object is.
Important Note: Once you have pressed the TRIGGER, you
no longer need to point mySKY at the object (you can relax
your arm and hold mySKY in a comfortable position to see
the display).
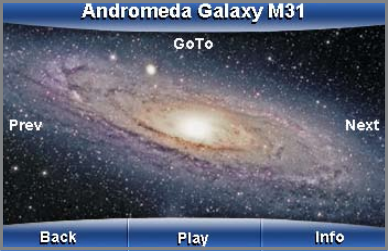
In many cases, an image of the selected object appears on
the screen. Press PLAY (if it is displayed) to see and hear a
multimedia description of the object. Pressing the INFO key
displays text about the object.
Take a Tour
Another mode is “Tour.” When you select the “Tonight’s
Best
™
Tour”, for example, mySKY will guide you to the best
objects in the sky for your time, date and location. When the
rst object of the Tour displays, you have several choices.
If this is an object you wish to learn more about, press the
UP ARROW key for “More”. If you wish to skip this object,
press the NEXT key. If you want to return to the last object,
press the BACK key. If you select “More”, press PLAY for
audio and video presentations or INFO for on-screen text
data about the object. If you wish to skip this object, press
the RIGHT ARROW to choose “Next” and proceed to the
next object on the Tour. If you wish to have mySKY nd the
object in the sky for you, press the UP ARROW to
select “GoTo”.
4


