


EN – 16
Opt
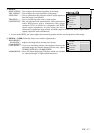
IMAGE REVERSE
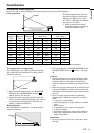
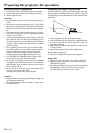
INSTALLATION
KEYSTONE 0˚
AUTO POWER ON ON
AUTO POWER OFF
TEST SIGNAL
TEST
R
ON
0 min
ON OFF
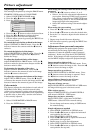
Opt
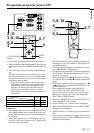
MENU POSITION
OPTION
MODE DISPLAY ON
SPLASH SCREEN ON
CINEMA MODE AUTO
VIDEO SIGNAL AUTO
LANGUAGE English
ON
ON
A
Ë
?
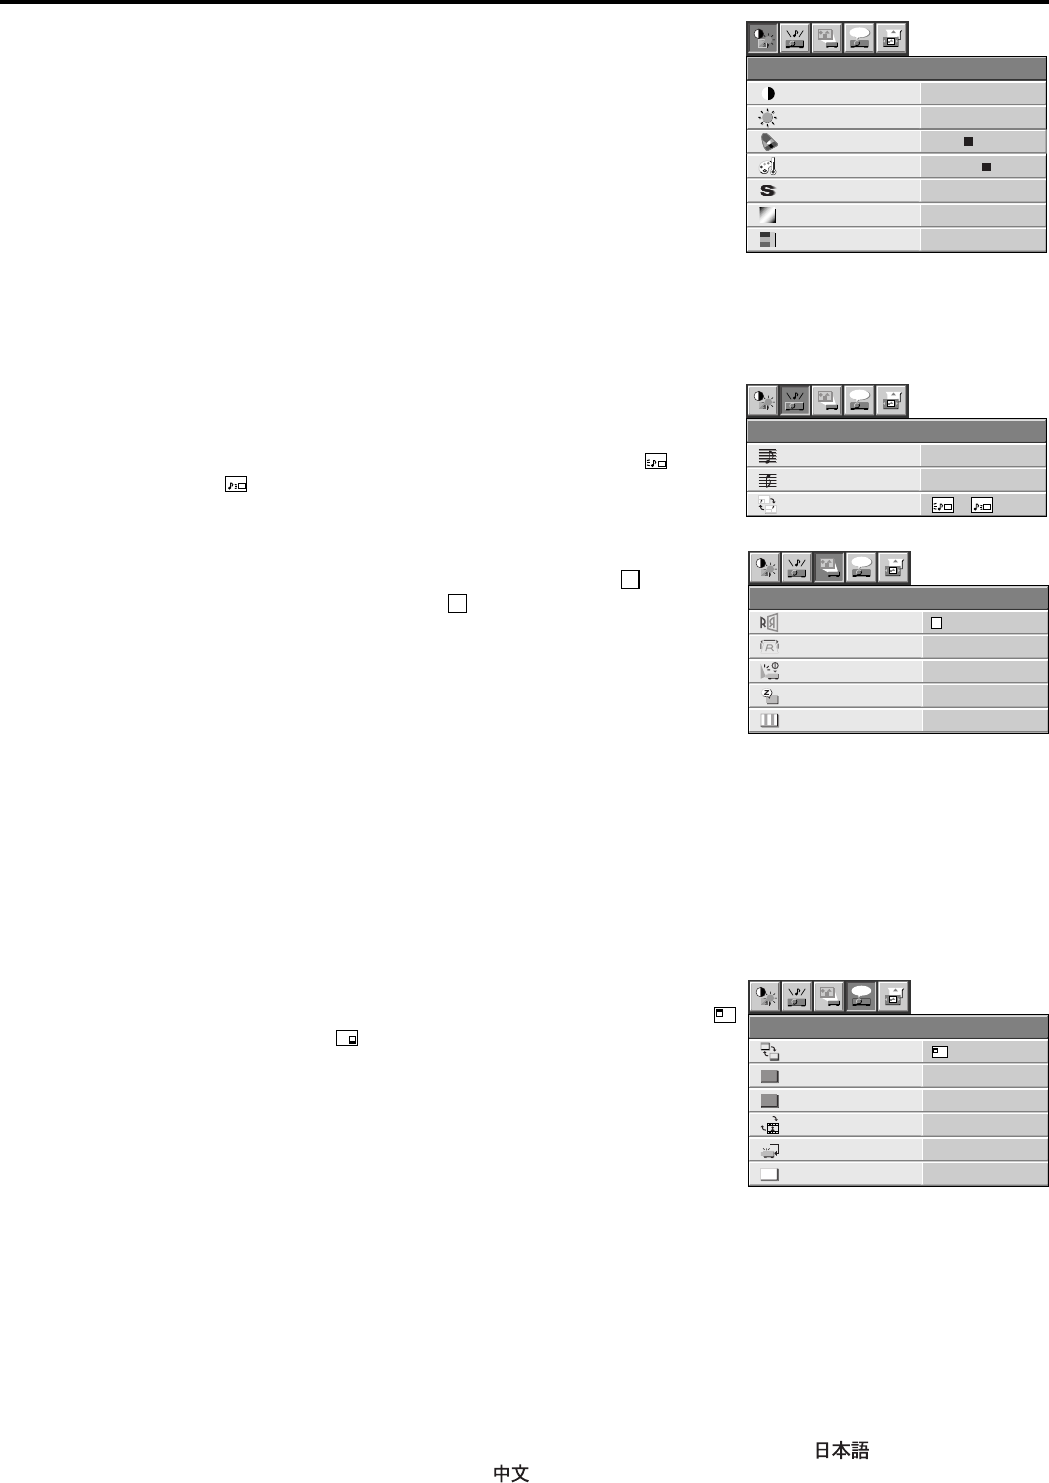
1 PICTURE
CONTRAST ........ Adjusts the picture contrast. The contrast becomes higher
as the number increases.
BRIGHTNESS .... Adjusts image brightness. The image becomes brighter as
the number increases.
COLOR MATRIX. ......
Adjusts color balance in each color of the image. See page 18.
COLOR TEMP.. .. Adjusts color temperature. See page 18.
SHARPNESS ...... Adjusts the picture sharpness. The sharpness becomes
sharper as the number increases. (It can not be changed
on XGA resolution.)
TINT .................... Adjusts the color balance in the image. The color balance
of the image shifts green as the number increases and shifts to purple as the number
decreases (displays only when the source is selected to VIDEO).
COLOR ................ Adjusts the color intensity of the image (displays only when the source is selected to VIDEO).
2 AUDIO
BASS ................... Adjusts the level of low frequencies.
TREBLE ..............Adjusts the level of high frequencies.
PinP AUDIO ....... Use to select the audio output in the PinP mode, (Main)
or (Sub).
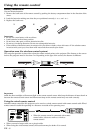
3 INSTALLATION
IMAGE REVERSE
Use to reverse or invert the projected image.
R
(Mirror)
is used for rear projection.
R
(Mirror invert) is effective
when the projector is ceiling-mounted.
KEYSTONE ........ Adjusts keystone correction of the image. If the image has
keystone distortion, select the approximate setting. For
normal use, select 0˚.
AUTO POWER ON .....
To select whether to boot up automatically when the power is
turned on external to the projector. In this case, the main
power switch of the projector has to be ON. Set this when the projector is hanging on the ceiling.
• The projector is in stand-by mode when the lamp is not on. In this case, use the remote
control to turn on the lamp.
AUTO POWER OFF ..
Use to select the length of time before projector switches to stand-by when there is no input
signal selected source. Select 0 min. to cancel this function.
TEST SIGNAL .... Use to display the built-in test patterns on the screen.
• The display will disappear when the setting is OFF or when you press any button except
MENU, { ,}, STILL, LASER, mouse pointer or R/L-click.
4 OPTION
MENU POSITION .
Use to select the position where the menu is displayed,
(upper left) or (lower right).
MODE DISPLAY ...
Use to display the mode display on the screen.
SPLASH SCREEN .
Use to display the splash screen on the screen when the
power is turned ON.
CINEMA MODE ....
When AUTO is set, the video signal is processed
appropriately for cinema source during inputting the
cinema source with NTSC format. If the video signal is
processed during inputting the other source, set to OFF.
• When setting CINEMA MODE to AUTO, some images may not switch to cinema mode
during inputting the cinema source.
• When setting CINEMA MODE to AUTO, images may not switch to video mode immedi-
ately after switching the cinema source to video source. At that time, the image quality
of the video source may get worse. If you wish to switch the mode immediately, press
ENTER button.
VIDEO SIGNAL . When AUTO is set, the appropriate video format is automatically selected according to the
input signal. If the image does not appear correctly, select the desired video format
manually. Adjust the unit to the appropriate format when the unit either is not projecting
normally in auto mode or is projecting PAL-M/PAL-N signals.
LANGUAGE ....... Use to select the language for the projector display such as menu. ( / English / Español
/ Deutsch / Français / Italiano / )
Opt
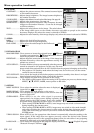
CONTRAST
PICTURE
0
BRIGHTNESS 0
COLOR TEMP. 1 / 2 / 3 / 4
TINT 0
COLOR 0
SHARPNESS 0
COLOR MATRIX
USER
Menu operation (continued)
Opt
BASS
AUDIO
1
TREBLE 1
PinP AUDIO
/