


E – 43
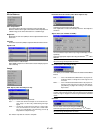
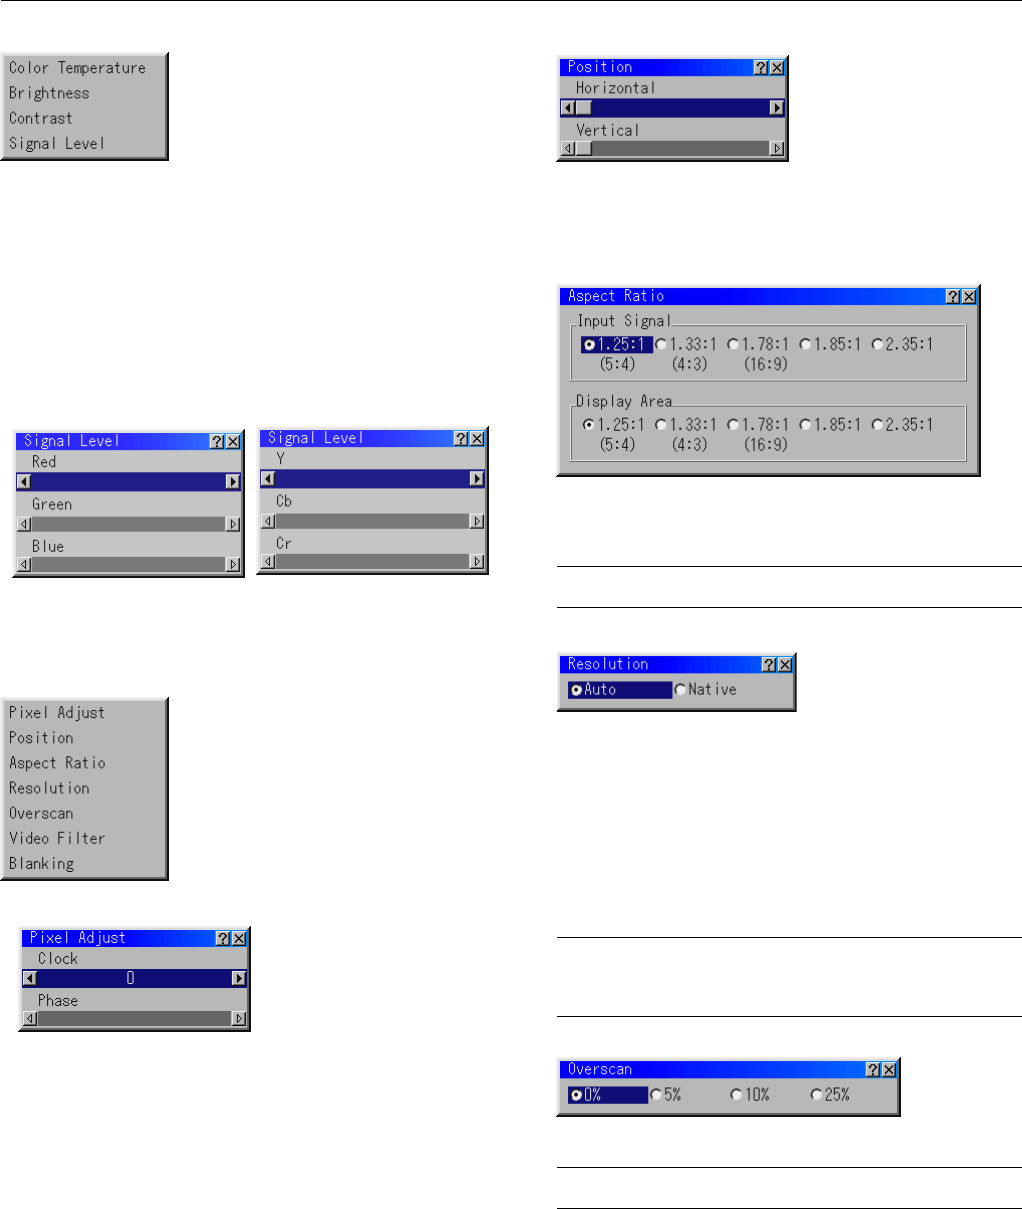
Horizontal/Vertical Position (when Auto Adjust is off):
Adjusts the image location from left to right.
This adjustment is made automatically when the Auto Adjust is
turned on.
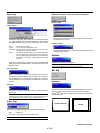
Aspect Ratio (not available for RGB) :
You can select the aspect ratio for input signal and display area re-
spectively.
Select the appropriate aspect ratio using the SELECT
ᮤ
,
ᮣ
, ▲, or
▼ button.
NOTE: When "Resolution" is set to "Native", this feature is not available, and
the stored settings and adjustments are invalid.
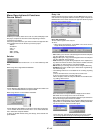
Resolution (when Auto Adjust is off):
This allows you to activate or deactivate the Advanced AccuBlend
feature.
Auto ............. Turns on the Advanced AccuBlend feature. The projector au-
tomatically reduces or enlarges the current image to fit the
full screen.
Native........... Turns off the Advanced AccuBlend feature. The projector dis-
plays the current image in its true resolution. See "Auto Ad-
just (RGB Only)" on page E-49 for turning on or off the Auto
Adjust feature.
NOTE: While you are displaying an image with higher resolution than the
projector's native resolution(1366 x 1024), even when you are in the Native
mode, the image is displayed full screen using the Advanced AccuBlend
feature.
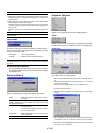
Overscan
You can select overscan percentage for RGB signal.
Select the appropriate option using the SELECT
ᮤ
or
ᮣ
button.
NOTE: When "Resolution" is set to "Native", this feature is not available, and
the stored settings and adjustments are invalid.
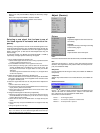
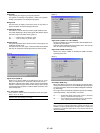
White Balance
R/G/B, Y/Cb/Cr or Y/Pb/Pr Gain:
Adjust RGB, Component or HDTV Gain to match multiple projector
color uniformity.
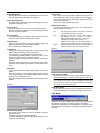
Image
Pixel Adjust (when Auto Adjust is off):
Displays the Clock and Phase adjustments.
Clock............ Use this item with the "Auto Adjust off" to fine tune the com-
puter image or to remove any vertical banding that might
appear.
Phase ........... Use this item to adjust the clock phase or to reduce video
noise, dot interference or cross talk. (This is evident when
part of your image appears to be shimmering.) Use the
ᮤ
and
ᮣ
buttons to adjust the image.
Use "Phase" only after the "Clock" is complete.
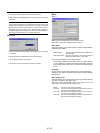
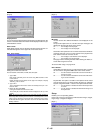
Color Temperature
This feature adjusts the color temperature using the slide bar.
Move the slide bar to the right to increase the color temperature for
a bluish image; to the left to decrease it for a reddish image.
Brightness
Brightness for each color (RGB) is used to adjust the black level of
the screen.
Contrast
Contrast for each color (RGB) to adjust the white level of the screen.
Signal Level