


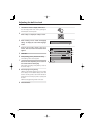
12
Adjusting the built-in clock
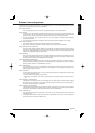
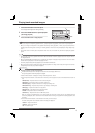
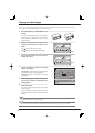
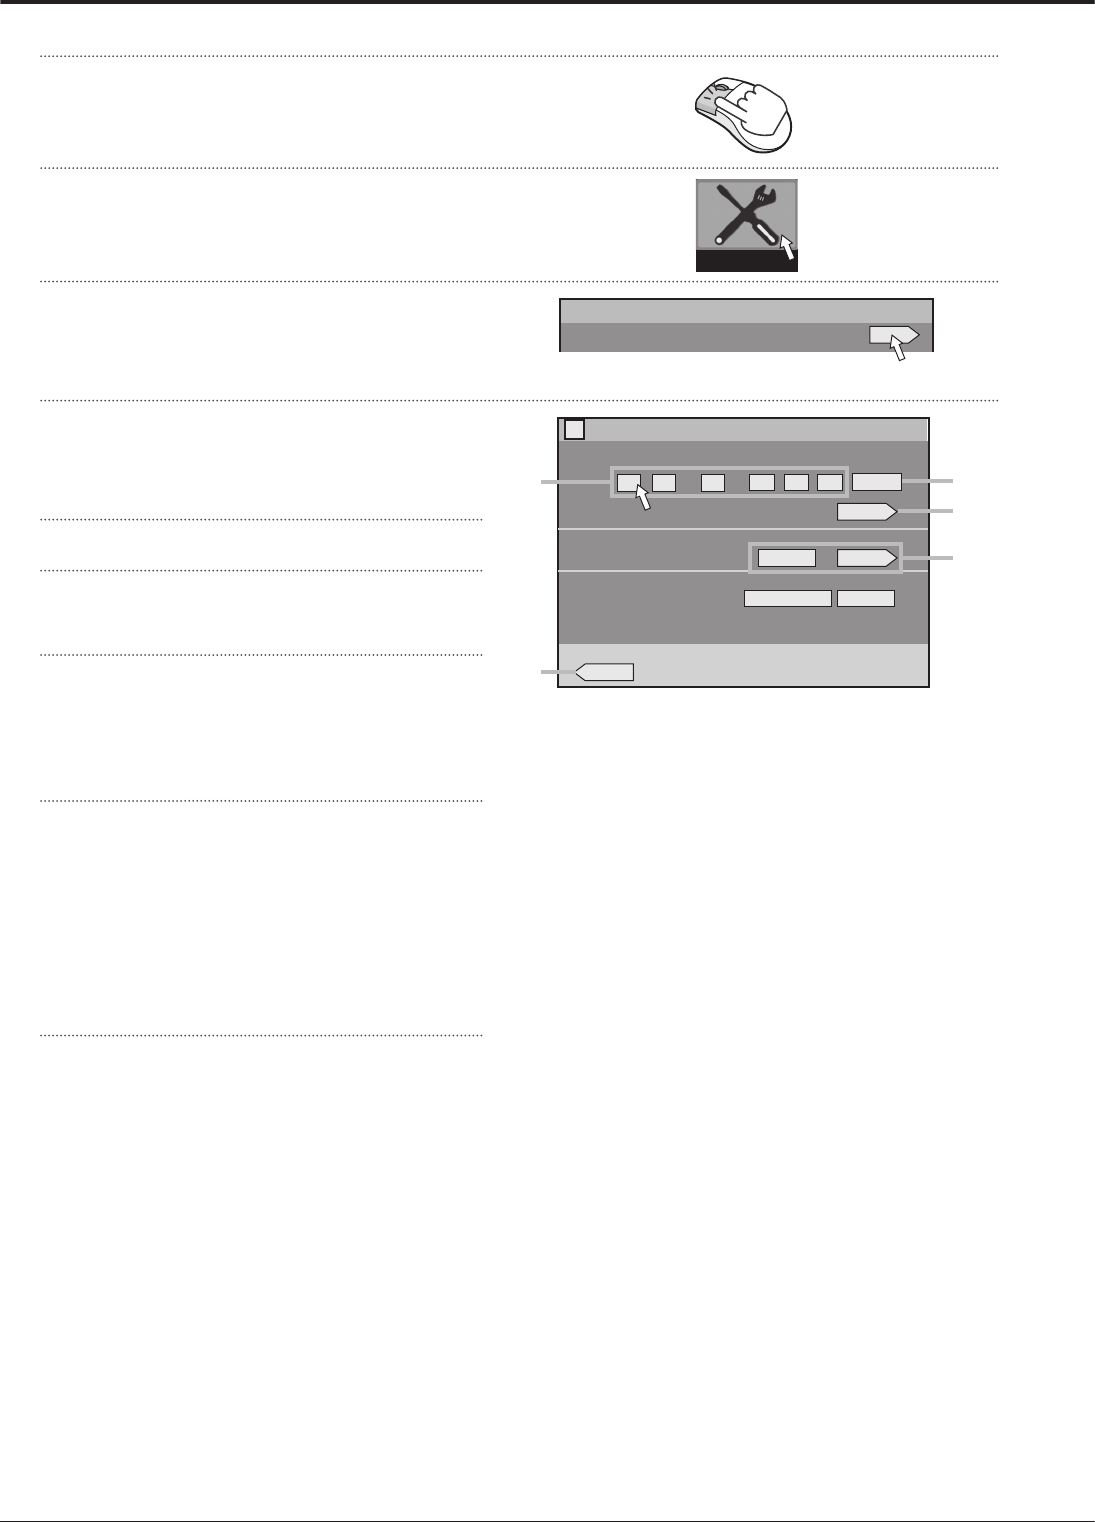
1
Left-click the mouse to display <Main menu>.
You can display <Main menu> also by pressing the
SET UP button on the front panel.
2
Select “Setup” to display the <Setup> screen.
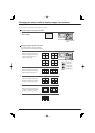
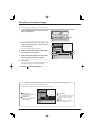
3
Select “Setting” next to “Clock and language
setting” to display the <Clock and language>
screen.
4
Click on each of day, month, year, hour,
minute, and second until the desired value
appears.
5
Click “Set.”
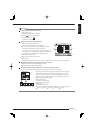
6
Select [Setting] next to [Present time zone].
<Zone setting of time> screen appears.
7
Set the time zone depending on the location of
the recorder and then select [Set].
After fi nishing the setting, select [Return] to return to
the screen of step 4.
8
Set the day light saving setting.
“Auto”: Automatically adjusts the clock according
to the settings. For the detailed settings, select “Set”
and then use the [In] area to set the time and date for
advancing the clock and [Out] area for putting back
the clock.
“Off”: Auto day light saving function is not used.
9
Close the menus.
E:Return
-
082001
-
12
::
00 00 00
ENGLISH Set
Set
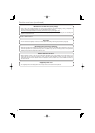
Clock setting (SNTP is active)
Language setting
Day light saving setting
?
Clock and language
Auto Set
Present time zone
GMT Setting
4
5
8
9
6
Setup
Clock and language setting
Setup
Setting