


INITIAL SET UP FOR USE
SETTING THE CH3/CH4
SWITCH
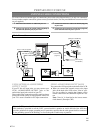
If your TV does not have A/V terminals:
When the VCR is in the Playback mode or when the
VCR is in the VCR position, your TV will receive sig-
nals from the VCR on either channel 3 or 4.
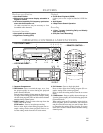
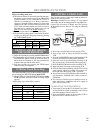
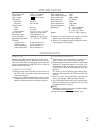
To use the VCR with your TV, set the selector switch to
CH3 or CH4 (which is located
in the back of your VCR),
whichever is not used for nor-
mal broadcasts in your area.
Then set your TV to the same
channel.
AUTOMATIC CHANNEL SET UP
You can automatically program the tuner to scan only
the channels you receive in your area.
●
Channel memory programming is
NOT needed
when you connected the VCR to a cable box or
satellite box
as in "Basic connections" on page 6. In
this case, select the VCR and TV to channel 3 or 4
the same channel as the CH3 or CH4 switch on the
back of the VCR. Then, the channel you want to re-
cord or view may be selected at the cable box or sat-
ellite box.
●
Follow the steps below once. Repeat it only if there
is a power failure or if the VCR is unplugged for more
than 30 seconds. (In these cases, the programmed
channels are erased.)
●
You must follow the steps below before attempting
to play or record a video tape. If you want to play or
record a video tape BEFORE programming the tuner,
you can cancel it by pressing the RESET/EXIT but-
ton. To program the tuner again, see "CHANNEL
SET UP AGAIN" on the next page.
1
You need to connect the antenna or cable to the VCR
first. Then, connect the VCR power plug into a stand-
ard AC outlet.
2
Turn on the TV and set the TV to channel 3 or 4.
Now set the CH3/CH4 switch on the back of the VCR
to match the channel selected on the TV.
3
Turn on the VCR
by pressing the POWER button.
Both the POWER indicator and the VCR/TV indica-
tor on the VCR come on.
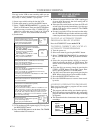
4
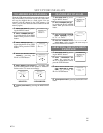
Select the On Screen Lan-
guage ("ENGLISH" or
"FRANCAIS")
by pressing
the PLAY or STOP button.
Then, press the F.FWD but-
ton.
5
Begin channel preset
by pressing the F.FWD button
once. The tuner scans and
memorizes all active channels
in your area.
●
The VCR distinguishes be-
tween standard TV channels
and cable channels.
6
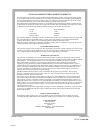
After scanning,
the tuner stops on the lowest
memorized channel. The TV screen returns to TV
mode.
●
If "AUTO SET UP" appears on the TV screen again,
check the cable connections. Press the F.FWD button
once again and the VCR will begin preset again.
TO SELECT A DESIRED CHANNEL
You can select the desired channel by using the CHAN-
NEL Up or Down button or directly pressing the number
buttons on the remote control.
Note for using the number buttons:
●
When selecting cable channels which are higher than
99, press the +100 button first, then press the last two
digits.
●
You must precede single-digit channel numbers with
a zero (For example: 02, 03, 04 and so on).
CLOCK SET UP
Set the clock accurately for proper automatic timer re-
cording. We suggest that you use a TV or radio station
as your time source.
1
Select main menu
by pressing the MENU button.
(If the clock is not set, the CLOCK SET menu ap-
pears first. In this case, follow step [3].)
2
Select "CLOCK SET"
by pressing the PLAY or
STOP button. Then, press the F.FWD button.
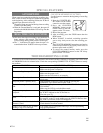
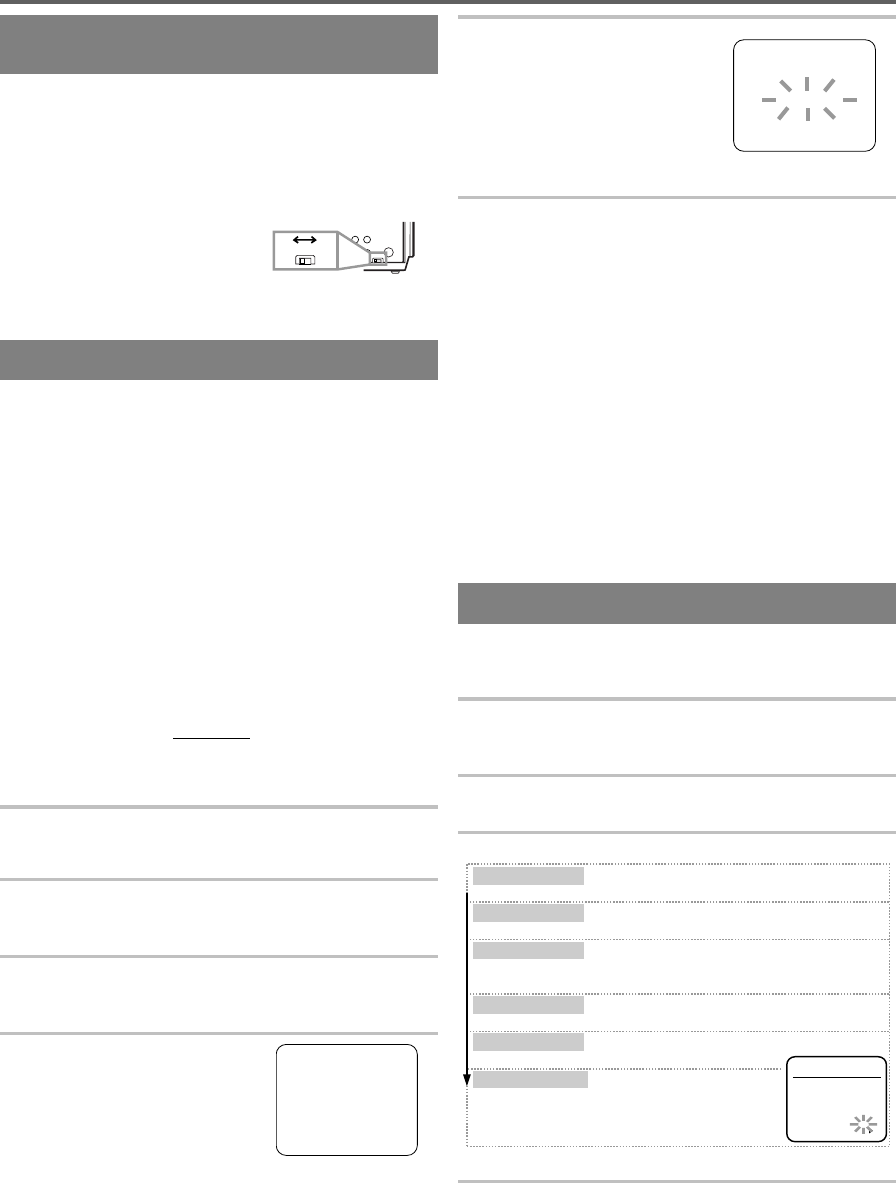
3
Set the clock.
●
To go back one step, press the REW button.
4
Start the clock
by pressing the RESET/EXIT or
F.FWD button after setting the AM or PM.
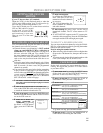
CH3
OUT
CH3 CH4
CH4
[Back of the VCR]
LANGUAGE SELECT
————————————————
B
ENGLISH [ON]
FRANCAIS
CLOCK SET
MONTH DAY YEAR
03 / 19 MON 2001
HOUR MINUTE AM/PM
05 : 40 PM AM
PM
Press the PLAY or STOP button repeatedly.
Then, press the F.FWD button.
Press the PLAY or STOP button repeatedly.
Then, press the F.FWD button.
Press the PLAY or STOP button repeatedly.
Then, press the F.FWD button.
The day of the week will appear automatically.
Press the PLAY or STOP button repeatedly.
Then, press the F.FWD button.
Press the PLAY or STOP button repeatedly.
Then, press the F.FWD button.
Press the PLAY or STOP button
repeatedly.
Set the month
Set the day
Set the year
Set the hour
Set the minute
Set the AM or PM
CH 01
AUTO SET UP
0J01
H7741
- 7 - EN