6
VCR Recording
Switch on and set the TV to the video output channel and insert a cassette with an intact erasure prevention tab into the VCR.
Before recording, select the channel with the |CH| button. Select the AV channel |INPUT SELECT AV| if you want to record
a programme from scart AV1, AV2, front input = A3 or Disc = dc.
Switch the remote control to VCR .
Press |REC| to start recording.
Press Stop
<<
<<
< to stop recording.
Use Pause to pause recording.
Restart recording by pressing this button again. To preserve the video heads, the function will be switched off after 5 minutes.
Direct TV Recording
The |DIRECT TV REC| button allows you to immediately start recording the same programme that you are viewing on the
TV, if your TV is equipped with Q Link or with a similar function from other manufacturers (see page 3) and connected
with a fully-wired 21-pin scart lead (not supplied).
OTR Function (OTR = One Touch Recording)
REC/OTR
To record for a specific length of time, press this button on the VCR. You can extend the recording time from
30, 60, 120, 180 to 240 minutes by pressing the button repeatedly.
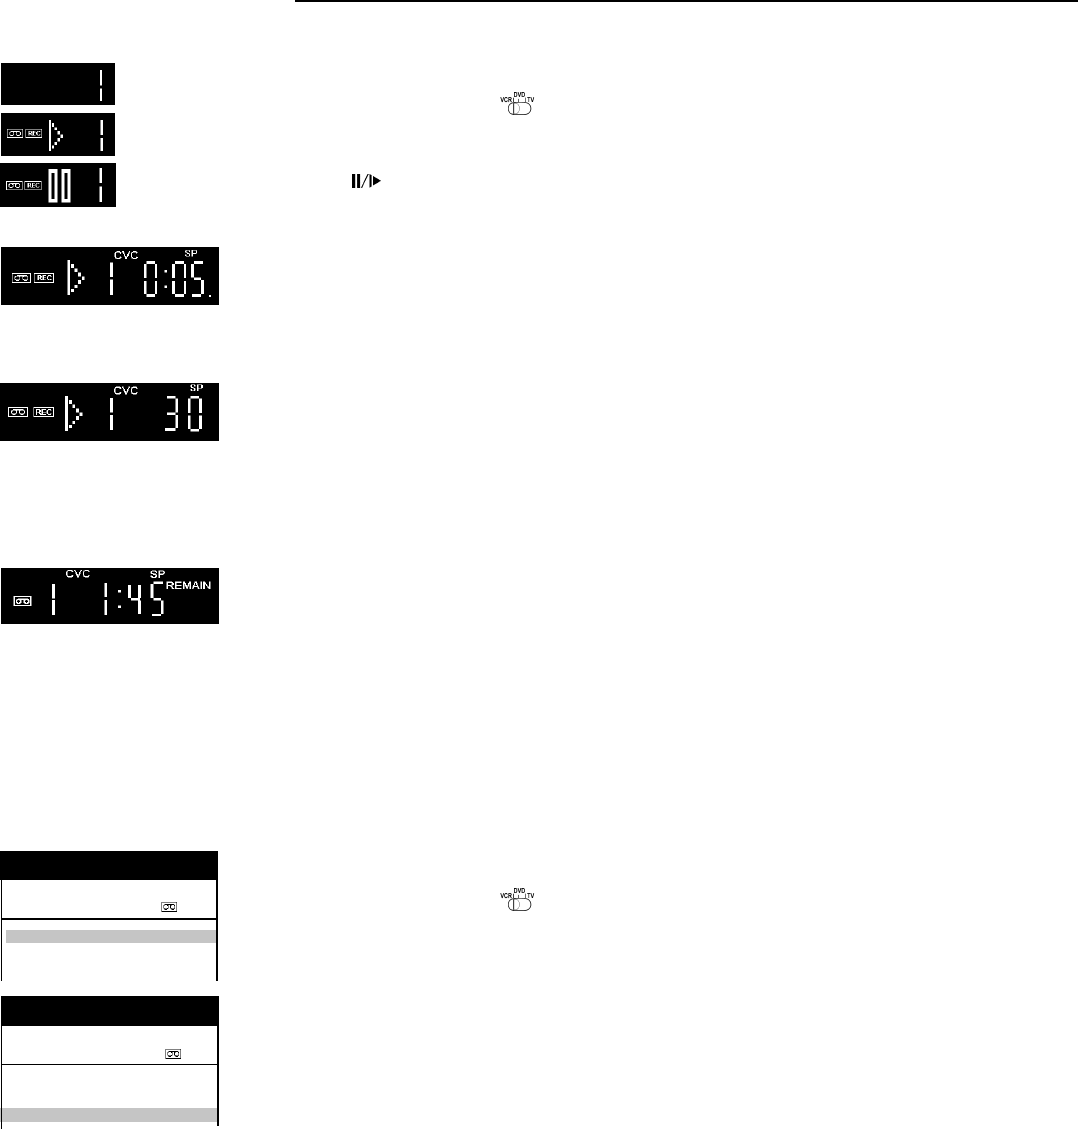
The selected length of recording time will appear on the VCR display. To stop in advance press Stop
<<
<<
< .
If you want to watch another TV programme at the same time as you are recording, select the channel on the TV.
Tape Speed
Press |DISPLAY| until [REMAIN] on the VCR display appears.
Press |SP/LP/EP| before recording, in order to select the tape speed for the recording.
Make sure that the remaining time on the cassette is longer than the time set for recording,
otherwise the whole programme cannot be recorded.
The following information appears on the VCR display:
[SP] standard recording time: optimum picture quality.
[LP] double recording time: slightly reduced picture quality.
[EP] (SUPER LP) triple recording time: slightly reduced picture quality.
Note: Distorted pictures produced when playing back some cassettes (e.g. type E300) after LP or EP recordings are not functional faults.
VCR display
On Screen Display
VCR Display
Timer recording with On Screen Menu
With the On Screen Menu you can programme Timer recordings (up to 16 programmes).
Switch on and set the TV to the video output channel and insert a cassette with an intact erasure prevention tab into the VCR.
Switch the remote control to VCR .
Press |PROG/CHECK| to display [Timer recording] menu and press |ENTER|.
Set the channel [Pos].
You can use the cursors
on the remote control to move around the menu, in order to make changes.
Set the recording [Date], day or week.
For example: Sa means that the programme will be recorded every Saturday, or Mo - Sa means that the
programme will be recorded every day from Monday to Saturday.
Set the [Start] time. If you keep this button pressed down
, the time will change in 30 minute jumps.
Set the [Stop] time.
Set the Tape Speed [SP], [LP], [EP] or [A] (automatic).
In the setting A (automatic), the VCR automatically switches (with a short picture distortion) to the slow tape speed LP,
to record the programme as long as possible, if the remaining tape time is not long enough.
The preset [VPS / PDC] settings can be manually changed.
[ON] The broadcaster provides VPS / PDC signals. If the program is starting earlier or later than planned
the timer recording will be synchronised to the actual broadcast start.
Important ! The time and date settings must be exactly same as programme information (programme magazine).
If there is a special VPS / PDC time noted, it must be used. (The recording can not start, if the settings are not exact.)
[- - -] The broadcaster does not provide VPS / PDC signals.
[OFF] The broadcaster providing VPS / PDC signals, but the function is turned off. With this setting you have to
add to the start and stop time so that the whole film can be recorded completely, just in case the film is
broadcasted out of the planned time.
To store the programme, press |ENTER|.
In order to preset other recordings, repeat this procedure.
Press |TIMER| to switch the VCR to Standby mode for Timer recording. Make sure that in the VCR display
appears.
RQTD0035-A
Panasonic VCR
Timer recording 1/2
Pos VPS
Name Date Start Stop
PDC
1.
***
32 Mo-Sa 13:30 14:00 LP ON
2.
***
32 20/9 15:00 16:00 SP OFF
3. - - - - - - -/- - - -:- - - -:- - - - - -
Panasonic VCR
Timer recording 1/2
Pos VPS
Name Date Start Stop
PDC
1. - - - - - - -/- - - -:- - - -:- - - - - -
2. - - - - - - -/- - - -:- - - -:- - - - - -
3. - - - - - - -/- - - -:- - - -:- - - - - -


