


39
Power Supply
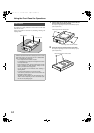
Turn on the recorder.
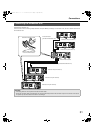
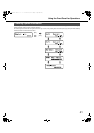
1 Insert the power plug to an outlet.
120 V AC, 60 Hz for NTSC model
220 V - 240 V AC, 50 Hz for PAL model
• Make sure the power source matches the power
requirement of the model in use.
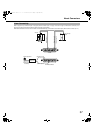
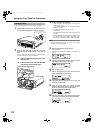
2 Turn on the [POWER] switch on the rear of the recorder.
• The operate indicator lights and recorder/HDD check
(system check) begins.
• During system check, [WJ-ND400] appears on the LCD.
Also, [Don't turn off] is displayed, followed by [System
Checking].
• The Time display format screen appears when the system
check is complete (page 40).
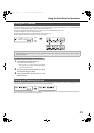
Turn off the recorder.
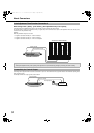
1 Set [Basic] - [Basic] - [Recording] on the settings menu
to [Off] and stop all recording (refer to the Setup
Instructions (PDF file)).
2 Turn off the [POWER] switch on the rear of the recorder
after checking that the HDD indicators are off.
The operate indicator goes off.
Note:
• Do not forget to start recording when you turn on the power.
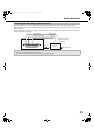
1 Click the [STOP] button on the [HDD] tab to stop
playback (refer to the Operating Instructions (PDF file)).
2 Turn off the [POWER] switch on the rear of the recorder
after checking that the HDD indicators are off.
The operate indicator goes off.
Turning On the Power
Important:
• When using extension units (WJ-HDE400), turn on all
extension units before turning on the recorder.
Turning Off the Power
Important:
• When the recorder is not in use for an extended period of
time, unplug the power plug.
• Be sure to turn the power on and operate once a week to
check recording and playback functionality.
During Recording
During Playback
ND400_Basic.book 39 ページ 2008年4月8日 火曜日 午後3時59分