


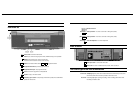
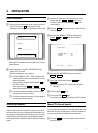
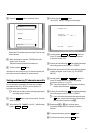

c Press the SqP button. ’Autoinstall’ starts.
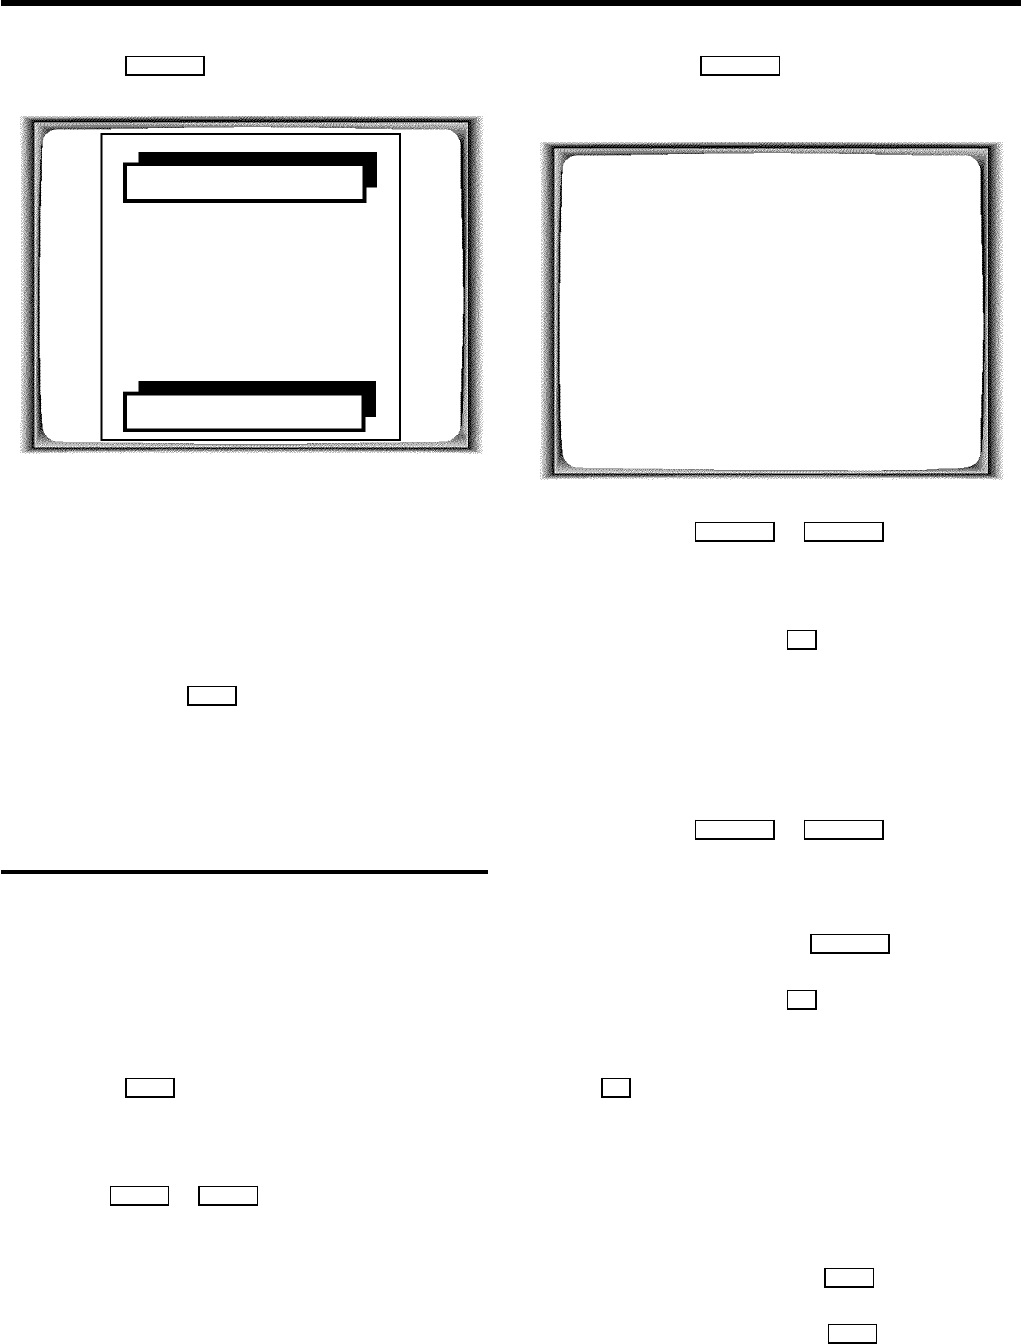
AUTO INSTALL
SEARCHING
ƒƒƒƒƒƒƒ__________________
PLEASE WAIT...
Wait until all TV channels have been found. This can take
several minutes.
d When Autoinstall is complete, ’STORED’ will briefly
appear on the TV screen.
The time and date information have been set.
e To end, press the MENU button.
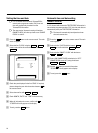
Information on how to search for a TV channel manually can
be found in the section ’Manual TV channel search’.
Sorting and clearing TV channels manually
You can allocate a programmed TV channel to a random
programme number (e.g.: ’P01’) or you can delete a TV
programme recorded by mistake.
DWhen you start this function, existing programmed
recordings may be deleted.
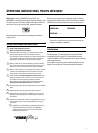
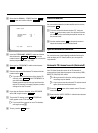
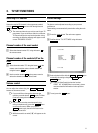
a Press the MENU button on the remote control. The main
menu will appear.
b Select the line ’TV CHANNEL ALLOC.’ with the menu
buttons =P r or ;P q .
c Confirm with the SqP button.
’ALLOCATE ON P01’ will appear in the display.
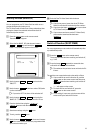
TV CHANNEL ALLOC.
ALLOCATE ON P01
FREQUENCY/NAME W BBC1 X
EXIT: MENU STORE: OK
d Use the buttons QSr or SqP to select the
stored TV channel to which you wish to allocate the
programme number ’P01’.
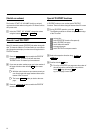
e Confirm this allocation with OK . The following message
will briefly appear on the TV screen: ’STORED’.
f After that, the allocation for the next-highest programme
number will appear on the screen, e.g.: ’ALLOCATE
ON P02’.
g Use the buttons QSr or SqP to select the
stored TV channel which you wish to allocate the
programme number to, ’ e.g.: P02’.
DIf you want to delete a TV programme recorded by
mistake, press the button CLEAR (CL) .
h Confirm this allocation with OK . The following message
will briefly appear on the TV screen: ’STORED’.
DIf you confirm the last possible allocation using the
OK button, you will automatically be taken back to
the main menu. Continue at step k .
i Repeat steps fto huntil you have given a
programme number to all TV channels you wish to
allocate.
j To stop the allocation, press the MENU button.
k To exit the main menu, press the MENU button.
9