


42
SETUPS
EN
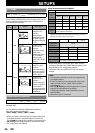
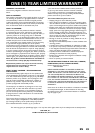
• Proxy Setting
1) Follow steps 1) to 4) in “Connection Test” on page
40.
2) Use [K / L] to highlight “Enable(Custom)”, then
press [OK].
3) Use [K / L] to highlight “Proxy Setting”, then press
[OK].
4) Use [K / L] to highlight the desired setting, then
press [OK].
• For default settings, select “Do Not Use”.
• If you need to change the proxy setting as instructed
by your Internet service provider to set the
designated proxy address and port, select “Use”.
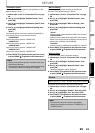
If you select “Use”, follow the following instructions
to set the proxy address and proxy port.
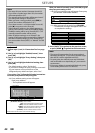
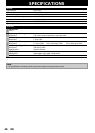
4-a) Proxy address setting screen will appear.
Enter proxy address.
• The keyboard screen will appear.
After you enter all correctly, press [YELLOW] to go to
the proxy port setting screen.
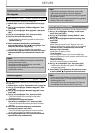
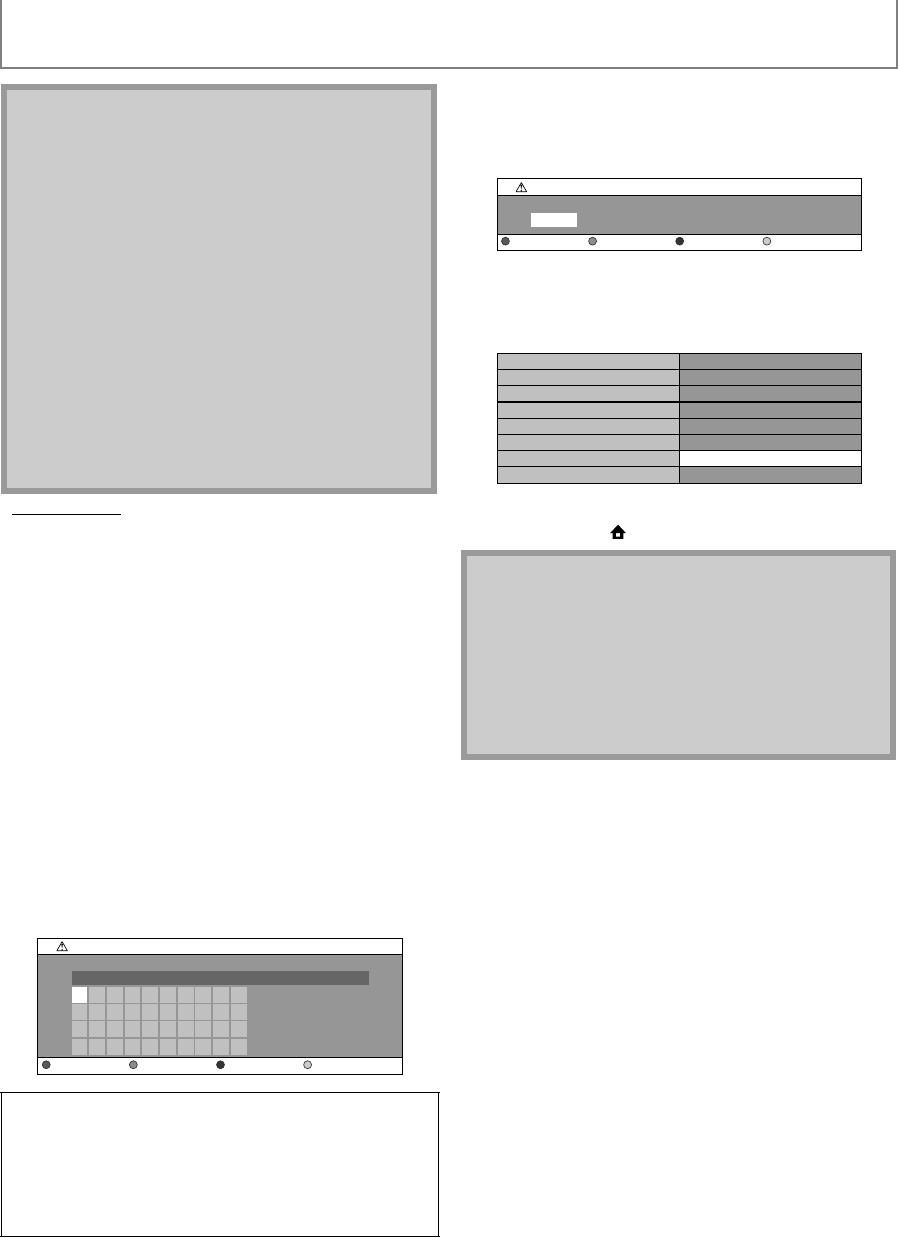
4-b) Proxy port setting screen will appear. Enter proxy
port number with number buttons.
4-c) After you enter all correctly, Press [YELLOW].
• Confirmation message will appear. Select “Yes”
to complete the settings.
5) Press [BACK U] to go back to the previous screen,
or press [HOME ] to go back to the home menu.
Note
• The range of input number is between 0 and 255.
• If you enter a number larger than 255, the number
will automatically be 255.
• The manually entered number will be saved even if
you change the setting to “Auto(DHCP)”.
• When you enter a wrong number, press [RED] to
cancel. (the number will be back to “0”.)
• If you want to enter 1 or 2 digit number in one cell,
press [B] to move on to the next cell.
• If the entered IP address or the default gateway or
primary DNS number is same as the default setting,
IP address setting will be set to “Auto(DHCP)”. (The
manually entered number will be saved).
• When IP address setting is set to “Manual”, the
setting of DNS setting will automatically be “Manual”
and when IP address setting is set to “Auto(DHCP)”,
you can set either “Auto(DHCP)” or “Manual” for DNS
setting.
[K/ L / s/ B] : Move the highlight.
[the Number buttons] : Enter number.
[OK] : Enter the highlighted number/word.
*[RED] : Clear the entered number or word.
[GREEN] : Clear all the entered numbers or words.
[BLUE] : Switch between abc ? ABC ? @!?
*[YELLOW] : Set the entered number or word.
* These buttons can be used in other network settings.
1
a
k
u
2
b
l
v
3
c
m
w
4
d
n
x
5
e
o
y
6
f
p
z
7
g
q
.
8
h
r
-
9
i
s
_
0
j
t
OK
********
Proxy Setting
Proxy Address
Clear All Clear OKa/A/@
Note
• The range of input number for the port number is
between 0 and 65535. (If you enter a number larger
than 65535, it will be regarded as 65535.)
• For proxy port, the selected ports may be blocked
and not be able to use depending on your network
environment.
• If the proxy address is entered with blank only, proxy
server setting will be set to “Do Not Use”.
0
Proxy Setting
Proxy Port
Clear OK
***************
*****
Proxy Address
Proxy Port
Is Setting OK?
Ye s
No