11
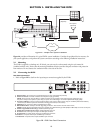
2. Connect all peripherals (e.g. cameras, monitors, etc.) to the corresponding inputs/outputs on the DVR1 rear
panel.
CAUTION: DO NOT connect both S-video and Composite inputs at the same time. A hardware conflict will
occur, which could damage the unit.
3. When all connections have been completed, apply power to the system.
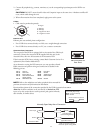
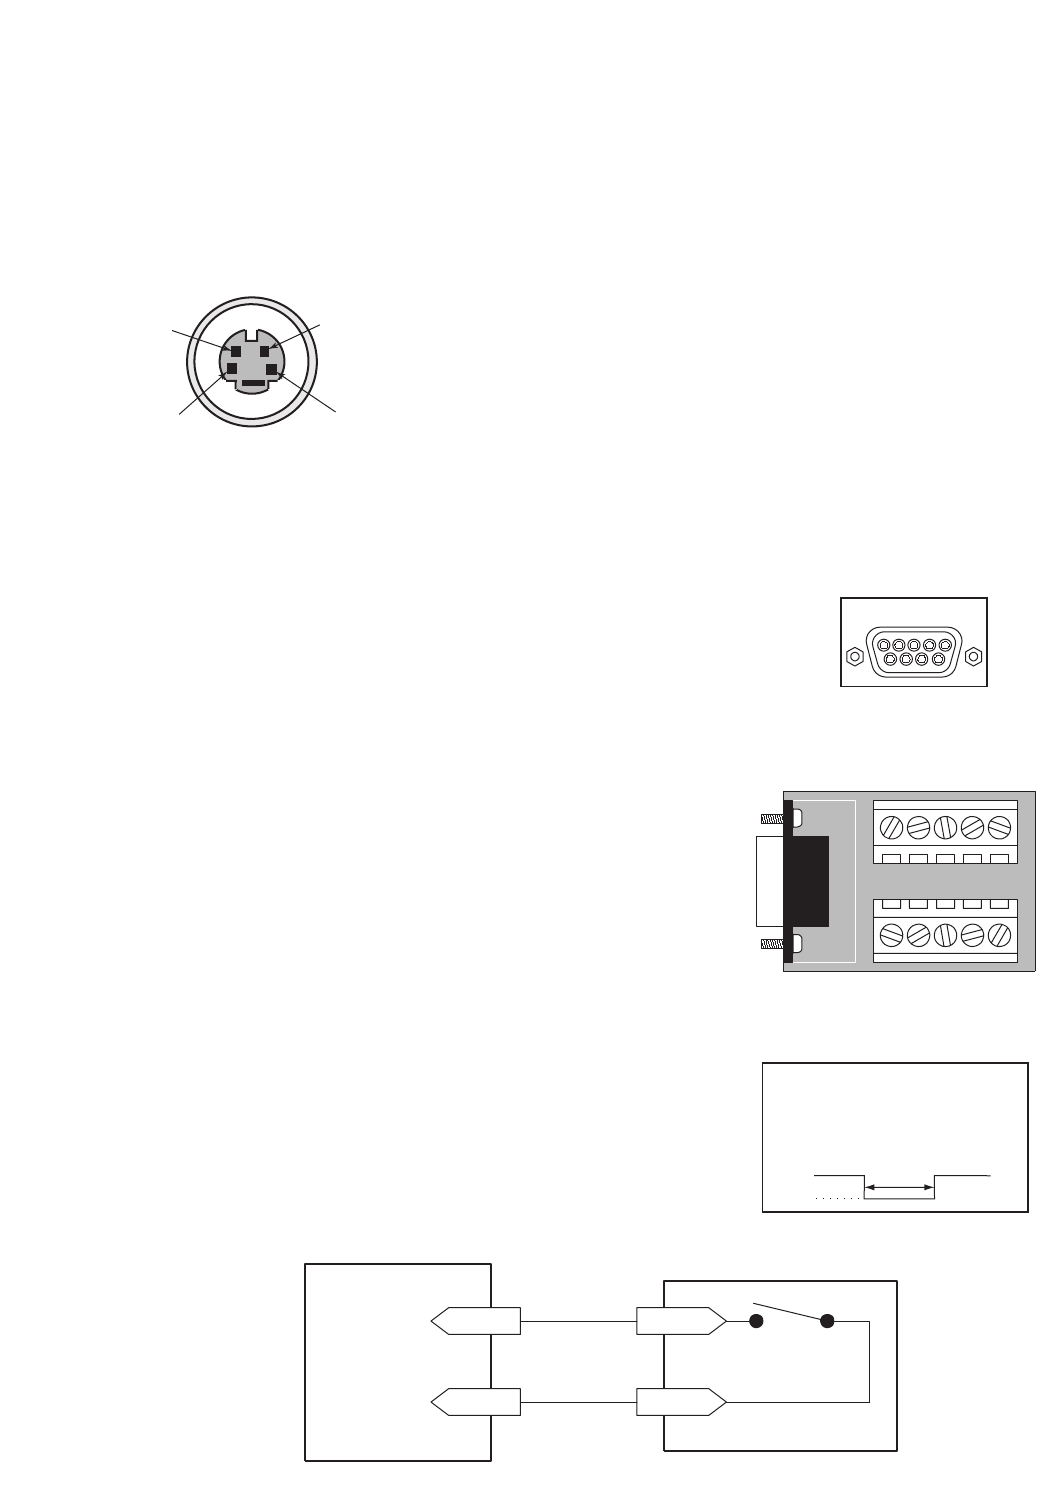
S-Video
• Cable must be purchased separately.
Ethernet Port
Ethernet port uses standard pinout configuration.
• For a DVR1 that connects directly to a Hub, use a straight-through connection.
• For a DVR1 that connects directly to a PC, use a crossover connection.
Accessories Port Connections
The rear panel of the DVR1 is equipped with an Accessories Port (DB-9 style
connector). Connect the Accessories PCB (supplied with the unit) to the
Accessories Port, then wire all accessories to the Accessories PCB.
If the Accessories PCB is lost or missing, contact Bosch Customer Service for a
replacement (Part Number 0900-0127a).
As an alternative to using the PCB connector, you may purchase a female
DB-9 connector and perform wiring and connections as detailed in the
following pin-out.
Pin 1: Alarm In Pin 6: Error Out
Pin 2: Alarm Out Pin 7: Ground
Pin 3: Record Start In Pin 8: Videoloss Out
Pin 4: Alarm Record Reset Pin 9: Disk End Out
(future feature)
Pin 5: VEXT Pulse Out Pin 10: Ground
NOTE: Refer to the multiplexer and other peripheral device manuals for
pertinent connection and synchronization information.
Functional descriptions of the connections provided by the DVR1 Accessories Port follow:
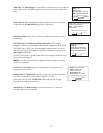
Alarm In: An alarm condition can be activated by an Active Low TTL
input, or by relay contact devices such as pressure pads, passive infrareds,
door switches, or similar devices
Normally Open Relay Alarm Connection
4
3
1
2
1. GND (Y)
2. GND (C)
3. Y-signal IN or OUT
4. C-signal IN or OUT
Pin Signal
DB-9 Connector on
Rear Panel
ACCESSORIES
15
69
1
2
3
4
5
6
7
8
9
GND
Accessories PCB
Pin 1
Pin 7 or 10
Alarm Input
Ground
Accessories PCB
Typical Alarm Device
Refer to each alarm device's
manual for specific wiring details.
Normally Open
(Closes During Alarm)
Input: Active Low TTL with pull-ups
or Normally Open Relay.
High: 5 V (12 V tolerant)
Low: Ground
Minimum Duration: 0.5 Seconds


