English
9
Installation
IMPORTANT!
– The type plate is located at the rear of
the system.
– Before connecting the AC power cord
to the wall outlet, ensure that all other
connections have been made.
–Never make or change any
connections with the power switched on.
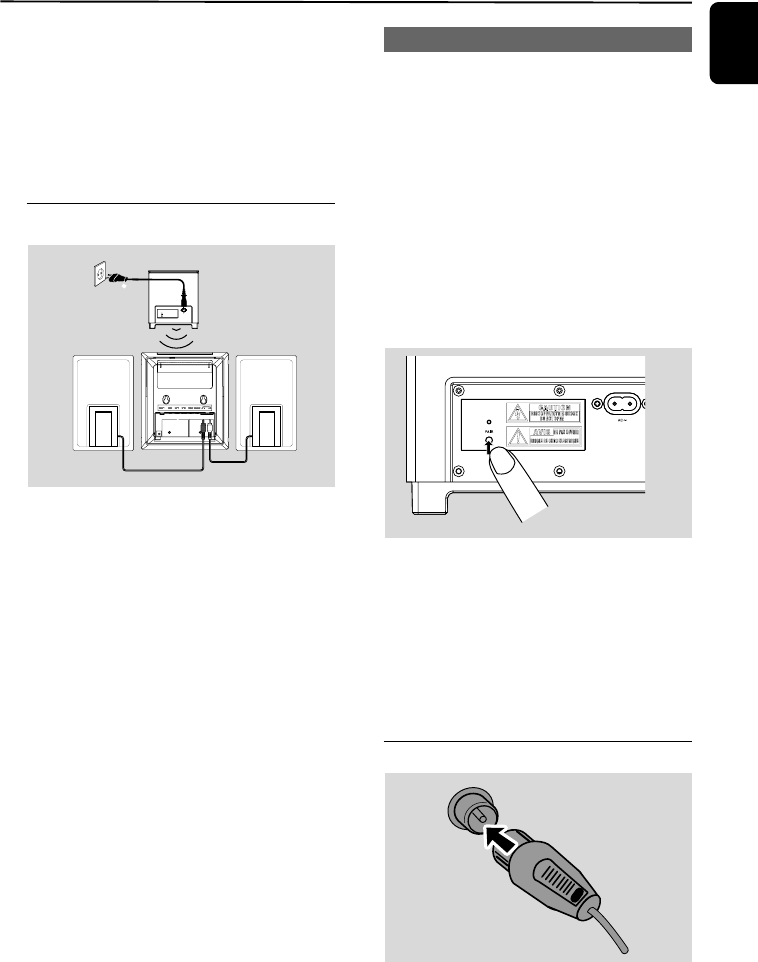
Step 1: Connecting speakers
1 Place the main set with the front side facing
down on a flat and firm surface. Then remove
the detachable cover on the back of the set to
expose the terminals available for connection.
2 Connect the two front speaker cables to the
SPEAKERS terminals: right speaker to "RIGHT"
and left speaker to "LEFT".
Notes:
– Ensure that the speaker cables are correctly
connected. Improper connections may damage the
system due to short-circuit.
–For optimal sound performance, use the
supplied speakers.
– Do not connect more than one speaker to any
one pair of +/- speaker terminals.
– Do not connect speakers with an impedance
lower than the speakers supplied. Please refer to
the SPECIFICATIONS section of this manual.
Connecting the wireless subwoofer
● Power on both the main set and subwoofer.
➜ Wireless connection will set up automatically.
In case the wireless connection fails due
to conflict or strong interference etc.,
you may need the following procedures
for manual pairing:
1 In standby mode, press and hold 2; on the set
for three seconds.
➜ “PAIRING” flashes on the display screen.
2 Press and hold the PAIR button on the rear of
the subwoofer for three seconds.
➜ The LED indicator on the subwoofer flashes.
● If the connection succeeds, the display shows
“PAIR OK”.
● If the connection fails or the connection cannot
be set up successfully within 60 seconds, the
display shows “PAIR FAIL”.
Note:
– The wireless connection will be disconnected
automatically after power-off.
Step 2: FM antenna connection
● Connect the supplied FM antenna to the FM
AERIAL terminal.
pg001-pg016_MCD289-79-Eng-A 2008.2.21, 14:299


