


A
Advanced
O
Operations
9
10
You can make the picture softer or sharper or
distinct the picture when playing back the tape.
SmartPicture is set to AUTO when you receive the
VCR.
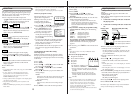
❍ Select SmartPicture Mode
1 Press VCR.
2 Press SMARTPICTURE
button. The current setting will
appear on the screen for about
5 seconds.
3 While the current setting
appears, press the SMART-PICTURE button
repeatedly, the setting changes as follows.
AUTO:
Normally select this mode.
DISTINCT:
Select this mode when you want the distinct
picture. The picture detail is emphasized.
SOFT:
Select this mode when you want the soft
picture. The signal noise of the picture is
softened.
SHARP:
Select this mode when you want the sharp
picture. The picture edge is emphasized.
Notes:
• It is recommended that the SmartPicture is set to
“SOFT” if playback picture is noisy.
• When “DSPC” is set to “OFF”, “AUTO” is switched
to “NATURAL” automatically.
1
With this function, you can prevent the VCR
operations from being misused.
To use Child Lock
When the VCR is turned on, press and hold
POWER on the remote control for more than 10
seconds to turn off the VCR.
The “CL” appears blinking on the display.
While “CL” is on the display, you cannot turn on
the VCR by pressing POWER on the VCR.
To cancel Child Lock
Press and hold POWER on the remote control for
more than 10 seconds to turn on the VCR.
The “CL” disappears on the display and VCR is
turned on.
You can also cancel the child lock function by
unplugging the AC power cord.
Child Lock
SmartPicture
AUTO
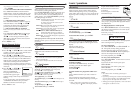
The DSPC (Digital Studio Picture Control) system
checks the condition of the tape in use during
recording and playback, and compensates to
provide the highest possible recording and playback
pictures. Set the DSPC to “ON” or “OFF” on the
VCR Set Up menu.
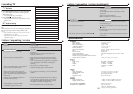
❍ Select VCR Set Up Mode
1 Press VCR.
2 Press MENU.
3 Press PLAY or STOP
to select “VCR SET UP” then
press OK/STATUS.
DSPC
This function enables you to search forward to the
next unrecorded portion of the tape (or to the point at
which recording was stopped).
1 Press the SKIP SEARCH/REC END button
when the tape is not running. The VCR begins fast
forwarding or rewinding to find the blank portion
or the recording end portion on the tape.
SEARCHING FOR REC END will appear on
the screen during the search.
2 The VCR automatically stop when the blank
portion or the end of the recorded is reached.
REC END SEARCH COMPLETED will appear
on the screen briefly.
The tape remaining tape time also appears on the
display panel.
Rec(ord) End Search
Notes:
• The DSPC system works for SP, LP and SLP modes only
after a tape has been inserted and the Record mode is
first initiated. Also, it works if the colour mode is
changed. It does not work during recording.
• In the case of timer recording, the DSPC system works
before recording is initiated.
• Once the cassette is ejected after recording, the DSPC
data is cancelled. The next time the cassette is used for
recording, DSPC is re-performed.
• When “DSPC’ is displayed, the VCR does not start One
Touch Recording.
•
Since the DSPC system works before recording actually
starts, there is a delay of approximately 7 seconds after
REC/OTR ● is pressed. To make sure you record the
desired scene or programme in its entirety, first perform
the following steps:
1) Press and hold
STILL/SLOW (or PAUSE/STILL
on the front panel) and press
REC/OTR
●
to
engage the RECORD PAUSE mode.
• The VCR then automatically checks the condition of the
tape and, after approximately 7 seconds, re-enters
RECORD PAUSE.
2) Press
REC/OTR
●
again to start recording.
• If you want to bypass the DSPC system and begin
recording immediately set “DSPC” to “OFF”.
• The VCR adjusts the playback picture quality based on
the quality of the tape in use.
• When watching a tape recorded with “DSPC” set to
“ON”, it is recommended that you leave DSPC to
“ON” during playback as well.
• “DSPC” only appears at the beginning of automatic
tracking. Even though it doesn’t appear after that, the
DSPC function is operative.
You can locate an index marked at the beginning of
each recording on a tape recorded on this VCR (or
an indexed tape).
Press or repeatedly until the appropriate
number is displayed on the TV screen before
starting play.
Rapid forward or reverse search begins.
When it finds the designated index, playback starts
automatically.
• Locate an index number by pressing the button
repeatedly, indicating how many index marks ahead of
or behind that recording you want is from the tape’s
current position.
• Up to ±9th index mark from the current position on the
tape can be located.
Index Search
1
2
3
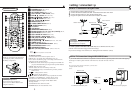
Eject cassette
You can eject the tape simply by pressing
EJECT (or STOP/EJECT ■/ on the front
panel) even while the VCR is turned off.
When you press EJECT , the VCR automatically
turns on, ejects the tape, then turns off.
Auto playback
When a tape is inserted, the VCR turns on. If the
record tab is removed, playback begins.
Auto rewind
When a tape reaches its end during playback or fast
forwarding, the VCR rewinds the tape and stops.
Memory rewind power off
When you press POWER during rewinding, the
VCR turns off after rewinding is completed.
Repeat Playback
When you press and hold PLAY for more than 5
seconds, you can play back the same tape repeat-
edly (100 times).
When the tape runs to its end, the VCR automati-
cally rewinds the tape, and starts playback.
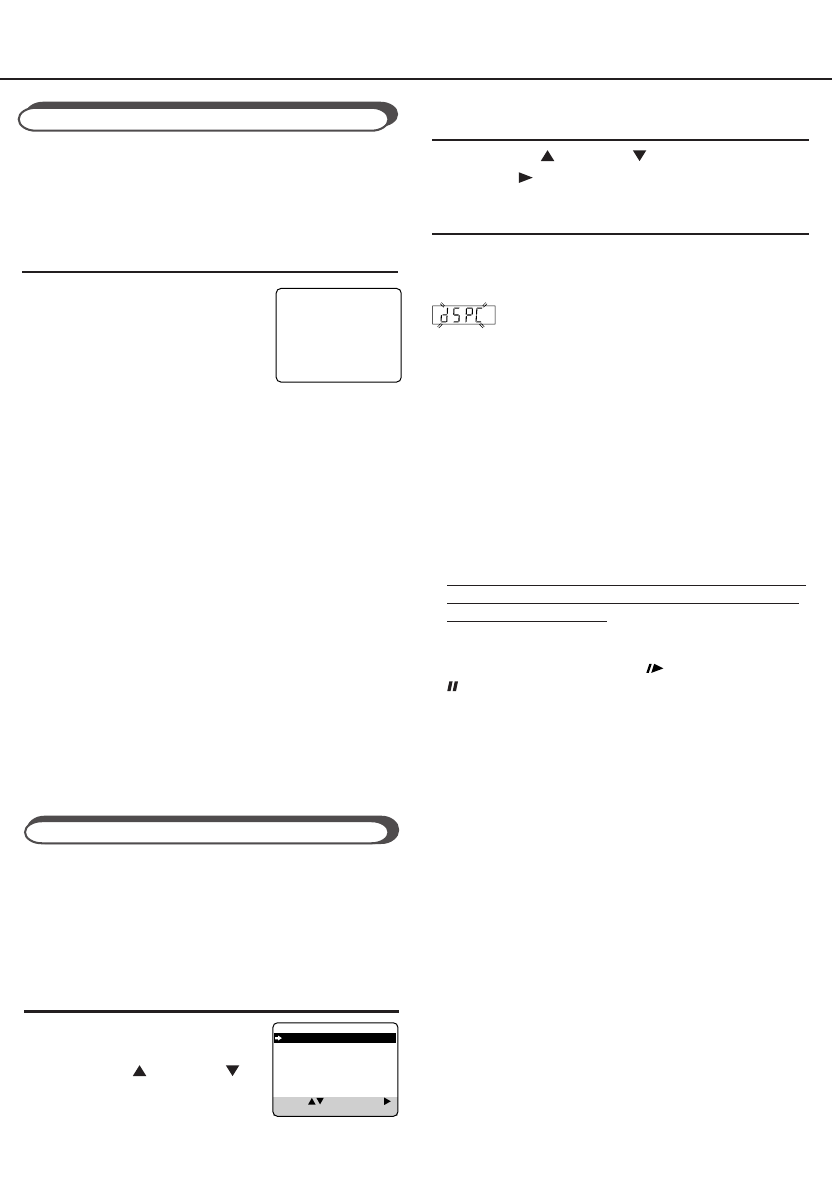
❍ Select DSPC
1 Press PLAY or STOP to select “DSPC”.
2 Press FF to set “ON” or “OFF”.
❍ Finish Setting
Press MENU.
Once the “DSPC” mode is set to “ON”, the DSPC
system works for both recording & playback;
appears blinking on the display.
Automatic Operations
Tracking Adjustments
Auto tracking
Each time a tape is inserted, auto tracking starts
working and continuously analyses the signal to adjust
for optimum picture quality during playback. So, there
is no need for you to minimize noises in most tapes
during playback.
Manual tracking
• During normal playback:
If auto tracking cannot eliminate noises well
during playback, press CH or .
• During a slow motion picture:
Press CH or to minimize noises in the slow
motion picture.
• During a still picture:
Press CH or to reduce jitter in the still
picture.
To cancel manual tracking, stop the tape, eject the
tape, then re-insert it.
Note:
If you keep pressing
CH
or button, you might
get “USE CLEANING CASSETTE” message on the
screen. Please disregard this message and re-adjust
the tracking. However, if the message appears
automatically (without pressing
CH
or ), this
indicates that your video heads are dirty.
DSPC ON
ON SCREEN MODE ON
TIMER REC SPEED MANUAL
AUDIO OUT HIFI
AUDIO SAT
RECORD LINK OFF
TAPE LIST ON
SELECT:
CHANGE:
END: MENU