URC1 • 9
8. Install U4, the dual digitally controlled potentiometer (marked DS1267).
Pay close attention again to the orientation of this part. This part as you
will notice controls the position of the wiper on a 10K pot, and has very
good linearity.
9. Install U3, one of the 74HC595 serial shift registers. Each of these ICs
control eight on/off outputs, and can be cascaded for up to 64 outputs on
this kit. Check orientation.
10. Install U1, the other 74HC595 serial shift register. Again check the
orientation of this device.
11. Install C2, a .01uF ceramic capacitor (marked .01, 10nF or 103).
Notice that this type of capacitor has no polarity markings, and is not
critical in installation.
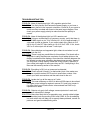
12. Install C13, a 10uF electrolytic capacitor. Pay close attention to it's
polarity unlike the ceramic capacitor.
13. Install C15, the larger 100uF to 220uF electrolytic capacitor. Check
it's polarity before soldering. Electrolytic capacitors, if installed incorrectly
have been known to operate poorly, get warm, and possibly even
explode, so take caution when using these capacitors!
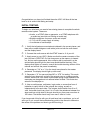
14. Install D9, one of the 1N4002 diodes. These diodes are used to
"steer" the supply voltage to the microcontroller. During normal operation,
these diodes "steer" the voltage away from trying to recharge B1, and
during power down, they "steer" the battery towards the microcontroller,
and away from the other parts to save on power. Notice the white band on
the diode, this is the cathode end. Make sure it's in the same orientation
as the parts layout diagram shows.
15. Install D10, the other 1N4002 diode. Pay close orientation to the
orientation of the cathode (banded) end of the diode. These two diodes
that you just installed cause the microcontroller to go into power down
mode, thus preserving the memory so passwords and output options are
not lost.
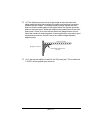
16. Install Q1, a PNP type transistor marked 221-334-211. Note where
the lettering is, this is not the flat side, the side without the lettering is!
(You can tell since the larger flat side does not have the lettering.)
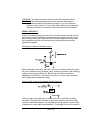
17. Install B1, the 3.9V lithium battery. Note the case of this battery is
positive, not ground and it fits in easily only one way.
18. Install R2, a 10K ohm resistor (brown-black-orange).
19. Install C8, a .1uF ceramic capacitor (marked .1 or 104). This causes
the microcontroller to reset properly on power up.


