


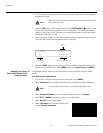

Installation
58 Q-1500d Series Installation/Operation Manual
PRE
L
IMINAR
Y
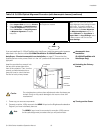
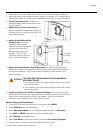
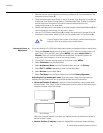
1. Remove the two Yaw/X Adjustment Levers and Washers (7) from the bottom of the
Anamorphic Lens Holder (2).
2. Place the Anamorphic Lens Holder on top of (or under, if the projector is inverted) the
AutoScope Lens Motor Carriage Plate or CineWide Base Plate. Position the bracket
so that the slots at the bottom of the lens holder are perpendicular to the
corresponding slots on the base plate.
3. Secure the Anamorphic Lens Holder to the plate using the Hex Bolts/Washers (6) and
Yaw/X Adjustment Levers that you removed in Step 1.
4. Use the 1/4-20 Button-head Screws (4) to attach the Anamorphic Lenses (1) to the
Anamorphic Lens Holder. Attach (but do not fully tighten) the 4-40 Set Screws (3).
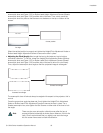
Anamorphic Lens
Adjustment
If you are installing a Q-1500d with anamorphic lenses, proceed as follows to adjust them.
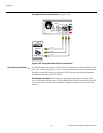
1. Select the Cinema aspect ratio using either the DHD Controller remote control unit
(see Figure 2-8) or the OSD menu (press MENU, then select Aspect Ratio ->
Cinema). (With a Q-1500d/CineWide with AutoScope, this should position the
anamorphic lens transport in front of the primary lenses.)
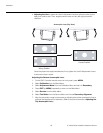
2. On the DHD Controller remote control or front panel, press MENU.
3. Select Calibration from the Main Menu.
4. Select Adjustment Mode from the Calibration Menu and set it to Primary.
5. Press EXIT (or MENU) repeatedly to return to the Main Menu.
6. Select Service from the Main Menu.
7. Select Test Video from the Service Menu and choose Primary Alignment.
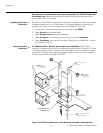
Adjusting the Top Anamorphic Lens: Align the primary image with the screen by
adjusting the top anamorphic lens to produce the least amount of distortion.
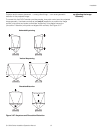
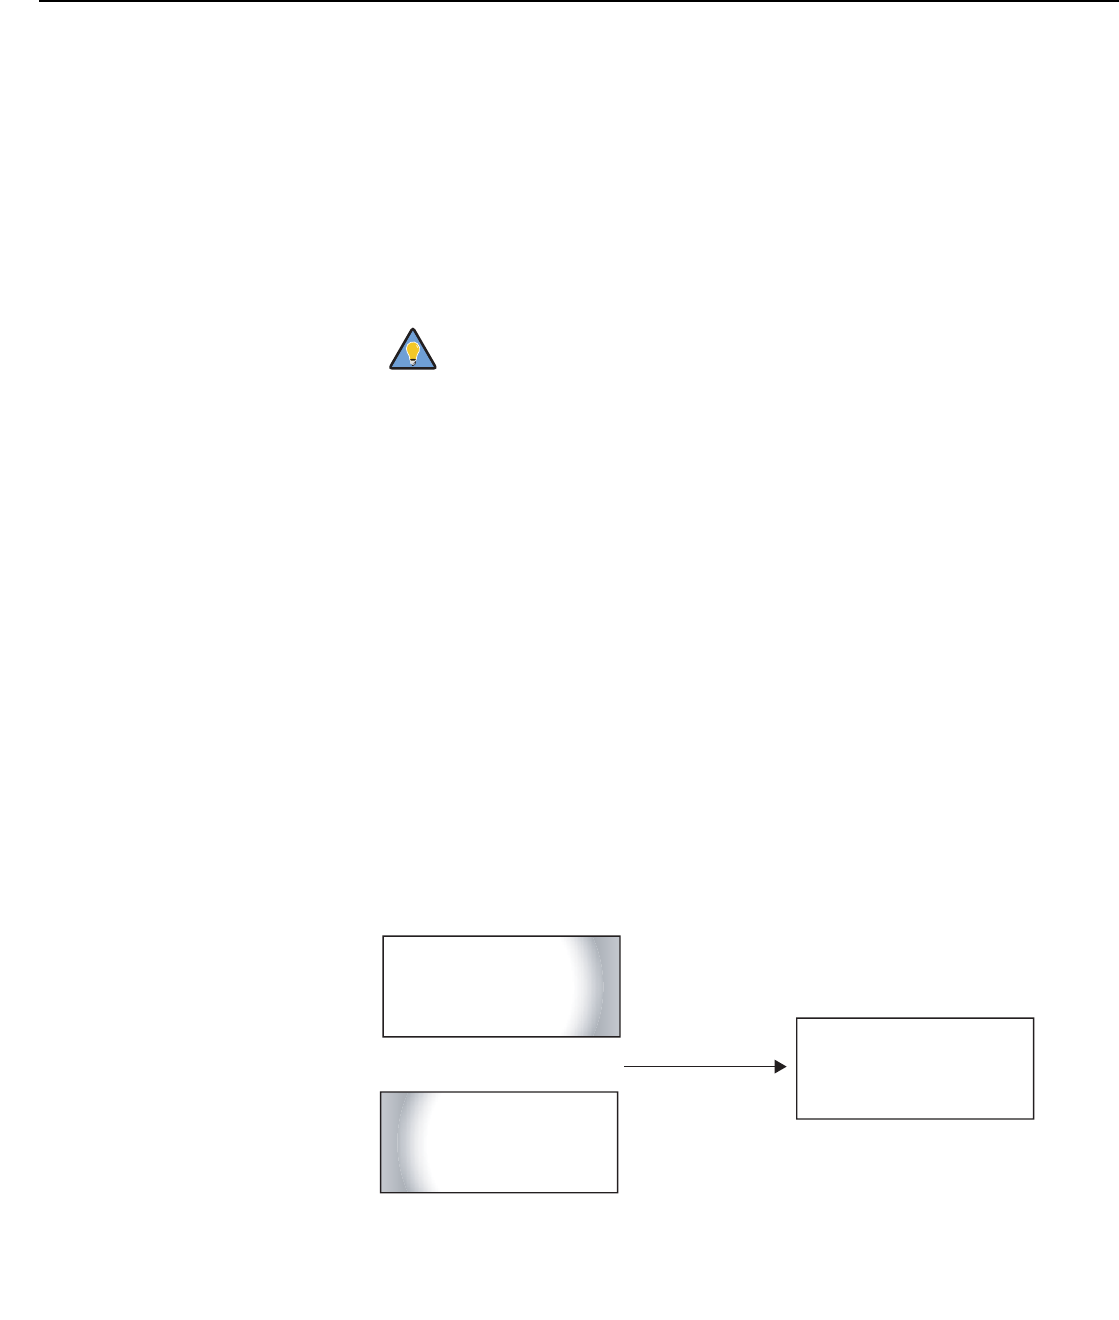
• Horizontal Position (X-adjust): Loosen the Yaw/X-Adjustment Levers underneath
the lens holder. Then, slowly move the anamorphic lens into place so that there are no
shadows on either side of the screen:
When the horizontal position is properly set, tighten the Yaw/X-Adjustment Levers to
secure the lens in place.
• Vertical Pos ition (Y-adjust): Loosen the Height/Pitch Adjustment Knobs (Whitney
To avoid clipping the corners of the image, position the anamorphic
lenses as close as possible to the primary lenses.
Tip
➤
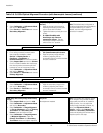
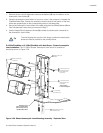
Too Far Right
Too Far Left
Correct position