


Operation
64 Runco VX-8d Installation/Operation Manual
PRE
L
IMINAR
Y
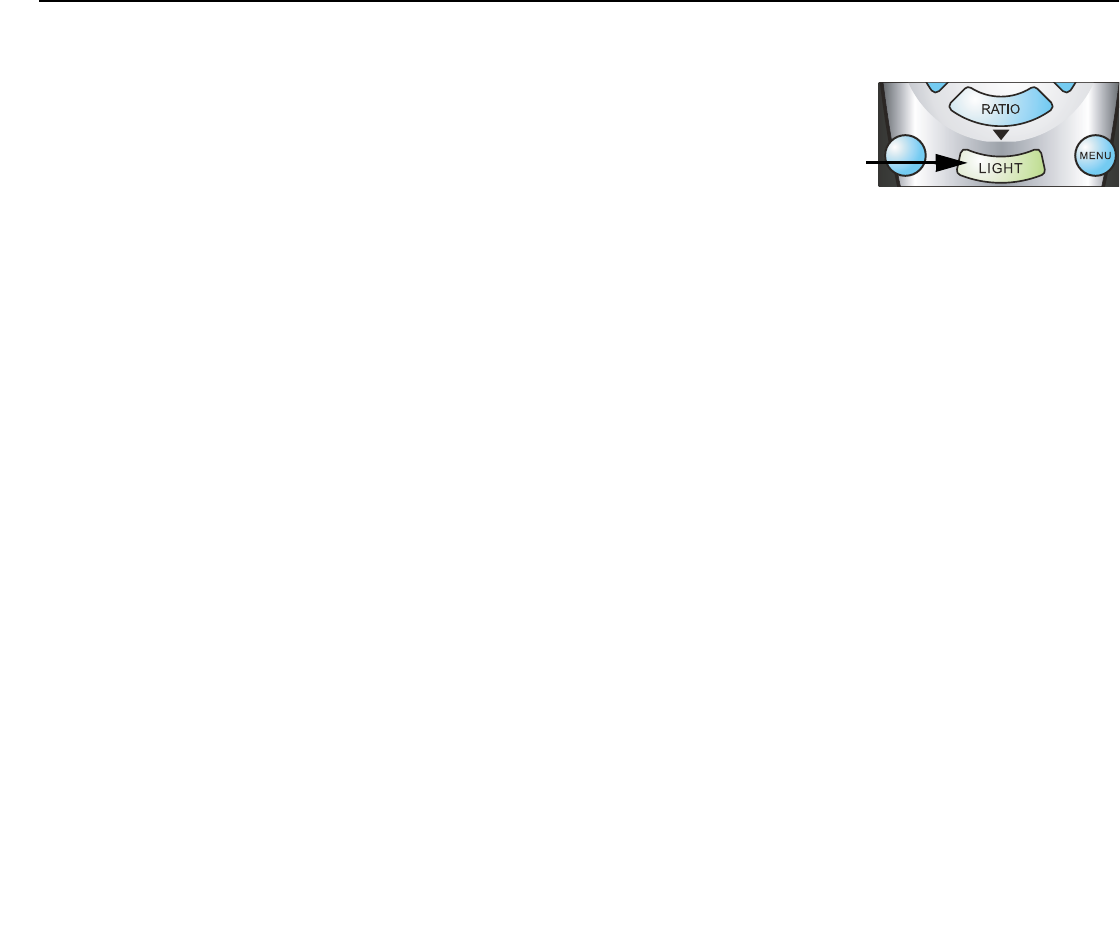
When you change a remote code on the DHD Controller, you must re-program the
DHD Controller remote control to send that same code. To do this:
1. Press and hold the LIGHT button on the
remote control for approximately three
seconds, or until the LED on the remote lights
solid red.
2. Enter a new two-digit code between 00 and 31
inclusive. Include a leading zero for single-digit
codes; for example, enter 9 as “09.”
3. The LED turns off to confirm the code change. If you enter an invalid code, the LED
flashes for three or four seconds. Try again, entering a valid code.
• COMP Key Source: Select COMP Key Source from the Remote Control menu to
assign the COMP remote control button to either the Component or SCART input.
Display Device - Configure: The options in the Display Device - Configure menu allow
you to change the picture orientation, perform lens adjustments or access other,
display-device specific functions.
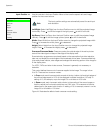
•Installation – Orientation: Select Installation from the Display Device - Configure
menu, then select Orientation to change the picture orientation to suit the method of
installation (Floor Front, Floor Rear, Ceiling Front or Ceiling Rear).
• Lens: Select Lens from the Display Device - Configure menu to access the motorized
lens controls. Refer to Primary Lens Adjustments on page 40.
• Lamp Info.: Select Lamp Info. from the Display Device - Configure menu to obtain
information about the currently-installed lamp: its serial number and number of hours in
use.
• Lamp Hours Reset: When you replace the projector lamp (refer to Lamp
Replacement on page 69), you should also reset the lamp hour counter to zero so
that the lamp usage information in the Lamp Info. window is accurate. To do this, select
Lamp Hours Reset from the Display Device - Configure menu. A confirmation dialog
box appears. Select “Yes” to continue with the reset or “No” to cancel the operation.
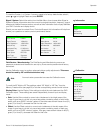
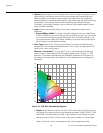
• Diagnostics: Select Diagnostics from the Display Device - Configure menu, then
select Red, Green, Blue, Yellow, Cyan or Magenta to display only that color channel
(simulating a filter of that color). This can be useful for calibration or measurement
purposes.
To restore the normal picture (all colors), select White.
• Altitude: Select Altitude from the Display Device - Configure menu to control the
operation of the projector’s cooling fan.
In most cases, the default setting (Auto) will maintain the correct operating
temperature. If the lamp frequently turns off due to overheating, or in certain
high-altitude operating environments, you may need to change this setting to High.
EXIT
RETURN