


22
6. To go to the Music List, press the STOP ( )
or RETURN button.
7. To go to the Playlist, press the ENTER
button.
✎
NOTE
▪ You can create a playlist with up to 99 tracks on
Audio CDs (CD-DA).
Playing back Pictures
G
Playing JPEG files
1. Insert a JPEG disc into the disc tray.
2. Press the ◄► buttons to select Photos,
and then press the ENTER button.
3. Press the ▲▼◄► buttons to select the
folder you want to play, and then press the
ENTER button.
4. Press the ▲▼◄► buttons to select the
photo you want to play, and then press the
ENTER button.
✎
NOTE
▪
You can’t enlarge the subtitle and PG graphic in
the full screen mod
e.
Using the TOOLS button
You can use various functions by
pressing the TOOLS button.
• Start Slide Show : Select to start
the slide show.
• Stop Slide Show : Select if you want to
stop the slide show.
• Slide Show Speed : Select if you want to
adjust the Slide Show speed.
• Background Music : Select to listen to
music while viewing a slide show.
• Zoom : Select to enlarge the current
picture. (Enlarged up to 4 times)
• Rotate : Select to rotate the picture. (This
will rotate the picture either clockwise or
counter clockwise.)
• Information : Shows the picture information
including the name and size, etc.
✎
NOTE
▪
To enable the background music function, the
photo file must be in the same storage media as
the music file. However, the sound quality can
be affected by the bit rate of the MP3 file, the
size of the photo, and the encoding method.
▪
Start Slide Show and Stop Slide Show alternate,
depending on whether you are running a slide
show or not.
Playing Selected Photos
You can select spesific photos to play pressing
the YELLOW (C) button on your remote. To
select specific photos, follow these steps:
1. Select the folder that contains the photos
you want to view, and then press the
ENTER button.
2. Press the
▲▼◄►buttons to select a
photo you want to play, and then press
the
YELLOW (C)
button
. A check mark
appears on the photo.
3. Repeat Step 2 for each photo you want to
play.
✎
NOTE
▪ To deselect a photo, press the ▲▼◄►buttons
to highlight the photo, and then press the
YELLOW (C) button.
4. Press the
ENTER button when done. The
slide show starts.
Playing back a USB Storage Device
You can use the USB connection to play
multimedia files (MP3, JPEG, DivX, etc) located
on a USB storage device.
1. Move to the Home menu.
2. In Stop mode, connect the USB storage
device to the USB port on the front panel
of the player.
The message “Do you want to access the
device?” will be displayed.
3. Press the ◄► button to select Yes, then
press the ENTER button.
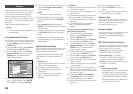
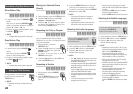
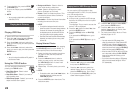
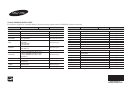
4. Press the RED (A) button or BLUE (D)
button.
If you pressed the RED (A) button, go to
Step 5.
If you pressed the BLUE (D) button, go to
Step
4
-1
.
YouTube
No Disc
123
DLNA
123
a
Change Device
c
Safely Remove USB
d
View Devices
"
Enter
5. Press the ▲▼ buttons to select USB,
then press the ENTER button.
6. Press the ◄► buttons to select the
desired Videos, Music or Photos, then
press the ENTER button. Go to Step 7
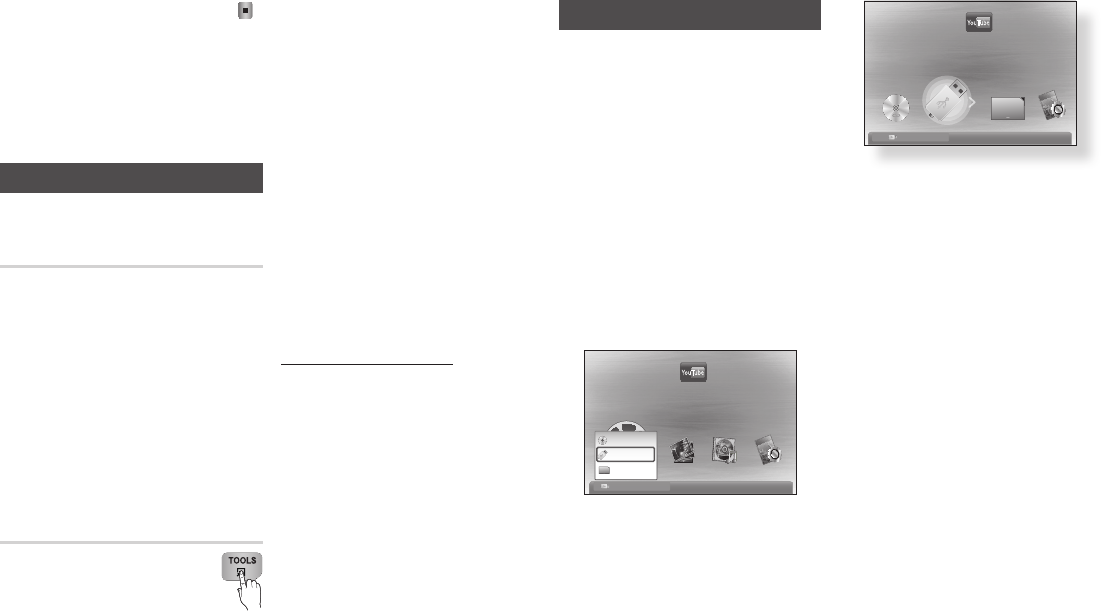
4
-1
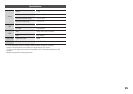
. If you pressed the BLUE (D) button, the
screen below appears. Go to 5
-1
.
YouTube
123
d
Home
"
Enter
5
-1
. Press the ◄► buttons to select USB,
then press the ENTER button.
6
-1
. Press the ▲▼ buttons to select the
desired Videos, Music or Photos, then
press the ENTER button.
7. For playing back Video, Music or Photo
files see pages 19~22.
✎
NOTE
▪
You must remove the USB storage device
safely (by performing the “Safely Remove USB”
function) in order to prevent possible damage
to the USB memory. Press the MENU button to
move to the Home menu, select the YELLOW (C)
button, and then press the ENTER button.
▪
When the Audio-CD (CD-DA), MP3 or JPEG files
are in stop mode, pressing the FULL SCREEN
button on the remote will not bring up a full
screen picture.
▪
If you insert a disc when playing a USB storage
device, the device mode changes to “DVD or
CD” automatically.