GB-29
DCB-H360R
GB
GB-28
DIGITAL CABLE RECEIVER
DCB-H360R
GB
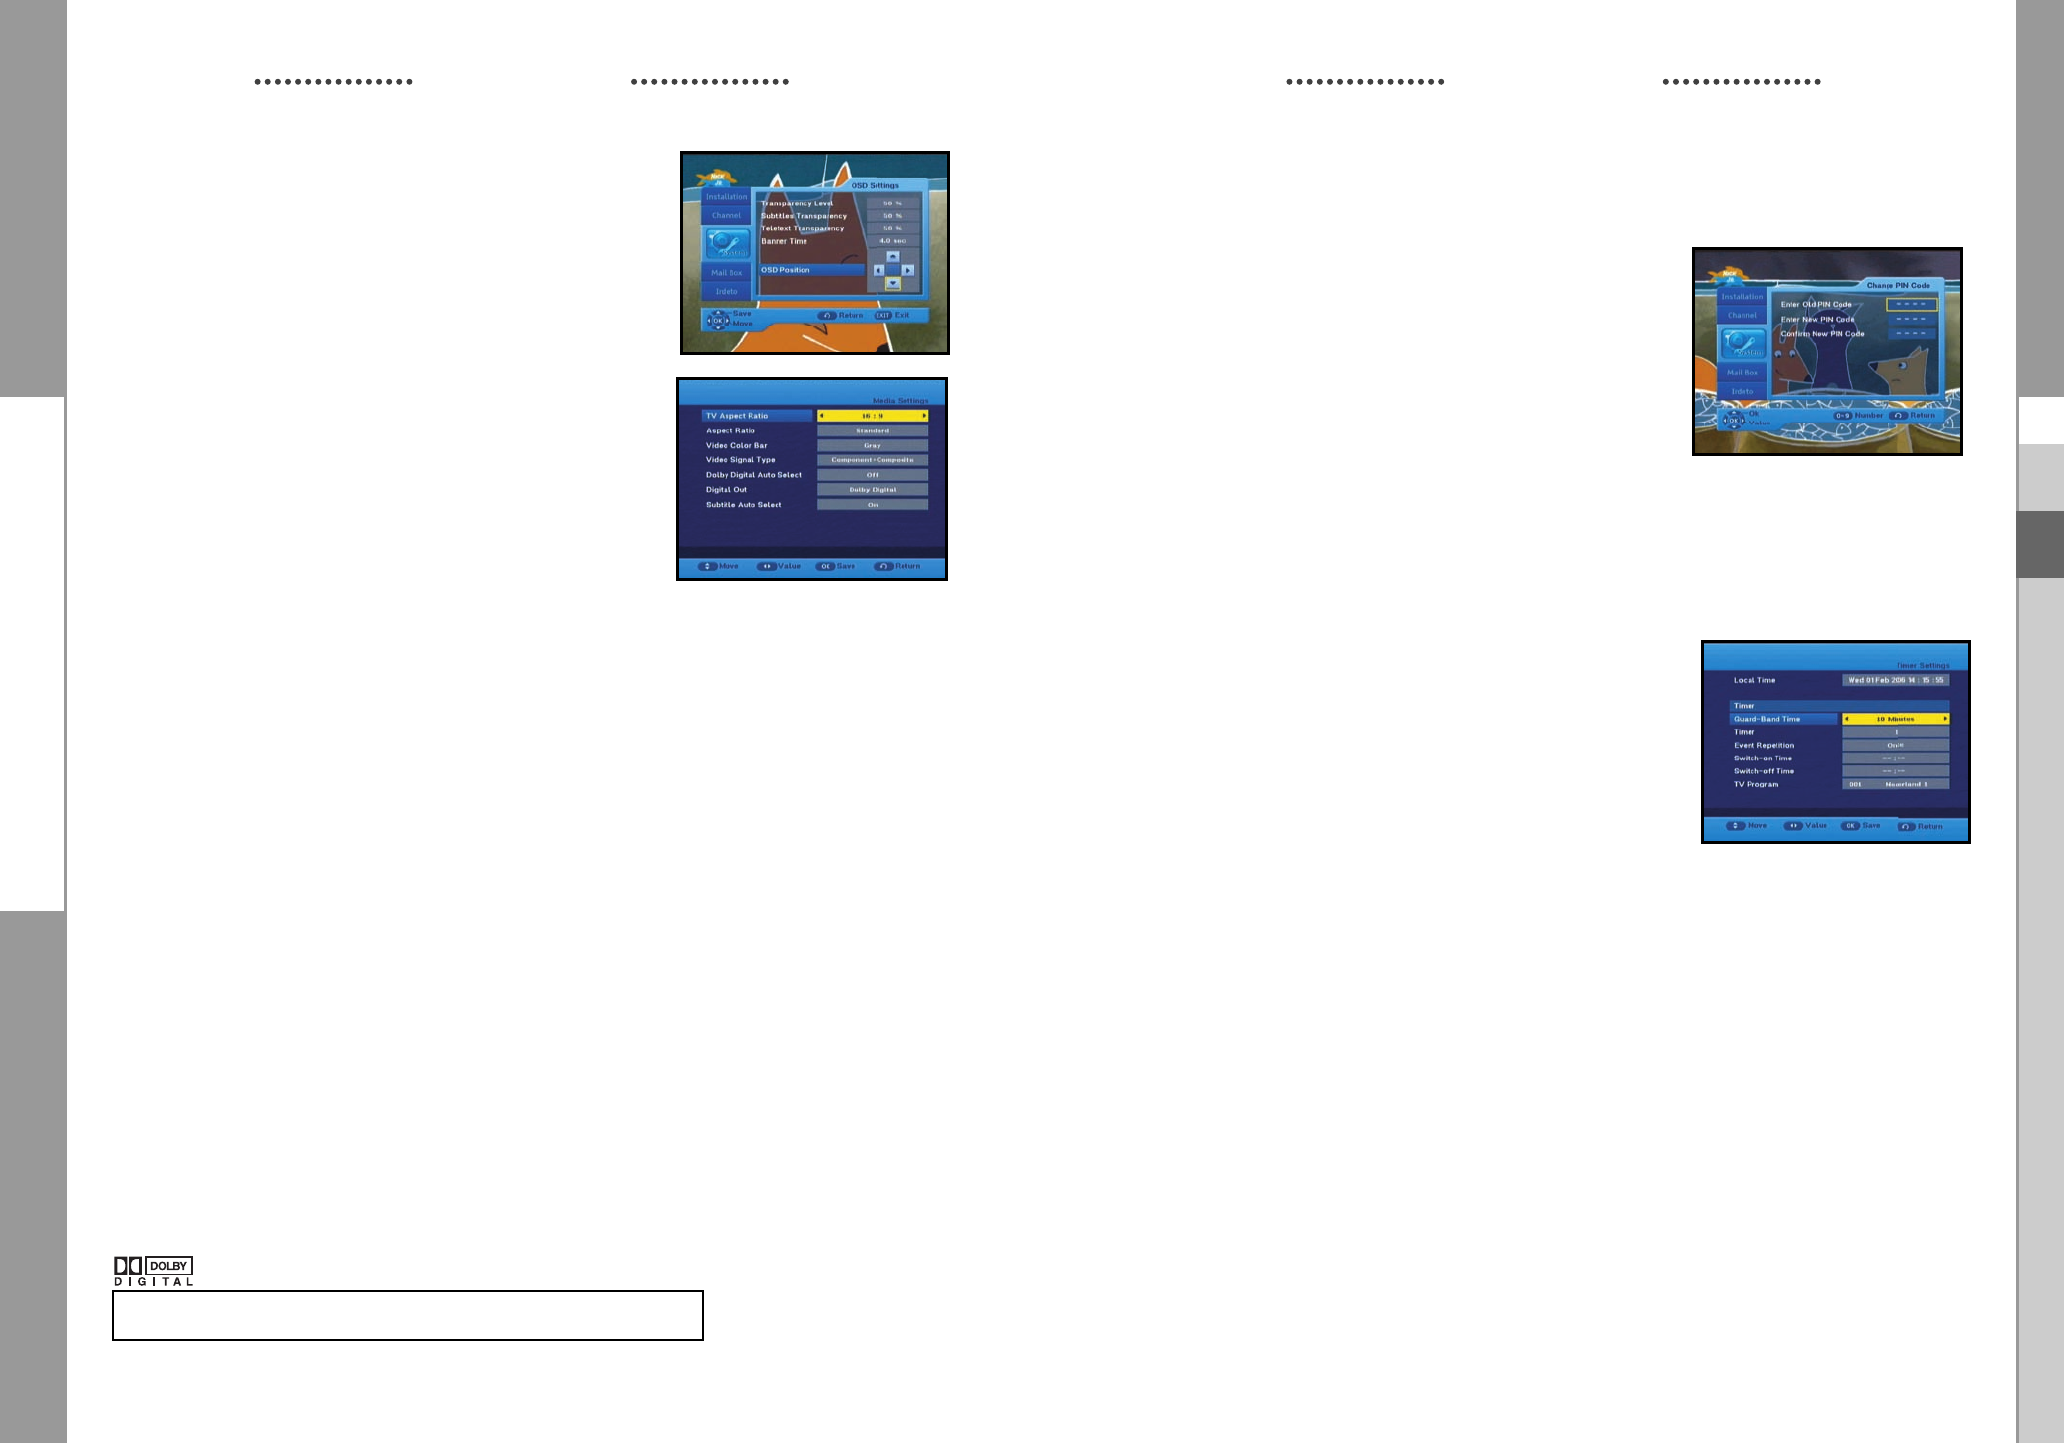
3.4 Change PIN Code
To change the PIN Code, select the fourth option “Change PIN
Code”.
This will take you to the following menu:
In this option, you need to enter the current PIN Code at the
first cursor, and at the second cursor enter the desired PIN
Code.
To confirm, you need to enter the new PIN Code again.
Please remember the PIN Code should be a 4 digit numerical
value.
THE FACTORY PRESET PIN Code : 0 0 0 0.
● Press the EXIT key to exit the menu .
3.5 Timer Settings
1) Guard Band Time
Guard-Band time is a function to ensure, that whole event will
fit in set time boundaries.
1 minute of Guard-Band Time means that STB will start this
timer operation 1 minute before set time and end 1 minute
after set time.
2) Timer
15 timers are supported including timer(s) from EPG.
● Select the timer number on ‘Timer’ using the
➛✓❿
keys from 1 to 15.
● Press the
➛✓❿
keys to choose event repetition you want to reserve :
Daily, Every Sunday, Every Monday, Every Tuesday, Every Wednesday, Every Thursday,
Every Friday, Every Saturday and Once.
If the timer is set from EPG screen, EPG is displayed on ‘Event Repetition’.
● Press the Numerical (0~9) keys to set the time you want and press the
➐✓❷
keys to
choose a switch time you want to reserve. If set time on ‘Switch-on Time’ is same as one
on ’Switch-off Time’, this timer works for 24 hours.
● Select TV program to set the event program by pressing the
➛✓❿☎
keys.
When you press the TV/RADIO key, TV program and Radio program are toggled.
● Even you can set timers on Daily and Every Monday or Every Sunday, etc.
The priority has the repetition event which is less. For example, when you set timers onOnce
and daily, ‘Once’ will work in stead of ‘Daily’ at that day. If the timer is running, ‘Running’
message with a timer number is displayed on ‘Timer’.
● Press the EXIT key to exit the menu.
OPERATING THE RECEIVER
OSD Position
● Place the cursor on the position you want, and press the
➛✓❿
or
➐✓❷
keys until the screen moves to the position
you want.
The screen will move to the position you want.
● Press the EXIT key to exit the menu .
3.3 Media Settings
You can set the various media settings you want.
Place the cursor on this sub menu and press OK.
● Press the
➐✓❷
keys to move the sub items and press
the
➛✓❿☎
keys to select the option.
● Press the OK key to confirm.
Screen Format
● Select the Screen Format according to your TV : STANDARD 4:3 or WIDE SCREEN 16:9
ratio type.4:3 Video aspect ratio: PAN&SCAN, Full Screen 14:9 LB (Letter Box), 16:9 LB
● When selecting 16:9 for the screen format, you can select an aspect ratio of 4:3 for a movie.
(However, the 16:9 video menu is not available in this aspect ratio).
16:9 Video aspect ratio: Standard, Wide
● When selecting 4:3 for the screen format, you can select an aspect ratio of 16:9 for a movie.
(However, the 4:3 video menu is not available in this aspect ratio).
● Select Video Color Bar: Black or Grey.
- Warning!
Do not display the video color bar in black for extended periods of time as you may
experience temporary or permanent image burn. See also the precaution instructions
regarding your display device.
● Select the Video Signal Type :
Composite + Component, Composite + RGB
● Select the Dolby Digital Auto Select : On or Off.
On : Outputs the Dolby Digital signal first.
Off : Outputs other audio formats first.
● Select the Digital Out : Dolby Digital or PCM.
Dolby Digital : When Dolby Digital Auto Selected is on, outputs the Dolby Digital signal first.
PCM : When Dolby Digital Auto Selected is on, outputs the PCM signal first.
● Select the Subtitle Auto Select : On, Hearing Impaired or off
● Press the EXIT key to exit the menu .
OPERATING THE RECEIVER
Manufactured under license from Dolby Laboratories.
“Dolby” and the double-D symbol are trademarks of Dolby Laboratories.
DCB_H360R draft 0604 eng 06/4/06 07:39 Page 28
