


18
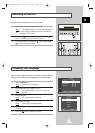
Color Adjust
Move Adjust Store
ENG
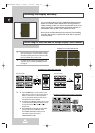
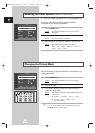
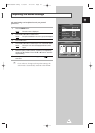
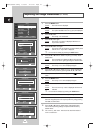
1 Press the MENU button.
Result
: The options available in the Picture group are
displayed.
2 Press the √ button.
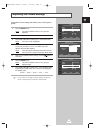
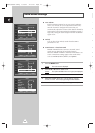
3 Press the ▲ or ▼ button to select Adjust. Press the √ button.
Result
: The Adjust menu is displayed.
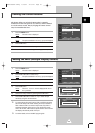
4 Press the ▲ or ▼ button to select the option (Contrast,
Brightness, Sharpness) to be adjusted. Press the œ or √ button.
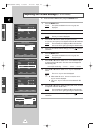
Result
: The horizontal bar is displayed. Move the horizontal
bar’s cursor left or right by pressing the
œ or √ button.
5 When you are satisfied with the settings, press the button to
store them.
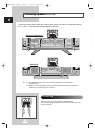
6 Press the MENU button.
Result
: The options available in the Picture group are
displayed again.
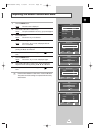
7 Press the ▲ or ▼ button to select Color Tone. Select the option
by pressing the
œ or √ button. The color tones are displayed in
the following order.
Custom (PC mode only)
-
Color1
-
Color2
-
Color3
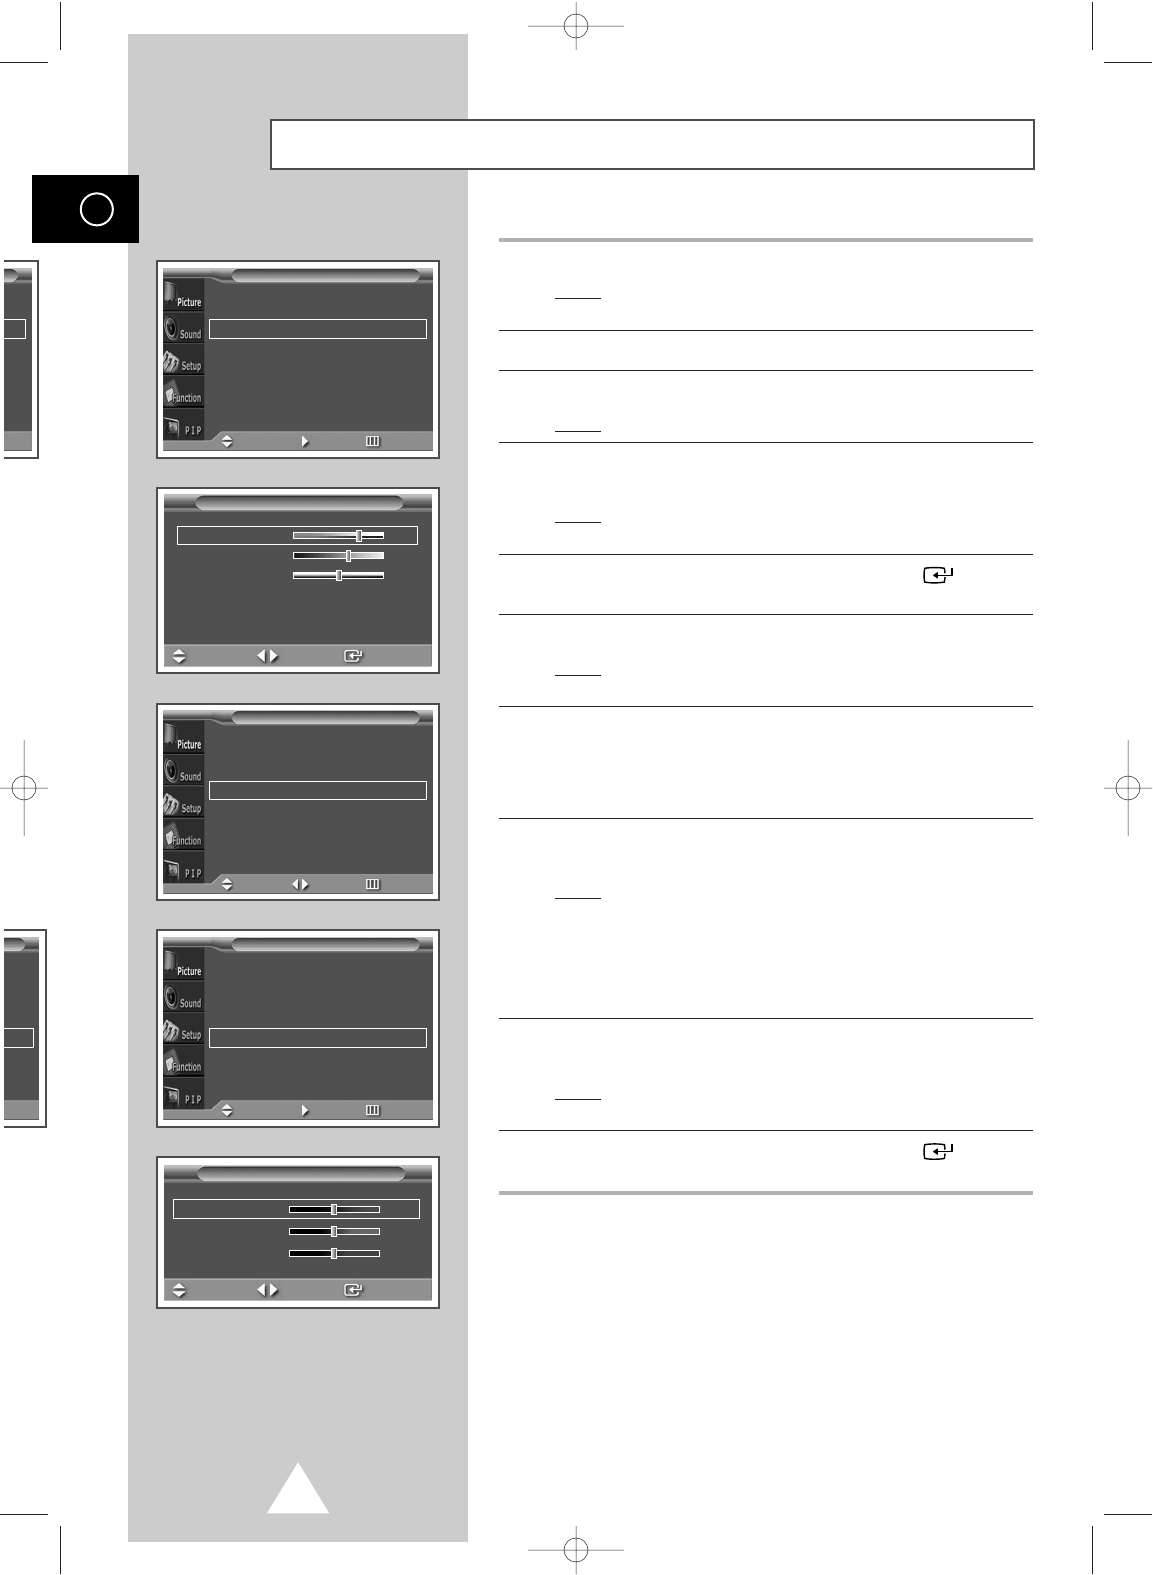
8 Press the ▲ or ▼ button to select color Adjust. Press the √
button.
Result
: The Color Adjust menu is displayed.
➣
◆ When select the Color Tone to Custom, the Color
Adjust
menu is displayed.
◆ The Color Adjust menu can not be selected in DVI
mode.
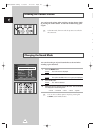
9 Press the ▲ or ▼ button to select the option (Red, Green, Blue) to
be adjusted. Press the
œ or √ button.
Result
: The horizontal bar is displayed. Move the horizontal
bar’s cursor left or right by pressing the œ or √ button.
10 When you are satisfied with the settings, press the button to
store them.
Adjusting the Picture Settings (PC or DVI Mode)
➢
Preset to the PC or DVI mode by using the SOURCE button.
Red 50
Green 50
Blue 50
Mode
œœ
Custom
√√
Adjust
√√
Color Tone
œœ
Custom
√√
Color Adjust
√√
Size Wide
Picture
Move Sel. Return
Mode
œœ
Custom
√√
Adjust
√√
Color Tone
œœ
Custom
√√
Color Adjust
√√
Size Wide
Picture
Move Enter Return
√√
√√
urn
Mode
œœ
Custom
√√
Adjust
√√
Color Tone
œœ
Custom
√√
Color Adjust
√√
Size Wide
Picture
Move Enter Return
√√
√√
eturn
Adjust (Custom)
Contrast 75
Brightness 60
Sharpness 50
Move Adjust Store
BN68-00654A-01Eng 4/19/04 4:13 PM Page 18