Getting Started
Running Initial Setup
Perform these steps before you press POWER on the remote control to turn on your TV set.
1. Insert the batteries into the remote control unit.
2. Connect the antenna cable to the TV.
3. Plug in the AC power cord to the AC outlet.
After you finish connecting the TV, you can run the Initial Setup to create a list of available analog and digital
channels. The Initial Setup screen appears when you turn on the TV for the first time. We strongly recommend you to
perform initial setup according to the steps below.
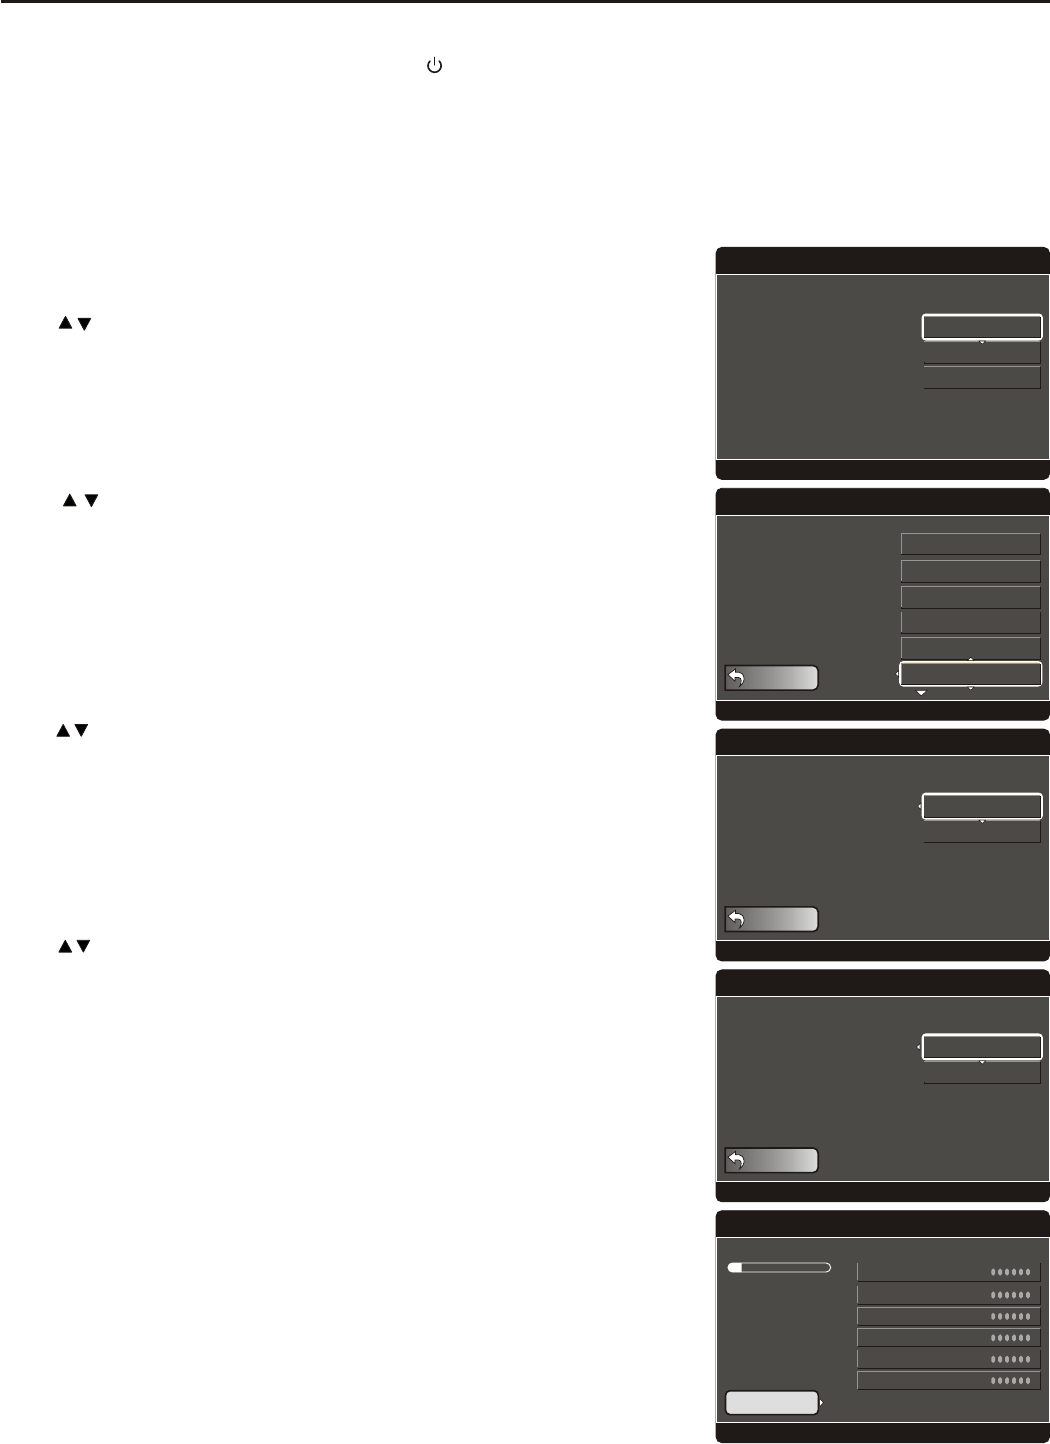
Select Language
Press / to select the desired language listed on the screen, and then
press OK to confirm and continue.
Press / to select a proper time zone according to your area, and then
press OK to confirm and continue.
If you want to return to previous screen, please highlight [GO BACK] item
and press OK to return.
Press / to highlight [Yes] item if you want to observe daylight saving, or
[No] to abandon daylight saving and then press OK to confirm and continue.
If you want to return to previous screen, please highlight [GO BACK] item
and press OK to return.
Press / to select [Antenna] or [Cable] according to what kind of connection
is made to your TV, and then press OK to confirm and continue. If you
choose [Antenna], the TV starts Auto Program automatically.
If you choose [Cable], there are 3 kinds of CATV system, including STD,
HRC and IRC. Select the one matches to your TV. Select Automatic when
you do not know which one to select.
If you want to return to previous screen, please highlight [GO BACK] item
and press OK to return.
Once you have finished selecting RF input source, the unit starts auto
program.
Auto Program may take a while to complete. A progress bar is displayed
while available analogue and ATSC digital channels are being scanned. If
you select [Stop Scan] to cancel the Auto Program before all receivable
channels are scanned, you need to run Auto Program again at a later time.
Auto Program will create a list of receivable channels for the current input .
You will be required to run Auto Program for RF input to create a list of
available channels.
Welcome!
Use the Up and Down
arrows on your Remote
Control and Select the
language you want to use
for menus and message
screens.
Press OK to continue in English
English
Français
Español
Time Zone
Use the Up and
Down arrows and
press Select on your
Time Zone.
Press OK to continue
GO BACK
Alaska (US)
Hawaii
Pacific (US, CAN)
Mountain (US, CAN)
Central (US, CAN)
Eastern (US, CAN)
Scanning Channels
Channels Found
Digital: 3
Analog:3
Scanning may take a few minutes - Please be patient
Stop Scan
Signal
2.0
2.1
2.2
3.0
4.0
4.1
Daylight Saving
Do you observe Daylight
Saving?
Press OK to continue
Yes
No
GO BACK
RF Input Source
Select the source for your
television signal.
Press OK to continue
Antenna
Cable
GO BACK
Select Time Zone
Setting Daylight Saving
Selecting RF Input Source
Start Auto Program...
(Example)
23


