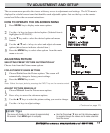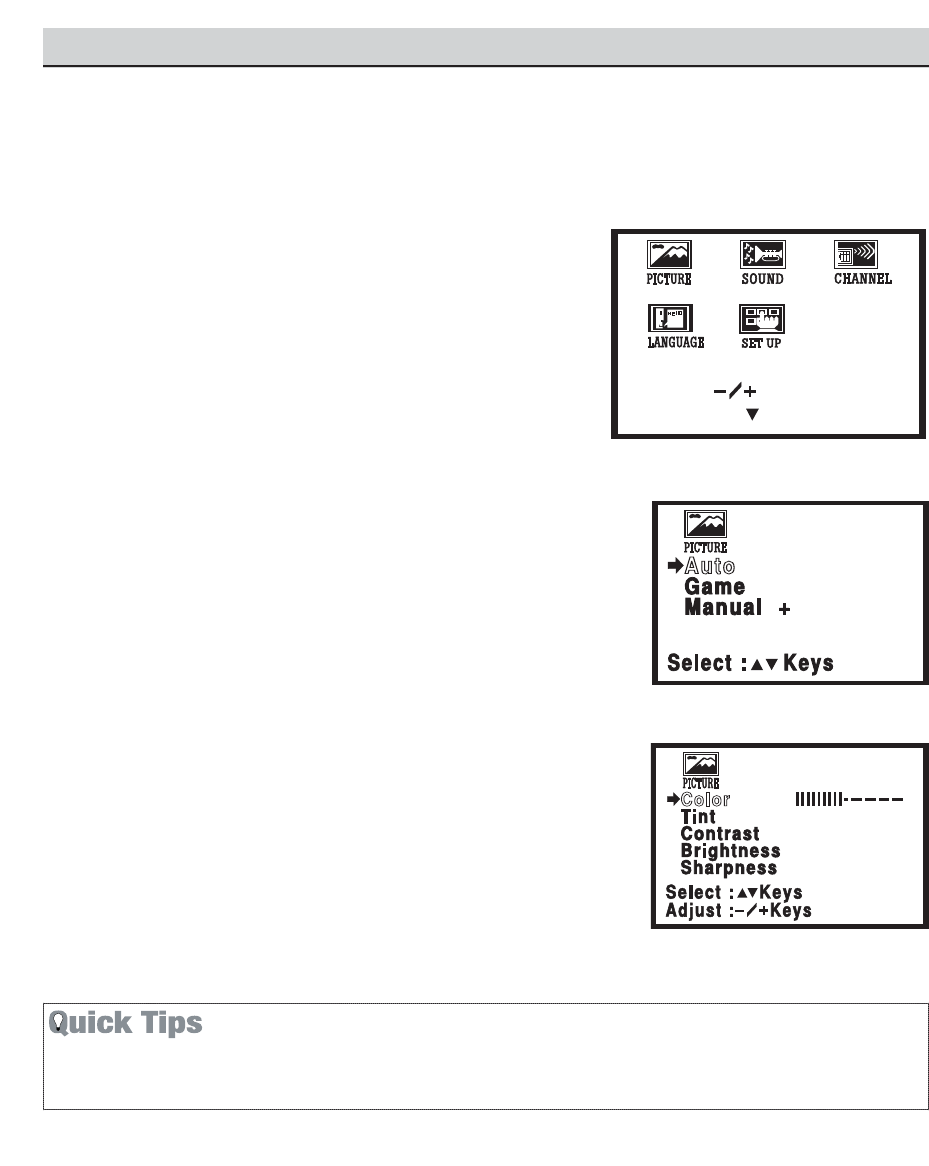
The on-screen menu provides the viewer with easy access to adjustments and settings. The LCD menu is
displayed in colorful screen icons that identifies each adjustable option. Just use the keys on the remote
control and follow the on-screen instructions.
HOW TO OPERATE THE ON-SCREEN MENU
1
Press MENU key to display main menu options.
2
Use the – /+ keys to choose desired option. (Selected item is
highlighted in YELLOW.)
3
Use the ▼ key and to select the desired option sub-menu
feature.
4
Use the ▲/▼ and – /+ keys to select and adjust sub-menu
options (➡ red arrow indicates selected item.)
5
Press the MENU key to select other options from the main
menu or to exit.
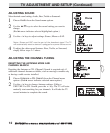
ADJUSTING PICTURE
SELECTING PRESET PICTURE AUTOMATICALLY
Choose Auto from the Picture menu options.
FOR AUTOMATIC GAME SETTING
1
Choose Game from the Picture options. The screen will
automatically change to factory preset settings.
2
Press the MENU key to exit.
Note: Select the input jacks by pressing the INPUT key on the remote control.
ADJUST PICTURE MANUALLY
1
Choose Manual from the Picture menu options.
2
Press + key to access the sub-menu options.
3
Use the ▲/▼ keys to select the picture setting you want to change.
4
Use the – /+ keys to adjust settings.
Select : Keys
Select : Keys
Sub-menu: Key
Sub-menu: Key
TV ADJUSTMENT AND SETUP
(Continued on page 12.)
■
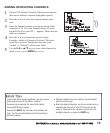
The menu will display on the screen for approximately
20 seconds. Press MENU again to redisplay.
■
Use the Channel
▲ / ▼
keys and the Volume
––
/
++
keys
to navigate through the menus and to make selections
from the menus.
11
NNeeeedd hheellpp??
VViissiitt oouurr WWeebb ssiittee aatt
wwwwww..ssaannyyooccttvv..ccoomm
oorr CCaallll
11--880000--887777--55003322


