11
Need help? Visit our Web site at www.sanyoctv.com or Call 1-800-877-5032
PC MONITOR OPERATION
PC PREPARATION
To avoid an “Out of Range” condition, preset
your PC’s output resolution to an XGA value, such
as, 1024 x 768, before you disconnect it from your
regular monitor.
PC MONITOR SETUP
The Frequency, Resolution, Dot Clock, Phase,
Horizontal Position, and Vertical Position are set
automatically when Auto Adjustment is selected.
PC MENU OPERATING TIPS
Picture and Sound settings in the PC Menu do not
affect other input settings.
Press RESET twice to reset ALL settings to factory
defaults.
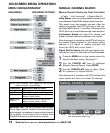
MANUAL ADJUSTMENTS
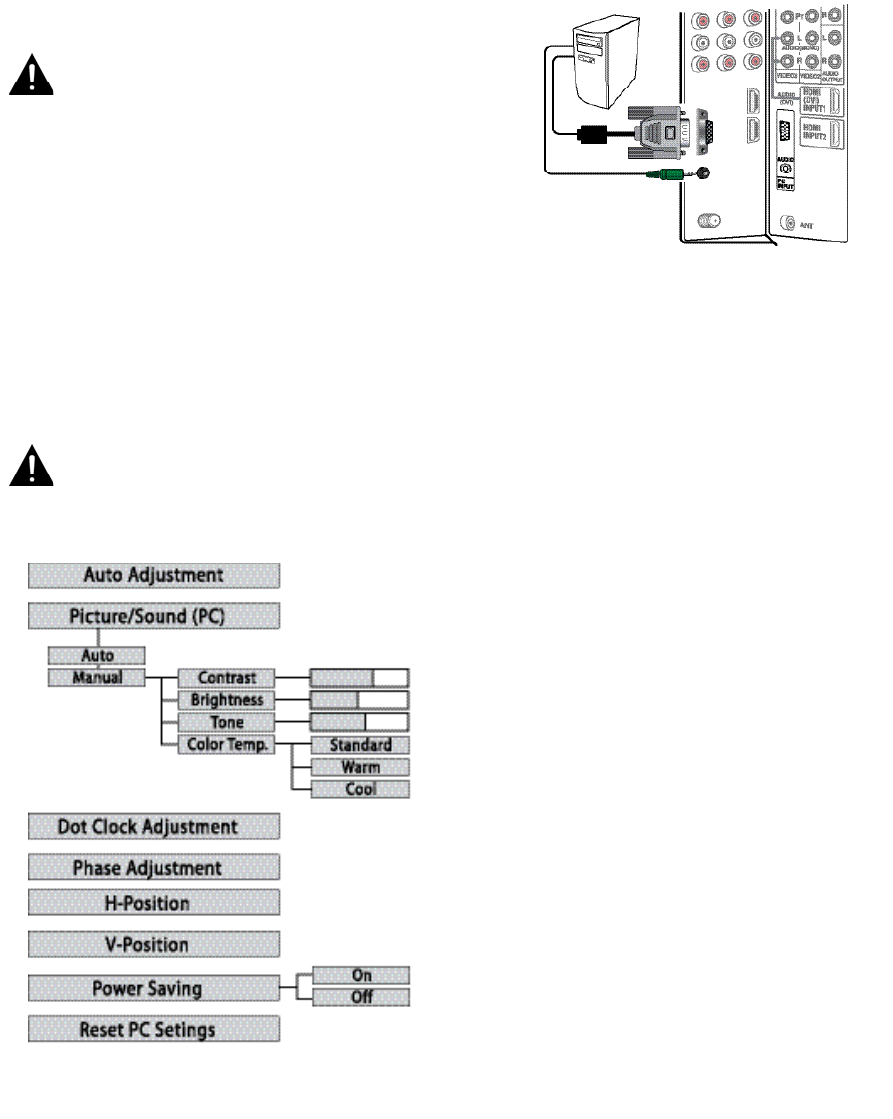
Color Temp.—Press ENTER to choose setting.
Dot Clock—Dot Clock adjusts the Dot frequency
to match your computer’s dot frequency.
Phase—Adjust the Phase when the picture
appears to flicker or is blurred.
H–Position—Moves the image horizontally.
V–Position—Moves the image vertically.
Power Saving—When the HDTV no longer detects
H- and V-sync signals from the PC, it switches to
standby mode. It will return to normal operation
when H- and V-sync signals are again detected.
Reset PC Settings—Resets all the PC Menu
options to Factory default values.
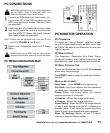
PC CONNECTIONS
NOTE: Before connecting any cables, disconnect
the AC Power Cords of both the HDTV and
Personal Computer from the AC outlets.
1
Connect an RGB cable from the monitor out-
put on your PC to the RGB connector on the
HDTV and tighten the screws. (Monitor Cable
not supplied.)
2
Insert one end of a Stereo Mini-Audio cable
into the PC Audio Out jack and the other end
into the HDTV PC Audio Input jack. (Stereo
Mini-Audio Cable not supplied.)
HINT: Volume can be adjusted both from the PC and
the HDTV
VOLUME ▲ and ▼ keys.
3
Select Auto Adjustment from the PC Setup
Menu.
NOTE: Power on the HDTV and any other periph-
eral equipment before powering on the computer.
PC MENU NAVIGATION MAP


