


15
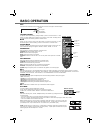
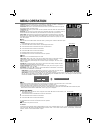
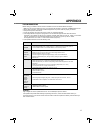
AUTO ADJUST: Press POINT ◄► buttons, and the TV automatically detects incoming signal, and
adjust itself to optimize its performance. If the image is not displayed properly, a manual adjustment
is required (Refer to following adjustments).
H-POSITION: The horizontal picture position will be moved to the left side by pressing POINT ◄
button. And it will be moved to the right side by pressing POINT ► button. (0~100).
V-POSITION: The vertical picture position will be moved down side by pressing POINT ◄ button.
And it will be moved up side by pressing POINT ► button. (0~100).
PHASE: Eliminate disorder from the image. Press POINT ◄► buttons to adjust PHASE. (0~100).
CLOCK: Eliminate flicker from the image. Press POINT ◄► buttons to adjust CLOCK. (0~100).
AUTO SHUT DOWN: Press POINT ◄► buttons to set AUTO SHUT DOWN ON or OFF. When
PC is switched Off, ''NO SIGNAL'' appears for 30 seconds, TV will be automatically switched to
Backlight off mode. During Backlight Off Mode within 10 minutes, TV will be switched to On Mode
if PC is switched On. After Backlight Mode continues for 10 minutes, it will be switched to Standby
Mode. During Standby mode, TV will not be switched to On mode even if PC is switched On. During
Backlight Off mode, POWER indicator will become green.POWER ON/OFF button, NUMERIC (0-9)
buttons and CHANNEL up/down buttons are enabled to switch On TV.
SELECT
ADJUST
BACK EXIT
::
:
:
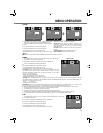
SETUP
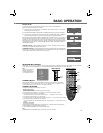
CHILD LOCK
ON
ECO
OFF
DYNAMIC AI
ON
ACTIVE CONTRAST
OFF
PC ADJUST
SHOP MODE
SELECT
ADJUST
BACK EXIT
::
:
:
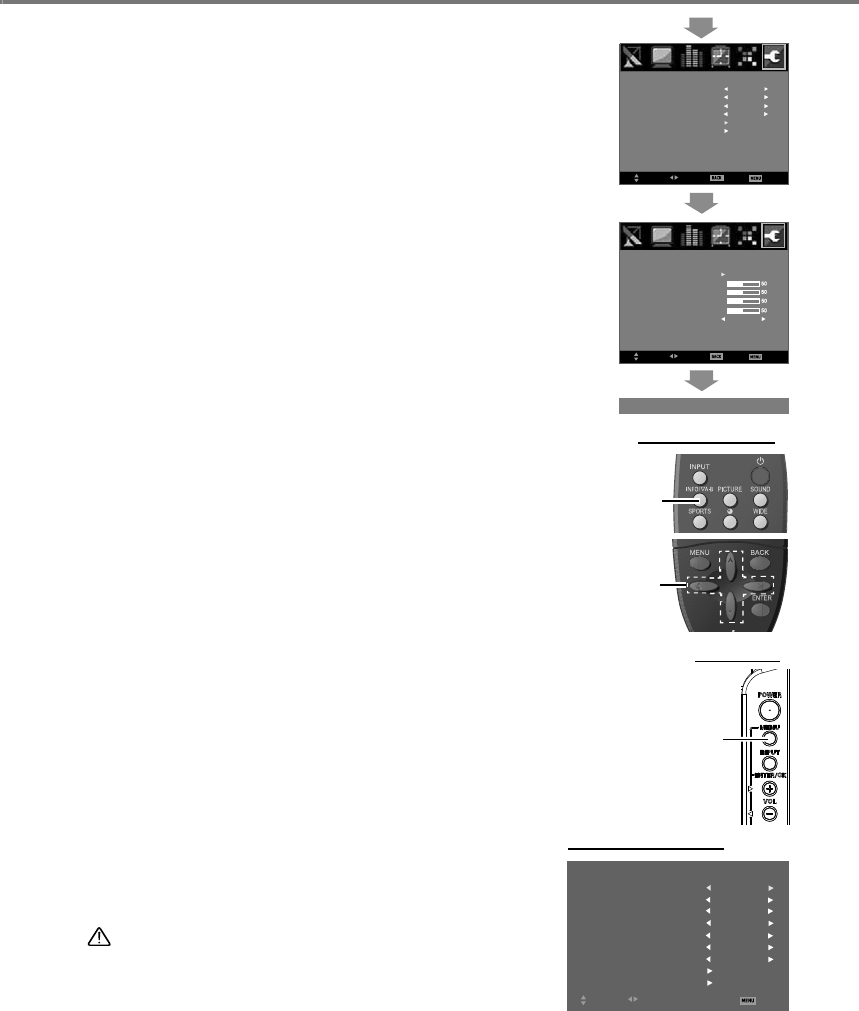
SETUP
AUTO ADJUST
AUTO SHUT DOWN
ON
PC ADJUST
V - POSITION
CLOCK
PHASE
H - POSITION
AUTO ADJUST
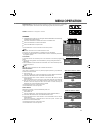
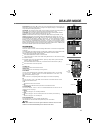
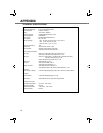
The Dealer Mode has 9 different modes: VOLUME LOCK, TUNING LOCK, START MODE, OSD,
RC, AC POWER MODE, START VOLUME LEVEL, MUSIC MODE SETUP and RESET.
Take the way of setting VOLUME LOCK for example:
REMOTE CONTROL
INFO button
TO DISPLAY DEALER MODE:
Press INFO button on remote control while holding MENU button on Side control to display Dealer
mode menu.
DEALER MODE
Press POINT ◄► buttons to select a maximal volume.
VOLUME LOCK will be the default selection. (When you adjust others, press POINT ▲▼
buttons to select the item desired.)
Press POINT ◄► buttons to select "ON". (The maximal volume is the set value by step 1.)
Press INFO button on remote control while holding MENU button on Side control to display
Dealer mode menu.
Press menu button to exit menu operation.
1
2
3
4
5
POINT
▲/▼/◄/►
buttons
VOLUME LOCK
This function is used to limit the maximal volume.
TUNING LOCK
The way to prevent user from executing the Tuning function.
START MODE
The LCD TV will automatically enter to the setting mode while being turned on. You can select
OFF, TV(0-10), AV1, AV2(DVD), HDMI or PC in START MODE. When it is set "OFF", it will
keep the mode before being turning off.
OSD
When it is set "OFF", Corresponding OSD cannot display on the screen while operating.
RC
You can set "ON" or "OFF" in RC MODE. Use this feature to set Remote Control Function
including Power ON/OFF function.
● ON
- Set Remote Control to normal function.
● OFF
-
Set buttons on the Remote Control to prohibit to use include
Power button.
AC POWER MODE
You can set "STAND", "LAST" or "ON" in AC POWER MODE.Use this feature to set TV
condition when AC cord plug-in.
● STAND
- When AC cord plug-in, LCD TV always STAND-BY.
● LAST
- When AC cord plug-in, the LCD TV will depend on last TV condition. (ON or Stand-by)
● ON
- When AC cord plug-in, LCD TV always ON.
START VOLUME LEVEL
You can select "OFF" or "1-100" in START VOLUME LEVEL.
Use this feature to set volume bar level position every time TV turned on.
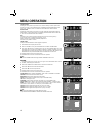
DEALER MODE MENU
TUNING LOCK
START MODE
OSD
RC
AC POWER MODE
OFF
OFF
DEALER MODE
VOLUME LOCK
OFF
RESET
MUSIC MODE SETUP
ON
ON
STAND
: SELECT
: ADJUST
: EXIT
START VOLUME LEVEL
OFF
SIDE CONTROL
MENU button
Note:
Even Start Volume Level set to higher value then Volume Lock, the Start
Volume Level value automatically set to Volume Lock value.
DEALER MODE