36
Using the Menu Screen
(Continued)
Quick Start Menu
The following items can be confi gured on the Quick Start Menu.
Selectable items Description
Input Search Start Automatically searches for and switches to the appropriate Input mode.
Pressing an operation button during input searching cancels the search.
Resolution Manually change the resolution.
Use this function when the image and screen size do not match with the
resolution selected automatically. (See page
41.)
Resize Changes the Resize mode.
Use this function to stretch the image vertically or horizontally or when the
edges of the image cannot be seen. (See page
43.)
Keystone Corrects the keystone distortion of projected images.
Use this function to correct the trapezoidal distortion of images caused when
projecting images at an angle to the screen. (See page
43.)
Eco+Quiet When set to “On”, this function reduces the cooling fan noise and power
consumption, thereby prolonging the operating life of the lamp. (See page
40.)
Language Selects the language displayed on the screen. (See page 45.)
Information Displays the input signal, lamp use time, remaining lamp life, etc.
Go To Complete Menu Displays the Complete Menu for advanced settings and adjustments.
The setting of Resize mode will be made independently for each Input mode.
The setting of Eco+Quiet mode will be made independently for each Input mode and each Picture
mode.
•
•
Note
Menu Selections (Complete Menu)
Example: Adjusting “Bright”.
This operation can also be performed by using the buttons on the projector.•
1
Press MENU.
The “Quick Start Menu” screen is
displayed.
2
Press P or R to select “Go To
Complete Menu”.
3
Press Q or O and select
“Picture” to adjust.
Info
When “PRJ-ADJ2” - “Quick Start Menu” is
set to “On”, pressing MENU displays the
Quick Start Menu screen.
•
•
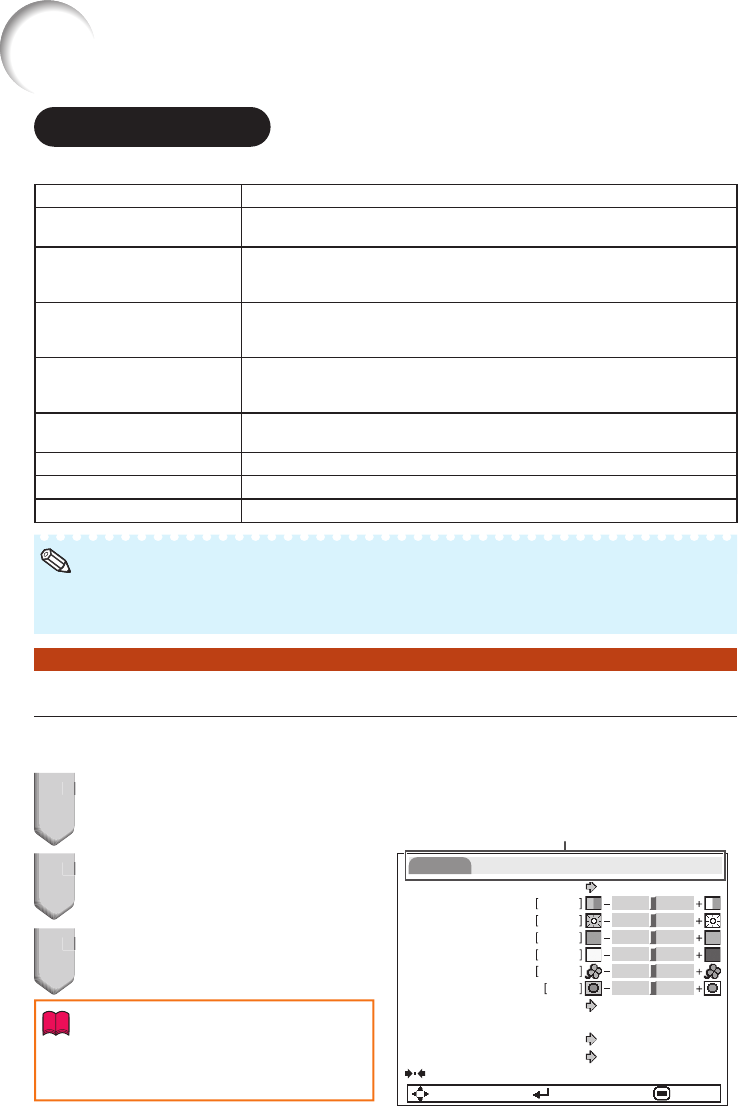
Example: “Picture” screen menu for
COMPUTER (RGB) input
Menu item
Picture Mode
Contrast 0
0
0
Bright
Standard
SEL./ADJ. ENTER END
0
0
Red
Blue
CLR Temp
BrilliantColor
TM
C.M.S. Setting
C.M.S.
Eco+Quiet
0
1
On
Off
DNR
Level 2
Reset
SIG SCR PRJ1 PRJ2Picture
