


52
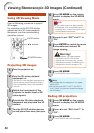
Using 3D Viewing Mode
Use the following procedure to project
3D images.
For operation of the 3D LCD shutter
glasses and the 3D-video playback
equipment, see the corresponding
operation manual.
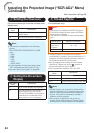
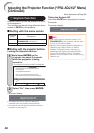
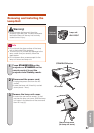
O/Q buttons
ENTER button
3D MODE button
Projecting 3D images
1
Turn the projector on.
2
Turn the 3D-video playback
equipment on.
Set the 3D-video playback equipment so
that it outputs one of the signals listed in
the Compatibility Chart in this operation
manual.
3
Switch the Input mode of the
projector to enable input of 3D
video signals.
4
Operate the 3D-video playback
equipment and play back the 3D
content.
5
Turn the 3D LCD shutter glasses
on and place them over your eyes.
•
1
2
3
4
5
6
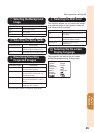
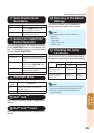
Press 3D MODE on the remote
control to display the 3D MODE
menu.
Info
If “An invalid button has been pressed.”
is displayed, a 3D-compatible signal is
not being input. Check the output signal
on the playback equipment.
•
7
Press Q to set “DLP
®
Link™” to
“On”.
8
Press ENTER to switch the mode
and enable more natural 3D
image viewing.
Warning!
If the projector, 3D-video playback
equipment, and 3D LCD shutter
glasses are not properly set, you may
experience eye strain in addition to not
being able to view the images in 3D.
•
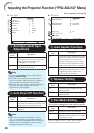
9
Press 3D MODE.
The 3D MODE menu will disappear.
If the images are not displayed in 3D, repeat
steps 6 to 8.
You can also use “DLP
®
Link™” and “DLP
®
Link™ Invert” on the menu screen to change
the 3D setting.
•
•
Note
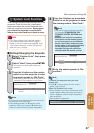
Ending 3D projection
1
Press 3D MODE on the remote
control to display the 3D MODE
menu.
2
Press O to set “DLP
®
Link™” to
“Off”.
3
Press 3D MODE.
The 3D MODE menu will disappear.
•
•
6
7
8
9
1
2
3
Viewing Stereoscopic 3D Images (Continued)