


45
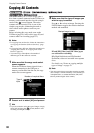
Copying From a Camera
You can record images selected by viewing
thumbnails.
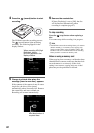
Before selecting this copy mode, turn on the
DVDirect (page 29), insert a disc (page 30) and
connect cables for recording (page 31).
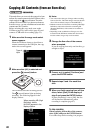
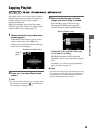
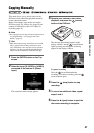
1 Make sure that the copy mode select
screen appears.
When the DVDirect detects signals from a
camera connecting to the USB port or
memory card inserted into the slot, the copy
mode select screen appears.
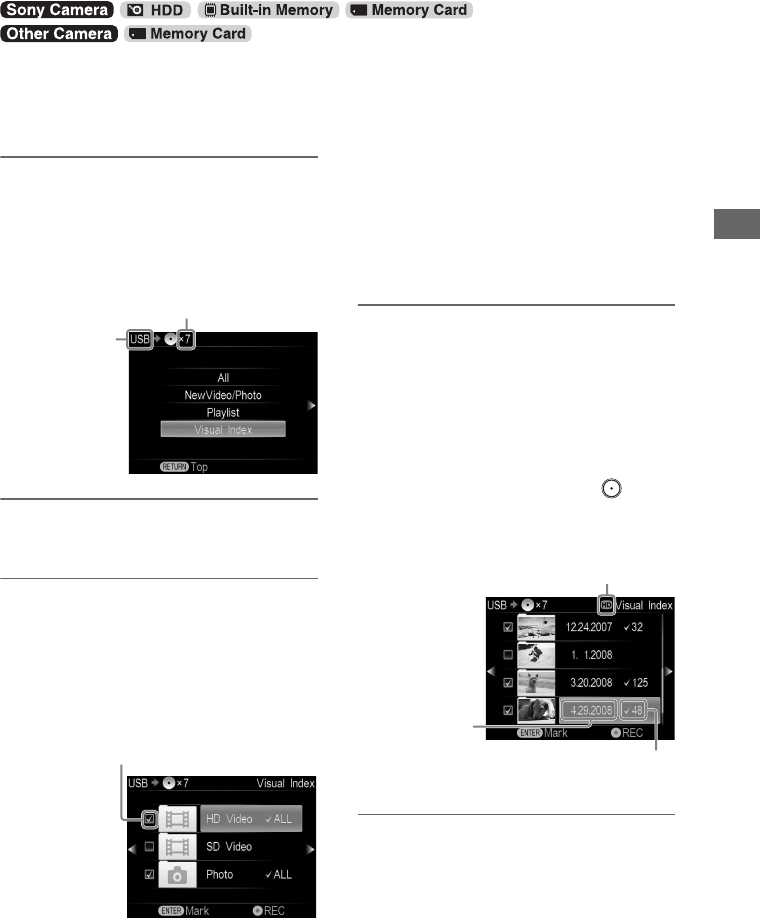
2 Press V or v to select [Visual Index]
and press b.
3 Press V or v to select the type of
images you wish to copy and press b.
z Hint
• Unmark the contents type for easier navigation when:
– you have only a few videos/photos to select, or
– you have types of images that you do not wish to
record.
If both [HD Video] and [SD Video] types
are selected for recording:
HD (High Definition) and SD (Standard
Definition) videos are recorded onto separate
discs.
For details, see “Notes on copying multiple
types of image” on page 23.
b Note
• You cannot select image types that cannot be recorded.
(For example, a camera or memory card containing no
video/photo data, or standard definition (SD) video
taken by another digital video camera.)
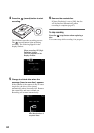
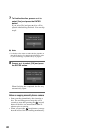
4 Make sure that the shooting date
folders of the images you wish to copy
are marked.
Press V or v to select a shooting date folder.
Pressing the ENTER button toggles the
selection between marked and unmarked.
To record all videos/photos taken on a
particular shooting date, select (mark) the
shooting date folder and press the
(record) button to start recording. Go straight
to step 9.
5 Press V or v to select a shooting date
folder and press b.
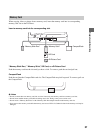
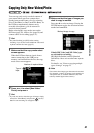
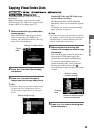
Copying Visual Index Lists
Number of required discs
Type of
input
Marked image to copy
Quality of image
currently selected
Shooting
date
Number of selected images
in same shooting date