71
Changing Menu Settings
Chapter 4 Menu Settings
2
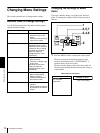
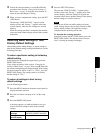
With “SETUP MENU” selected, press the k button.
This displays all items on menu level 1.
3
Press the J or j button to select the required item.
4
Press the k button.
This displays the menu level 2 for the menu item
selected in step 3.
5
Press the J or j button to select the item whose
setting you wish to change.
For menu items on level 3, press the k button to go
to the level 3, then press the J or j button to select the
item whose setting you wish to change.
6
Press the k button.
This displays all possible settings for the item selected
in step 5.
7
Press the J or j button to change the setting of the
item.
8
To change other settings, press the K button to return
to the previous screen, then repeat steps 5 to 7 as
required.
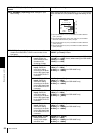
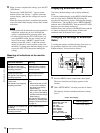
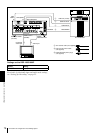
Operational
SETUP MENU
OPERATIONAL FUNCTION
DISPLAY CONTROL
TIME CODE
SETUP BANK OPERATION
MENU GRADE :BASIC
Monitor screen
Time counter display
Level-1 menu display
Display
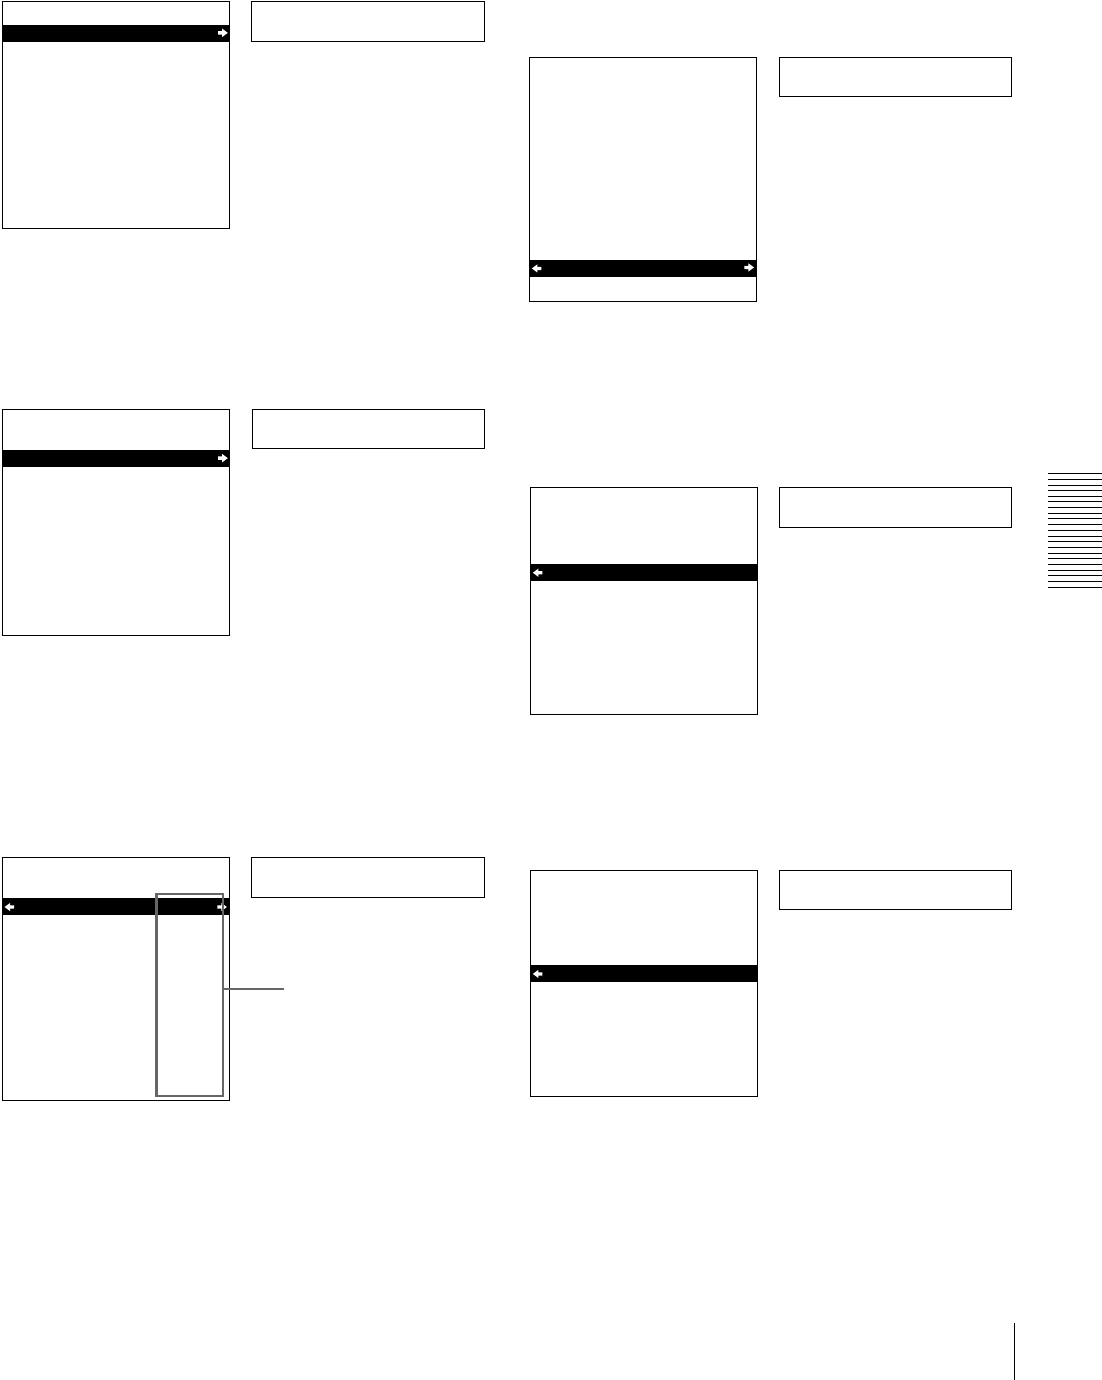
SETUP MENU
OPERATIONAL FUNCTION
DISPLAY CONTROL
TIME CODE
SETUP BANK OPERATION
MENU GRADE :BASIC
Time counter display
Monitor screen
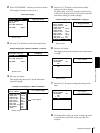
Example: Display when “DISPLAY CONTROL” is selected
> Chara disp
SETUP MENU
DISPLAY CONTROL
CHARA.DISPLAY
CHARA.POSITION
CHARA.TYPE
CHARA.VSIZE
DISPLAY INFO
SUB STATUS
MENU DISPLAY
PEAK HOLD
OVER DISP HOLD
BRIGHTNESS
ALARM
:ON
:WHITE
:x1
:T&STA
:OFF
:WHITE
:OFF
:OFF
:75%
:ON
Time counter display
Monitor screen
Current settings
Example: Level-2 display for “DISPLAY CONTROL”
> Brightness
SETUP MENU
DISPLAY CONTROL
CHARA.DISPLAY
CHARA.POSITION
CHARA.TYPE
CHARA.VSIZE
DISPLAY INFO
SUB STATUS
MENU DISPLAY
PEAK HOLD
OVER DISP HOLD
BRIGHTNESS
ALARM
:ON
:WHITE
:x1
:T&STA
:OFF
:WHITE
:OFF
:OFF
:75%
:ON
Time counter display
Monitor screen
Example: Display when “BRIGHTNESS” is selected
>> 75%
SETUP MENU
DISPLAY CONTROL
BRIGHTNESS
100%
* 75%
50%
:75%
Time counter display
Monitor screen
>> 50%
SETUP MENU
DISPLAY CONTROL
BRIGHTNESS
100%
* 75%
50%
:75%
Time counter display
Monitor screen


