18
Menu System
Menu System
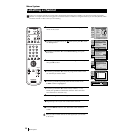
With this feature you can:
a) Individually attenuate the strength of a channel signal in case of a strong local aerial signal (striped picture).
b) Individually adjust the volume level of each broadcast channel.
c) Normally the automatic fine tuning (AFT) is operating, however you can manually fine-tune the TV to obtain better
reception if the picture is distorted.
d) Preset the AV output for the programme positions of broadcast channels with scrambled signals (eg from a pay TV decoder). In
this way a connected VCR records the unscrambled signal.
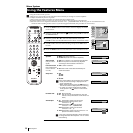
Using the "Further Programme Preset" function
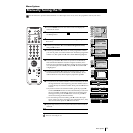
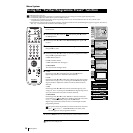
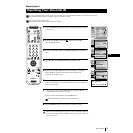
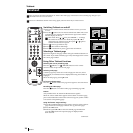
1 Press the MENU button on the remote control to display the menu
on the screen.
2 Push the joystick $ to select the symbol, then push z to enter
the Set Up menu.
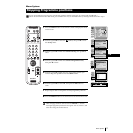
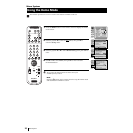
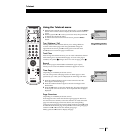
3 Push the joystick $ or 4 to select Manual Set Up then push to z
to enter.
4 Push the joystick $ or 4 to select Further Programme Preset,
then push z to enter.
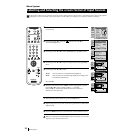
5 Push the joystick $ or 4 to select the relevant programme number,
then push z repeatedly to select:
a) ATT (RF attenuator)
b) VOL (Volume Offset)
c) AFT (Automatic Fine Tuning) or
d) DECODER
The selected item changes colour.
6 a) ATT
Push the joystick $ to select On, then press the OK button.
Repeat steps 5 and 6 a) to attenuate other channels.
b) VOL
Push the joystick $ or 4 to adjust the volume level of the
broadcast
channel over a range of -7 to +7, then press the OK button. Repeat
steps 5 and 6b) to adjust the volume level of the other
broadcast
channels.
c) AFT
Push the joystick $ or 4 to fine tune the channel frequency over
a range of -15 to +15, then press the OK button. Repeat steps 5 and
6c) if you wish to fine tune other
broadcast channels.
d) DECODER
Push the joystick $ or 4 to select AV1 (for a decoder connected
to the Scart :1/ ) or AV2 (for a decoder connected to the Scart
:2/q 2 (SMARTLINK)), then press the OK button.
Repeat steps 5 and 6d) to select the AV1 or AV2 output for other
programme positions.
The picture from the decoder connected to the Scart connector
:1/ or :2/q 2 (SMARTLINK) on the back of the
set will appear on this programme number.
7 Press the MENU button to exit and return to the normal TV screen.
The set is now ready for use.
S
RM
903
PROGR
MENU
1
4
7
2
5
8
0
3
6
9
TV
V
I
D
E
O
Picture Adjustment
Select: Enter Menu:
Picture Mode
Contrast
Brightness
Colour
Sharpness
Reset
AI
Noise Detection
Digital Mode
Colour Tone
Personal
On
On
DRC 50
Normal
Set Up
Auto Tuning
Programme Sorting
Select NexTView
AV Preset
Manual Set Up
Select:
Start Auto Tuning
Start
- - - - - - -
Enter:
Set Up
Auto Tuning
Programme Sorting
Select NexTView
AV Preset
Manual Set Up
Select:
- - - - - - -
Manual Set Up
Select: Enter:
Language/Country
Manual Programme Preset
Further Programme Preset
RGB Set Up
Personal ID
Demo
- - - - - - -
Further Programme Preset
Select: Enter:
PROG AFTVOLATT DECODER
On
On
On
Off
Off
Off
0
0
0
Off
Off
Off
1
2
3
4
5
6
7
8
9
10
11
PROG AFTVOLATT DECODER
1
Off
On
PROG AFTVOLATT DECODER
1 On -5
2
PROG AFTVOLATT DECODER
1 On -5 2
Off
AV1
AV2
PROG AFTVOLATT DECODER
1On
- 5


