


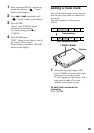

18
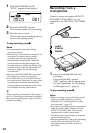
1 Keep pressing EDIT for 2 second or
longer while playing the track you
want to erase.
“ ” “Name” flashes in the
display, and the recorder plays the
selected track repeatedly.
2 Press = or + repeatedly until
“ ” “Erase” flashes in the display.
3 Press ENTER.
“Erase?” and “ENTER” appear
alternately in the display.
To cancel erasing, press p or
CANCEL.
To erase a part of a track
Add track marks at the beginning and the
end of the part you want to erase, then
erase the part.
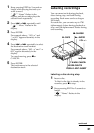
Erasing tracks
To erase a track
You can quickly erase a recorded track.
Note that once a recording has been
erased, you cannot retrieve it. Make sure
of the track you are erasing.
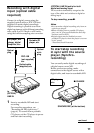
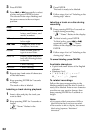
zEditing recorded tracks
You can edit your recordings by adding/
erasing track marks or labeling tracks and
MDs. Premastered MDs cannot be edited.
Notes on editing
•Do not move or jog the recorder while
“EDIT” is flashing in the display.
•You cannot edit tracks on an MD that is
record-protected. Before editing tracks,
close the tab on the side of the MD.
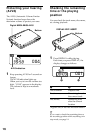
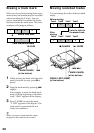
DISPLAY•EDIT•INSERT
(at the bottom)
(•ENTER
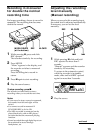
To erase the whole disc
You can quickly erase all the tracks and
data of the MD at the same time.
Note that once a recording has been
erased, you cannot retrieve it. Be sure to
check the contents of the disc you want to
erase.
(•ENTER
DISPLAY•EDIT•INSERT
(at the bottom)
p•CHARGE
p•CHARGE
T MARK•CANCEL
(at the bottom)
= +
= +
T MARK•CANCEL
(at the bottom)