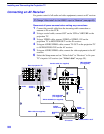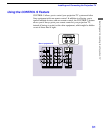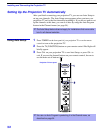
Installing and Connecting the Projection TV
28
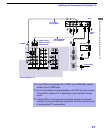
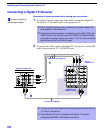
Connecting a Digital TV Receiver
Disconnect all power sources before making any connections.
1
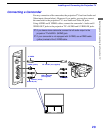
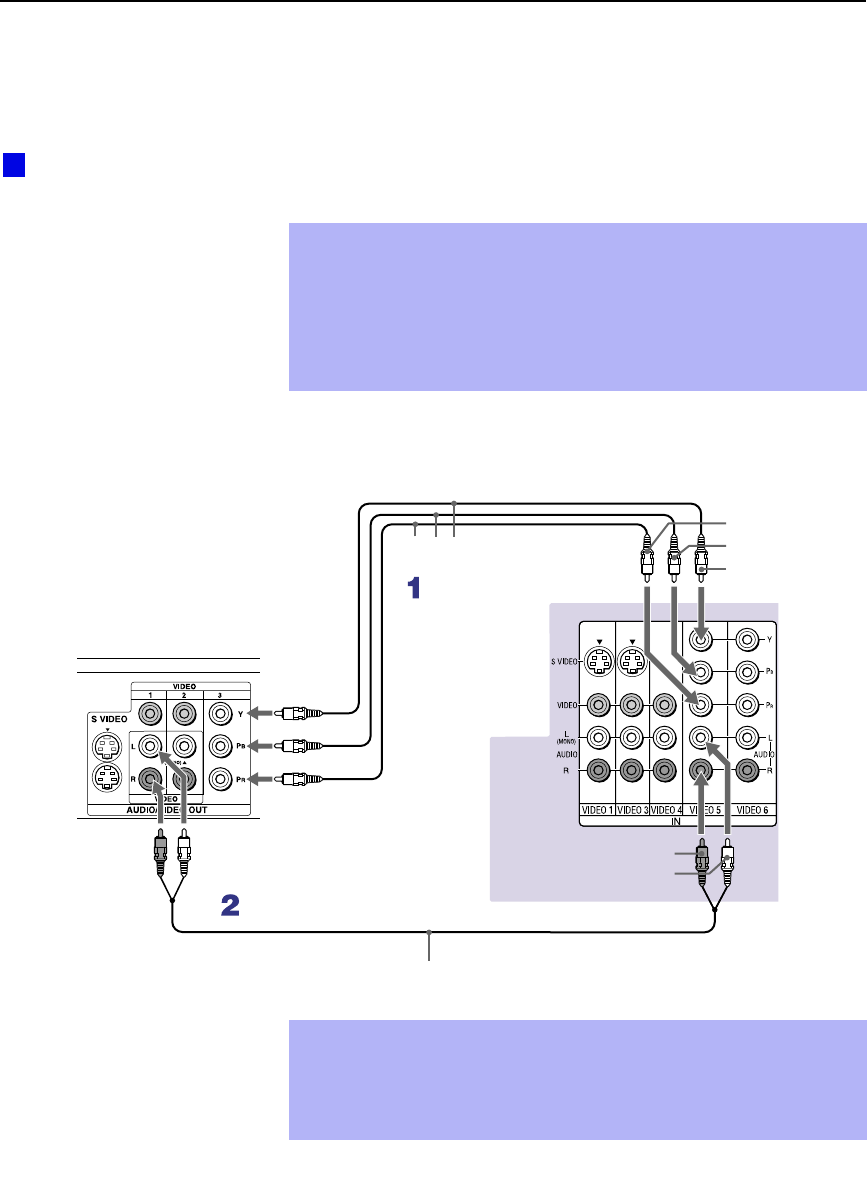
Using three separate component video cables, connect the Digital TV
Set-top box’s Y, PB
and P
R
jacks to the projection TV.
2
Using an audio cable, connect the Digital TV Set-top box’s Audio OUT
jacks to the projection TV’s AUDIO IN jacks.
✍
The Y, P
B
and P
R
jacks do not provide audio, so audio cables must
be connected to provide sound.
✍
Component video connection is necessary to view 480p, 720p, and
1080i formats. You may also use the S VIDEO or Composite Video
connections, however, component video (Y, P
B
, P
R
) will provide the
best picture quality for all format types.
Be sure to read the
Set-top box manual.
z
VMC-10HG (not supplied)
Digital TV Set-top box
RK-74A (not supplied)
AUDIO-R (red)
AUDIO-L (white)
Rear of
projection TV
P
R
P
B
Y
✍
You cannot record the signal from any equipment connected into the
Y, P
B
and P
R
connectors.
✍
This projection TV is not compatible with digital TV receivers
configured with RGB or VGA output connectors.


