3.
4.
5.
6.
7.
8.
The unit will now have the correct DATA for the new MEMORY IC.
NOTE FOR THE REPLACING OF MEMORY IC
If a service repair is undertaken where it has been required to change the MEMORY IC, the following steps should be taken to
ensure correct data settings while making reference to TABLE 1.
NOTE: Initial Data setting will not be possible if clock has been set. To reset clock, either unplug AC cord and allow
at least 5 seconds before Power On.
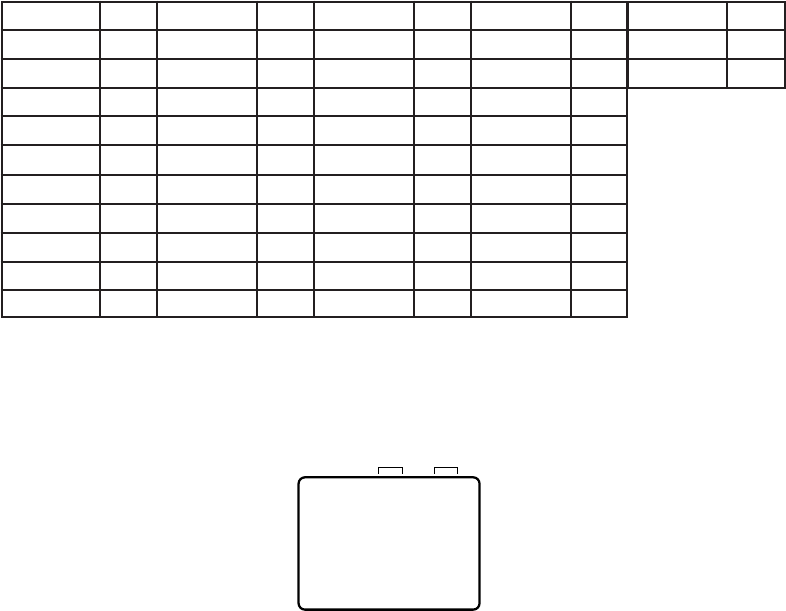
Table 1
1.
2.
Fig. 1
ADDRESS is now selected and should "blink". Using the SET + or - keys on the remote, step through the ADDRESS until
required ADDRESS to be changed is reached.
Press ENTER to select DATA. When DATA is selected, it will "blink".
Again, step through the DATA using SET + or - until required DATA value has been selected.
Pressing ENTER will take you back to ADDRESS for further selection if necessary.
Repeat steps 3 to 6 until all data has been checked.
When satisfied correct DATA has been entered, turn POWER off (return to STANDBY MODE) to finish DATA input.
Enter DATA SET mode by setting VOLUME to minimum.
While holding down VOLUME button on front cabinet, press key 6 on remote control simultaneously.
ADDRESS and DATA should appear as FIG 1.
INIT 00 83
0010
0003
POWER ON
PLAY/REC
ADDRESS DATA
ADDRESS DATA
00 88
01 1B
02 C2
03 63
04 43
05 14
06 34
07 29
08 50
09 38
ADDRESS DATA
0A 10
0B 94
0C 99
0D 00
0E 00
0F 10
10 8C
11 68
12 5C
13 53
ADDRESS DATA
14 00
15 00
16 30
17 05
18 08
19 00
1A A9
1B 0F
1C 04
1D 39
ADDRESS DATA
1E 8D
1F 00
20 00
21 00
22 00
23 00
24 00
25 00
26 00
27 00
ADDRESS DATA
00
28 01
29


