RoadStar Antenna RoadStar Antenna
Running a Channel Scan
8
Installing the Power Supply
7
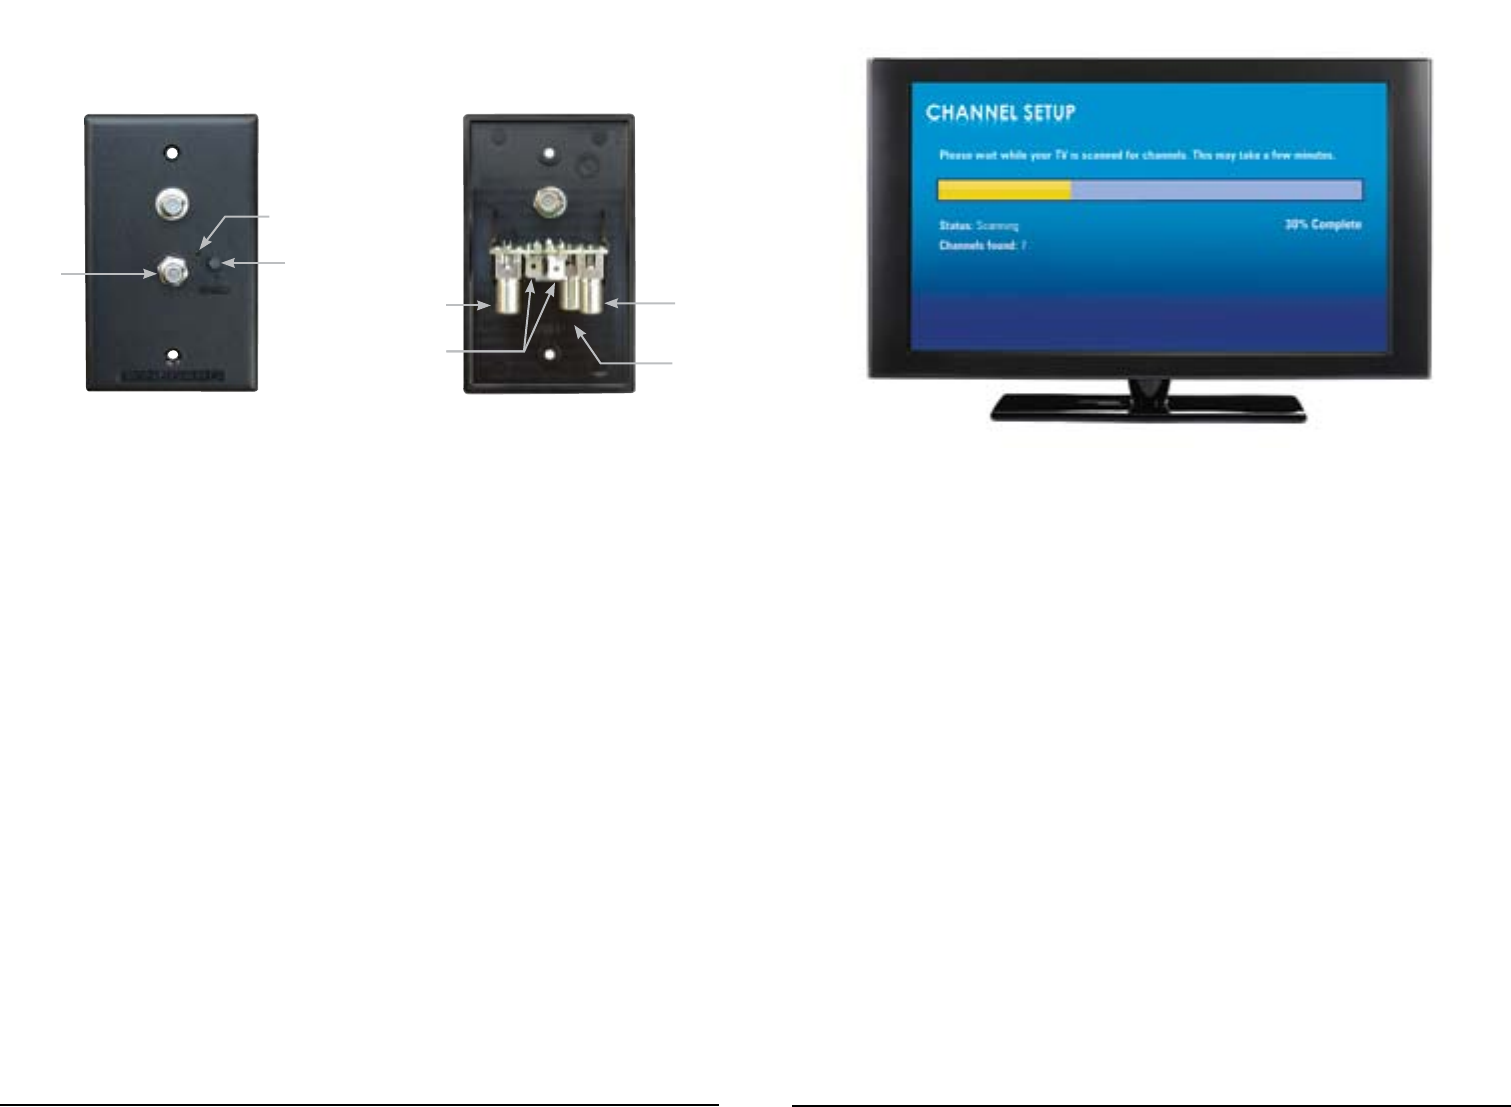
First time users must run a channel
scan after installing the antenna to
receive maximum programming.
A new scan will find any new
channels that have been added in
your area as well as finding any
channels that have changed or
moved since the last scan.
While the steps to perform a
channel scan may vary between
televisions or compatible devices,
below are some general guidelines
to follow. For more specific
instructions, refer to your device
user manual for assistance.
General Instructions
1. Using the remote that came with
the TV or compatible device,
select “Menu.”
2. Select “Channel Setup.”
3. Select “Antenna” or “Off-Air
Mode” or “Auto-Scan.”
4. Select “Channel Search” or
“Channel Scan.”
Run a channel scan in the following
situations, as well:
• Anytime the antenna is moved
or enters a new region
• Anytime a channel is lost
Once you have run a channel scan,
you are ready to watch TV.
If you are not receiving all desired channels, check out dtv.gov/maps. On
this site, you can enter the address of your current location and get a listing
of likely channels available in your area.
The power supply may be flush
mounted in most standard electrical
boxes. To flush mount, cut a hole in
the wall to fit the box. Run two #12
wires between the wall plate and +12
VDC source, and route downlead
cable to this location.
Make a 12 volt connection to the
power supply. Install the supplied
terminals on wires from +12 VDC
source, and crimp the terminals with
an appropriate crimping tool.
Push the wires onto tabs on the
back of the power supply. (“PWR”
and “GND” are also noted on the
underside of the power supply
electronics board.)
Connect the coax cable from the
antenna to the “ANTENNA” port on
the power supply, and tighten until
fingertight. Then, tighten ¼ turn more.
If hooking up the antenna to two
televisions, connect a coax cable from
the “SET 2” port to the “Antenna In”
port on the second television.
If hooking up a cable input, connect
the cable input to the “CABLE” port
on the power supply.
Mount the power supply in wall with
the provided screws.
Connect a coax cable from the coax
port on the front of the power supply
to the “Antenna In” coax port on the
main TV.
Press the “ON” switch on the front of
the power supply, and check that the
light is on.
This unit is equipped with a
polyswitch, which will shut down
+12 VDC if there is a direct short
between the antenna and power
supply. The indicator light will not
light. Once the short is eliminated, the
device will reset itself.
Warning: The power supply should be turned off when connecting cables.
Coaxial
port for
main TV
On/Off
button
Antenna
port
Power &
Ground
tabs
Cable
port
Set 2
port
Indicator
light
