6
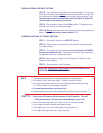
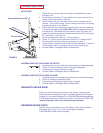
STEP 2. Move rotation clamp to the LOCK position.
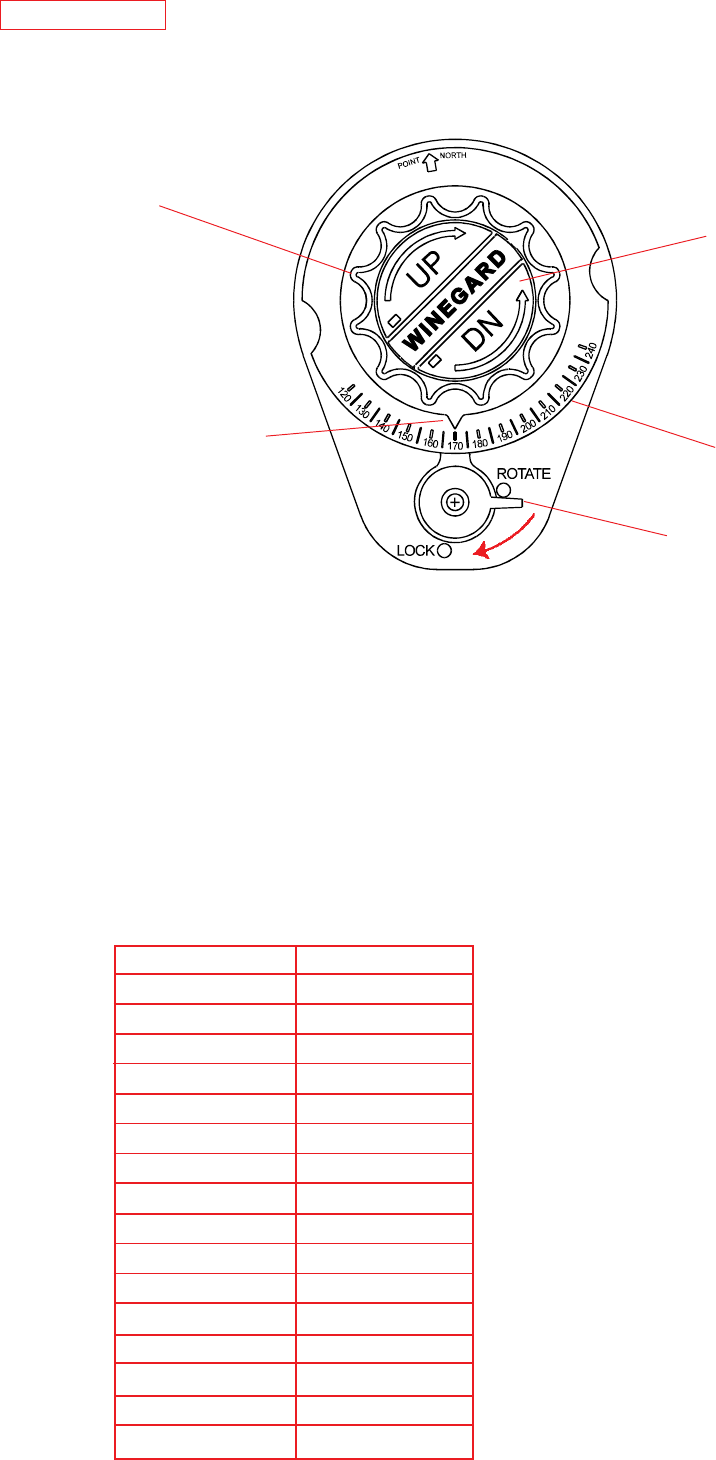
STEP 3. Turn directional dial (see Figure 5) until the arrow is pointing North.
STEP 4. Unsnap elevation crank and turn (clockwise) in direction of "UP" arrow, about
14 - 15 turns or until some resistance is met.
STEP 5. Turn receiver ON, and access installation menus to determine antenna elevation
and direction/heading.
STEP 6. Move rotation clamp to the ROTATE position. Turn directional handle until pointer
on directional handle is pointing in direction indicated by the receiver. Example: If receiver
says point antenna at 145° then rotate directional handle so that pointer is pointing at 145°
on the directional dial.
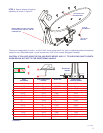
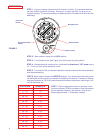
STEP 7. Refer to table below and turn elevation crank
counter clockwise (CCW) the number of turns indicated to
get the elevation shown by the receiver. One full turn
equals approximately 7° of elevation change.
OPERATION
STEP 1. Using a compass, determine which direction is North. It is recommended that
you step outside to perform this step. Standing in or near coach/RV can give you an
incorrect reading. The more accurately you determine North, the easier it will be to find the
satellite(s).
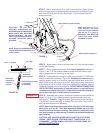
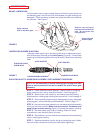
FIGURE 5
Directional Dial
Elevating Crank
Directional Handle
Pointer
Rotation Clamp
Directional
Handle
ELEVATION TURNS CCW
14 - 16
o
NONE
17 - 19
o
1/2
20 - 22
o
1
23 - 26
o
1-1/2
27 - 29
o
2
30 - 32
o
2-1/2
33 - 36
o
3
37 - 39
o
3-1/2
40 - 43
o
4
44 - 46
o
4-1/2
47 - 50
o
5
51 - 53
o
5-1/2
54 - 57
o
6
58 - 60
o
6-1/2
61 - 64
o
7
65 - 67
o
7-1/2


