27
Advanced operations
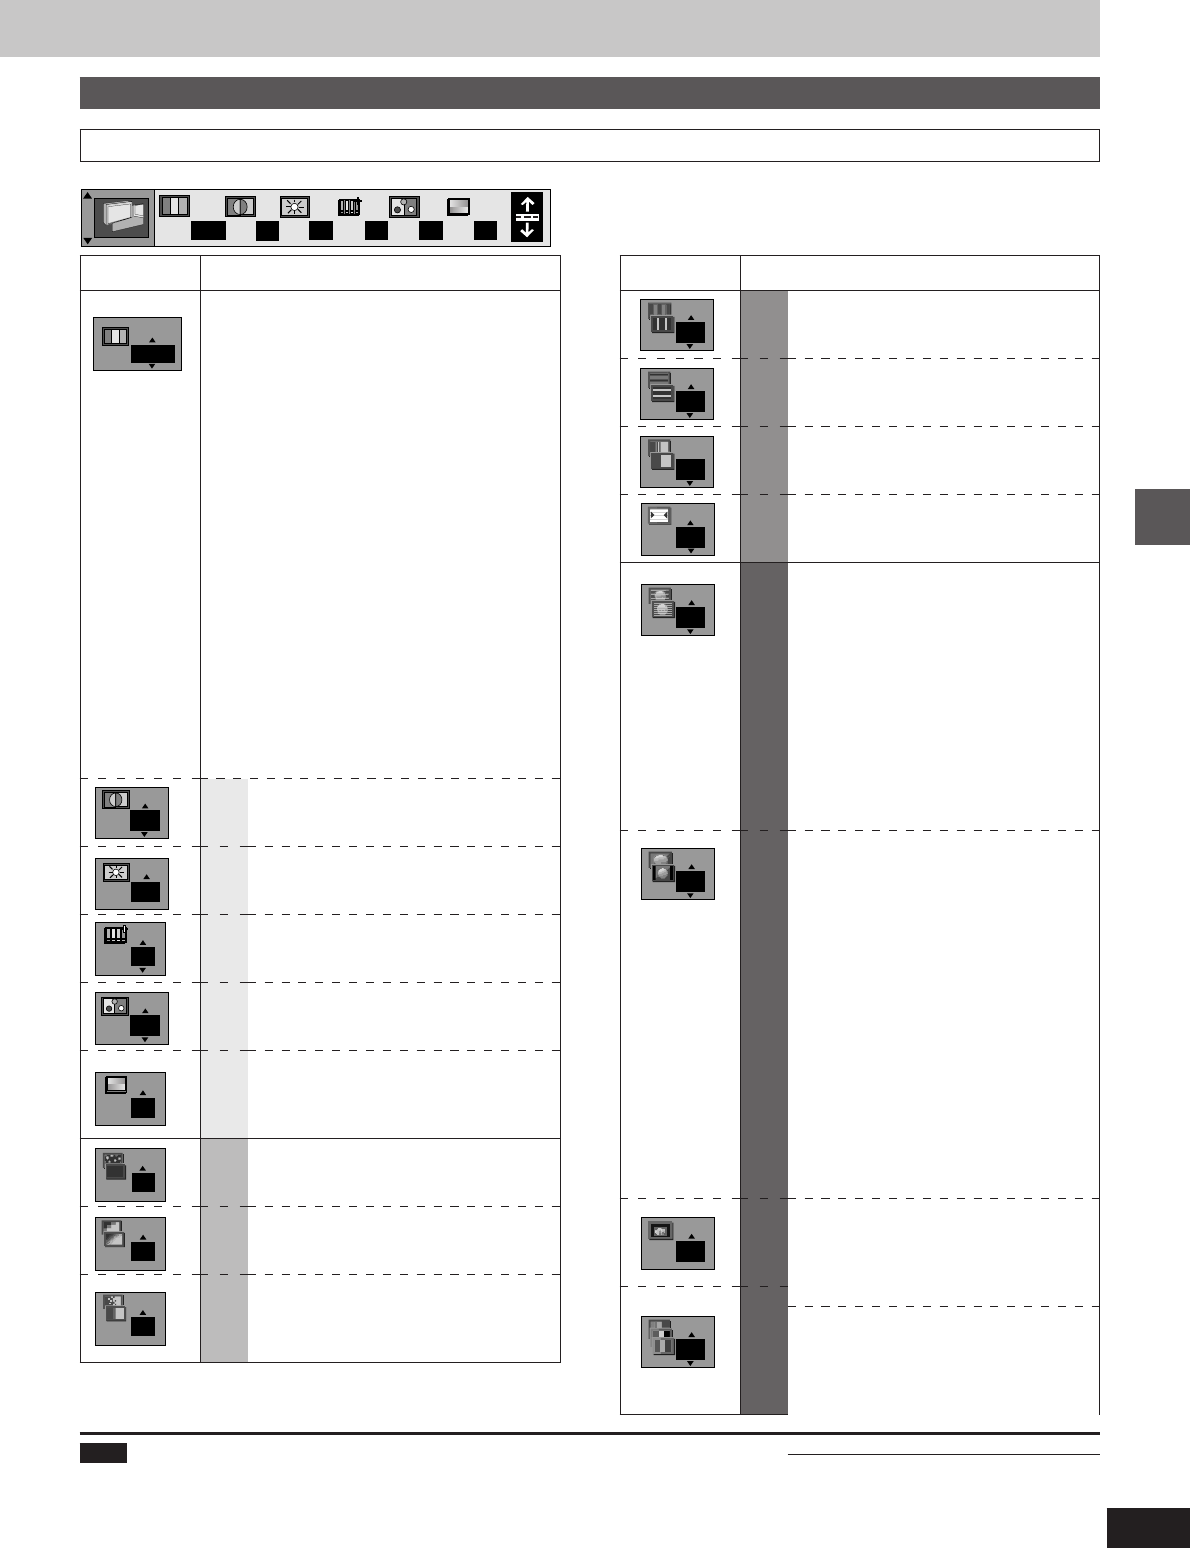
Icons for unit information
Video menu
Icon ContentIcon Content
[RAM] [DVD-A] [DVD-V] [VCD]
Digital picture mode
To select the picture mode: [3, 4]
N: Normal mode
S: Soft mode
(Soft picture with fewer video artifacts)
F: Fine mode (Details are sharper)
C: Cinema mode (Picture for viewing movies)
U1/U2/U3
¤
/U4
¤
: User mode
¤
These settings are only possible when the
PROGRESSIVE ON indicator is on
(➡ page 15).
³U4 settings are shown along with the N, S, F,
and C modes when the progressive output
indicator is on.
To change the user mode
1. Select User mode and press the cursor
button [1].
2. Press the cursor buttons [3, 4] to select
U1, U2, U3, or U4.
3. Press the cursor buttons [2, 1] to select
the item you want to change.
4. Press the cursor buttons [3, 4] to change
the setting.
N
0
0
U1
0
0 0 0 0
Contrast (j7 to i7)
Increases the contrast between light
and dark parts of the picture.
Brightness (0 to i15)
Brightens the picture.
Sharpness (j6 to i6)
Adjust the horizontal resolution of the
picture.
Color (j7 to i7)
Adjust the shade of the picture’s color.
Gamma (0 to i5)
Increases the brightness of the center
ranges to improve detail and contrast in
dark scenes.
3D-NR (0 to i4)
Reduces overall noise.
Block NR (0 to i3)
Smoothes block noise.
Mosquito NR (0 to i3)
Reduces the smudging that appears
around contrasting sections of the
picture.
U1
U2
0
0
0
0
0
0
High sharpness (j6 to i6)
Finely adjusts the sharpness of the
picture horizontally.
V sharpness (j1 to i2)
Increases the sharpness of the picture
vertically.
Edge (j3 to 0)
Improves edges in the background to reduce
fuzziness and improve the sense of depth.
TINT (j15 to i15)
Change the overall tint of the picture.
Transfer MODE
Select the method of conversion for
progressive output to suit the type of
material being played (➡ page 34,
“Film and video”).
Auto 1 (normal):
for viewing film material
Auto 2:
for viewing film material (the same as
Auto 1, but able to convert 30-frame
per second progressive video)
Auto 3:
for animated material (also able to
convert 30-frame per second
progressive video)
Video: for video material
4:3 ASPECT
Select how to show video on a
widescreen (16:9) television that is
compatible with progressive output.
Nor. (normal): The picture fills the
whole screen.
Auto: Letterbox format 4:3 aspect
video expands to fill the screen
or is shown in the center of the
screen with black bands
either side.
Shr. (shrink): The picture is shown in
the 4:3 aspect in the
center of the television.
Zoom: Select if video with an aspect of
4:3 recorded in the letterbox
format is not expanded when
“Nor.” or “Auto” is selected.
Shift Position (0 to i15)
Shift the picture to show subtitles.
(Works when the picture fills the screen
when 4:3 ASPECT is set to “Auto” or
“Zoom”.)
Output
Change the tone of the picture.
Nor. (normal): normal output
Sepia: sepia toning
Mono (monochrome): black and white
Nega: brightness and tone are
reversed
U3
¤
U4
¤
0
0
0
Auto1
Nor.
Nor.
e.g. U1
Note
The unit saves the settings you make with the user mode for each disc so when you play a disc again and select a user mode, the same settings
are selected. Discs you play for the first time use the previous settings. The unit can save settings for up to 200 discs. The settings for a disc are
not saved if you switch to normal, soft, fine, or cinema mode before opening the disc tray or switching the unit to standby.
0
0
