227
3 Shooting Video Snapshots
7
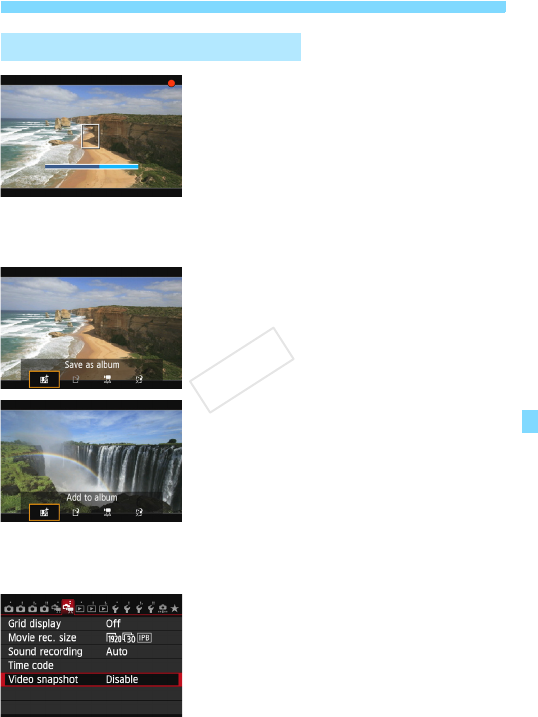
Shoot the first video snapshot.
Press the <0> button, then shoot.
The blue bar indicating the shooting
duration will gradually decrease. After
the set shooting duration elapses, the
shooting stops automatically.
After the LCD monitor turns off and the
access lamp stops blinking, the
confirmation screen will appear (p.228).
8
Save as a video snapshot album.
Press the <U> key to select [J
Save as album], then press <0>.
The movie clip will be saved as the
video snapshot album’s first video
snapshot.
9
Continue to shoot more video
snapshots.
Repeat step 7 to shoot the next video
snapshot.
Press the <U> key to select [J
Add to album], then press <0>.
To create another video snapshot
album, select [W Save as a new
album], then select [OK].
10
Exit the video snapshot shooting.
Set [Video snapshot] to [Disable].
To return to normal movie
shooting, be sure to set [Disable].
Press the <
M
> button to exit the
menu and return to the normal movie
shooting screen.
Creating a Video Snapshot Album


