207
Contents
Chapter Contents
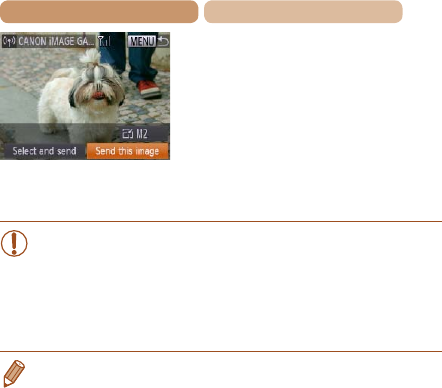
When you have connected
to the Web service, the
image transfer screen will be
displayed. Proceed to “Sending
Images” (=
230). However,
when [Send via Server] is
selected, images will be sent
as soon as a connection is
established (=
234).
•When you are in the vicinity of an access point that
you have previously connected to, the camera will
automatically connect to it in step 2. To change access
points, select [Switch Network] from the screen that will be
displayed when the connection is being established, and
follow steps 4 – 5 in “Adding a Computer” (=
219).
• After you have accessed the Wi-Fi menu once, you can access
it again by pressing the <o> button. The recent target device
islistedrst,soyoucaneasilyconnectagainbypressingthe
<o><p> buttons to choose it. To add a new device, display the
device selection screen by pressing the <q><r> buttons, and then
congurethesetting.
If you prefer not to display recent target devices, press the
<n> button, and on the [3] tab, choose [Wi-Fi Settings] >
[Target History] > [Off].


