7 − Copy function
TASCAM DV-RA1000HD 53
9 Enter or edit the text.
Use the
F1-F4 (cursor) keys to select a character
to edit, then use the JOG/DATA dial to change the
character.
You can also input characters using a keyboard
connected to the PS/2 connector.
10 After you edit the text, press the ENTER key.
The DV-RA1000HD displays a popup message
that requests conrmation for writing the data to
the CD.
11 Press the ENTER key.
The write operation starts.
When the write operation is complete, a message
appears, asking whether you wish to create an-
other audio CD using the same source les.
12 To create another audio CD, press the ENTER
key.
The DV-RA1000HD automatically opens the tray.
Insert a destination CD into the tray, then press
the ENTER key.
The DV-RA1000HD retracts the tray, then starts
to check the disc.
If you have inserted a CD-RW disc that already
contains data, the DV-RA1000HD displays a pop-
up message, asking whether you wish to delete
the data on the disc.
Press the ENTER key to delete the data on the
disc. To change the disc, press the CANCEL key.
The unit opens the tray and displays a popup
message that prompts you to insert a disc.
After you delete the data on a CD-RW disc, or
if you have inserted a blank CD-R/RW disc, the
DV-RA1000HD displays a popup message that
requests conrmation for writing to the CD.
Repeat the procedure from step 11.
If you have inserted any other disc, the unit
opens the tray and displays a popup message that
requests that you insert a disc.
If you do not wish to create another audio CD,
press the CANCEL key.
The DV-RA1000HD initiates a procedure to quit
copy mode.
During this procedure, the DV-RA1000HD dis-
plays a progress bar. When the procedure is
complete, then displays the home screen.
Copying tracks from a CD to the HD
You can copy the tracks on a CD into a 44.1kHz/24-bit
project on the HD of DV-RA1000HD. The tracks are
copied in BWF format.
Copy IDs on a CD are used for tracks in the project
play list. If copy-prohibited tracks are copied onto
the HD as BWF files, you will be unable to edit these
tracks (that is, you will be unable to divide or combine
these tracks), nor can you copy them to a CD-R/RW
disc.
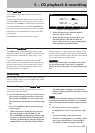
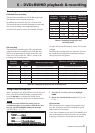
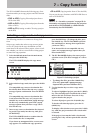
1 Select CD to HD in the copy menu screen.
2 Insert a copy source CD following the instruc-
tions on the screen.
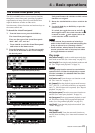
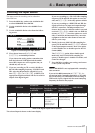
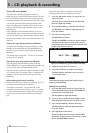
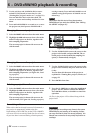
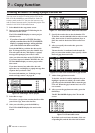
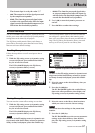
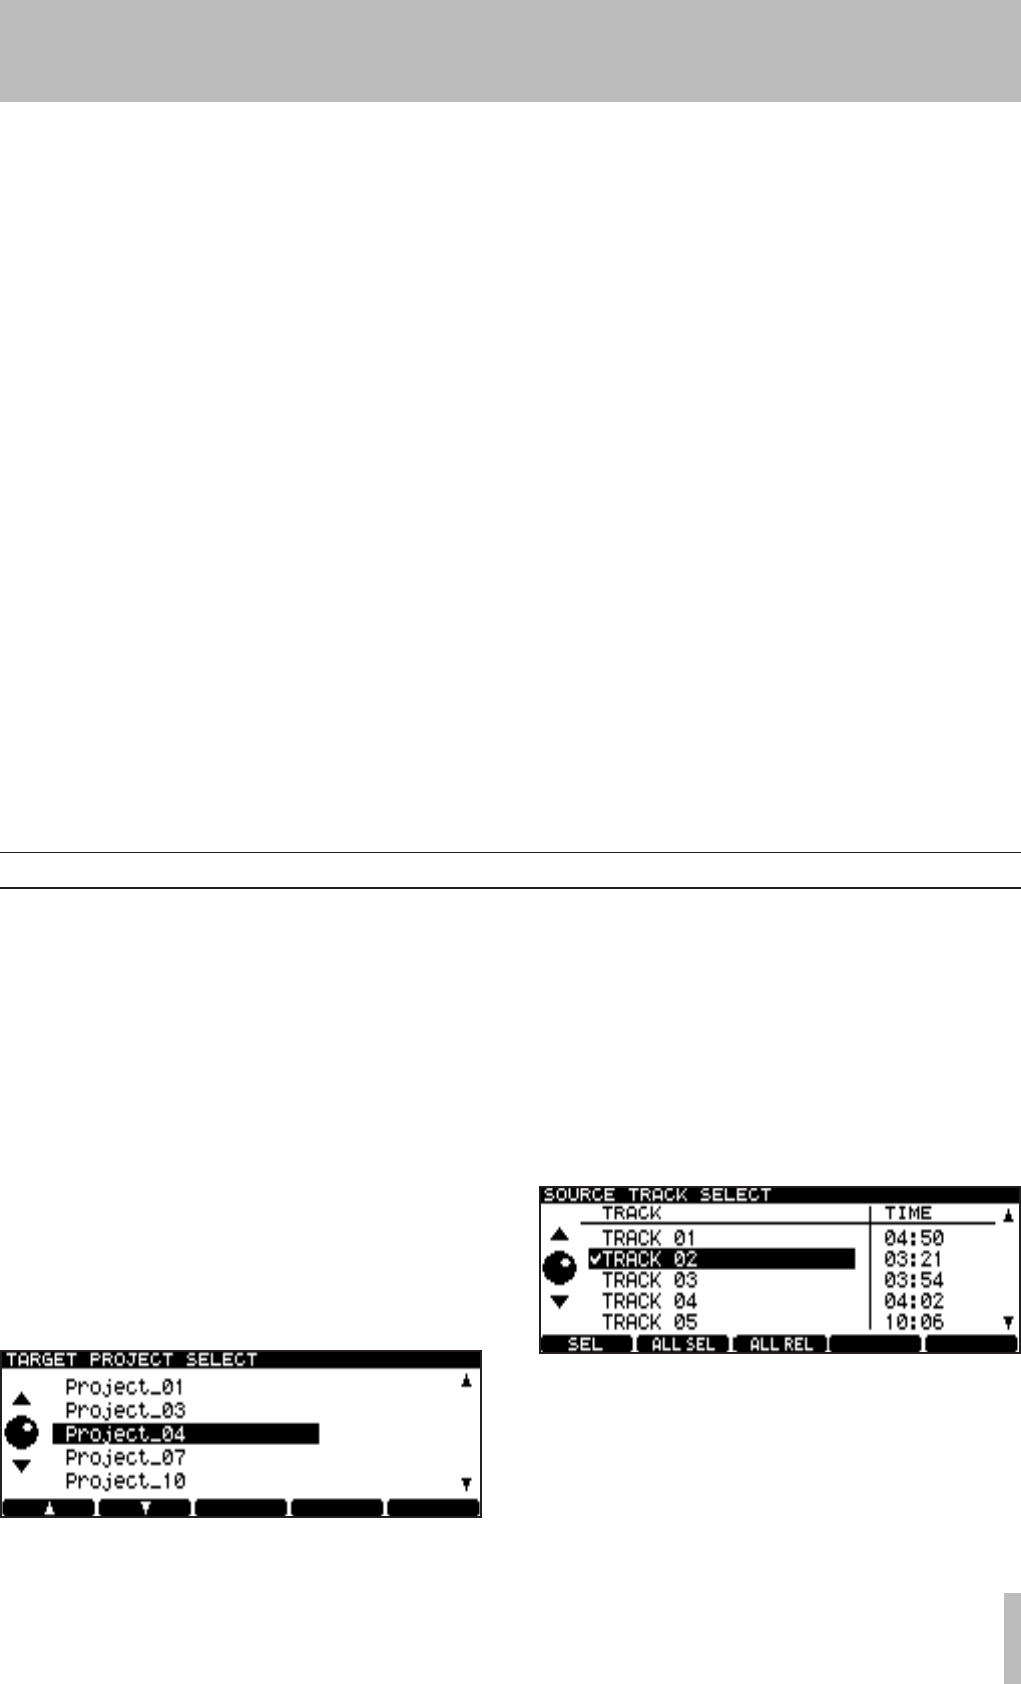
The
DV-RA1000HD displays a destination proj-
ect selection screen that includes a list of projects
that are in 44.1 kHz format on the HD.
Figure 7.10: Selecting a copy destination project
For more information, see “Selecting a copy
mode and copy source” on page 49.
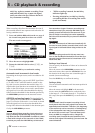
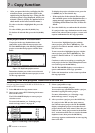
3 Use the F1 and F2 keys to select a project into
which you wish to copy the tracks.
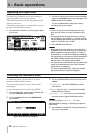
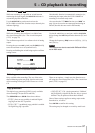
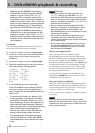
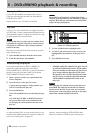
4 After selecting a project, press the ENTER key.
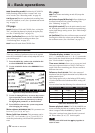
The
DV-RA1000HD displays in the source track
selection screen a list of all tracks on the CD. (Note
that tracks with Copy ID set to “Prohibit” will
not be included in the list.)
Figure 7.11: List of tracks on the CD
5 Select the tracks you wish to copy.
To select a highlighted track, press the
F1 (SELECT)
key. The selected track is marked with a check
mark to the left of its name.
Press the F1 key again to deselect the check-
marked tracks.