2G. Camera 79
Ⅲ
Review Media to go to the In Phone folderto review
yoursaved pictures.
Ⅲ
Set as to assign the picture. (See “Assigning
Pictures”below.)
Ⅲ
Delete to delete the picture you just took.
Ⅲ
Details/Edit to edit yourpicture ordisplay details
relating to yourpictures.
Assigning Pictures
Assign a picture as a screen saveroras a picture ID fora
Contacts entry.
1. Take a picture. (See steps 1–3 on page 78.)
2. With the picture displayed, press OPTIONS (right
softkey)> Set as and select an option.
Ⅲ
Picture ID to assign the picture to a Contacts entry.
Highlight an entry and press twice to assign
the picture.
Ⅲ
Screensaver to assign the picture as a screen
saver. Press to assign the picture.
Camera Mode Options
You can set various camera options by pressing the
following keys in camera mode.
Otheroptions can be displayed by pressing
OPTIONS
(right softkey).
ⅷ
Picture Mode to select a picture mode from Normal,
Beach/Snow, Scenery, MirrorImage, orNight/Dark.
ⅷ
Self-Timer to activate the camera’s timer. (See “Self-
Timer”on page 80.)
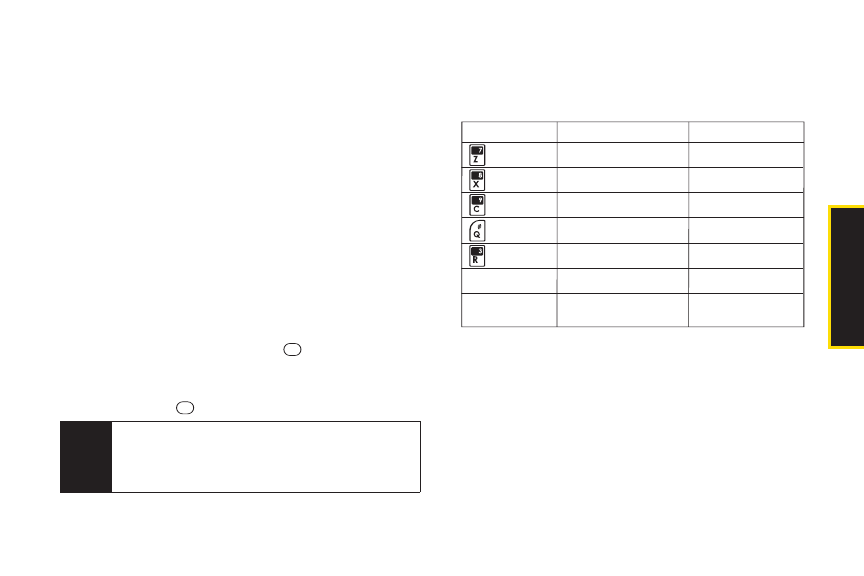
Key Description Note
Opens the Sharpness setting
pop-up window.
Opens the Contrast setting
pop-up window.
Opens the White Balance
setting pop-up window.
Opens the Brightness setting
pop-up window.
Shows/hides the status
indicators and softkeys.
Displays the User Settings
screen.
Sets zoom function.
Select Auto or Manual.
Select Auto or Manual.
Select an item shown in
“Camera Icons” on page 82.
Select Auto or Manual.
See “Saving Your Settings”
on page 82.
See “Zoom” on page 81.
Navigation Key
Up/Down
Navigation Key
Left/Right or Volume
Button Up/Down
Tip
You can also assign pictures from the My Albums
menu. See “In Phone Folder Options”or“Managing
Online Pictures From Your Phone”on page 83
and 88.
Camera


