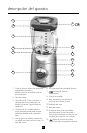
5
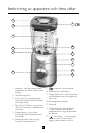
Figure 7
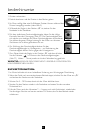
before using your blender
®
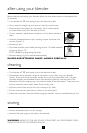
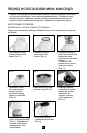
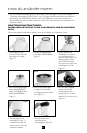
to disassemble the jar assembly and wash the lid, feeder cap, blade
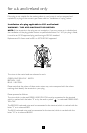
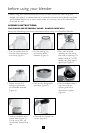
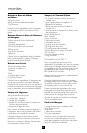
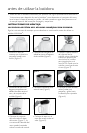
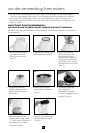
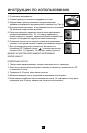
ASSEMBLY INSTRUCTIONS:
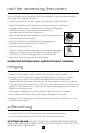
THE BLADES ARE EXTREMELY SHARP. HANDLE CAREFULLY.
®
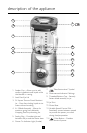
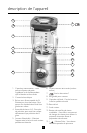
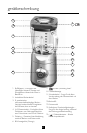
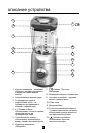
Blender:
that the small opening is
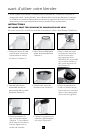
1
be centrally located over
Figure 3
Figure 4
assembly on the rim of
Blades may drag slightly
around the blade
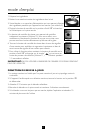
Figure 5
Figure
1
Figure 2
sealing ring between
jar and blade assembly
cap over small jar
opening and turn it
clockwise to tighten
Figure 6
Figure 8