6. How to Operate
65
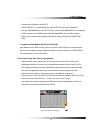
▫ Connect the USB devices to the DVR
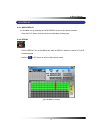
▫ Click the SETUP icon on the MENU bar, and the SETUP menu will be displayed.
▫ Click the DISK MANAGER in the SETUP menu, and the DISK MENAGER will be displayed.
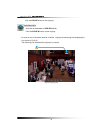
▫ Click the mouse on the USB button in the DISK MANAGER, and you will be asked.
▫ Click the OK, and then the progressive bar will be showing along with FORMATTING
USB….
In regards to blank Medias (CD-R/W and DVD-R/W)
Most Medias can be used with the system, but some of them may be not compatible with.
Refer to the included instructions related to Medias or visit the website of DVD/CD DRIVE
unit manufacturer for more information.
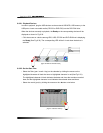
6-10.2. Set the Copy Start Time (Copying extent)
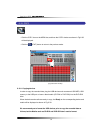
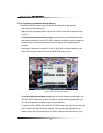
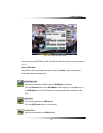
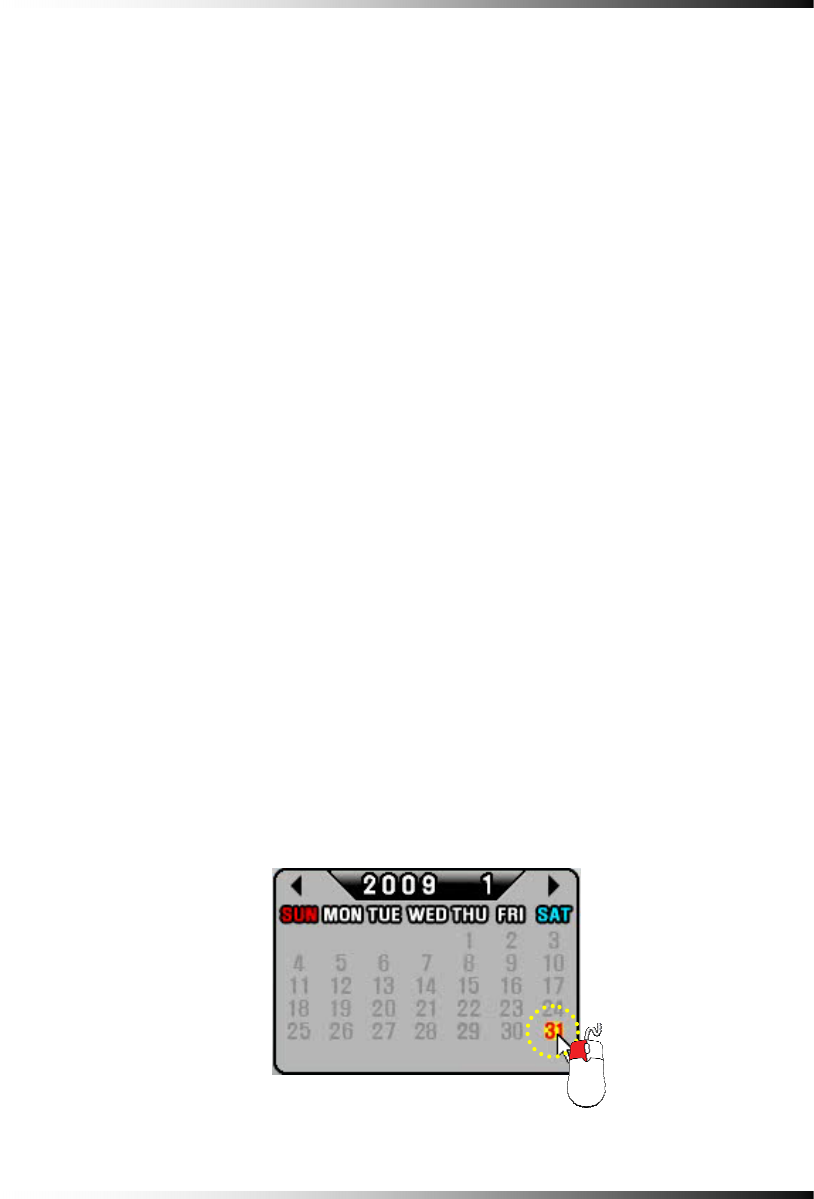
▫ Select the Date (year / month / day) on the calendar by clicking the mouse on the
highlighted character in red that turns to highlighted character in black (See Fig.6-39).
The highlighted character in black indicates the dates and times that contains recorded
data, and the highlighted character in red indicates the selected dates and times.
▫ Select the month (year) by clicking the mouse on the ◄button or ► button.
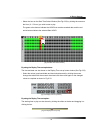
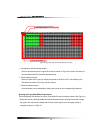
▫ Select the hour on the Copy Start Time and Channel Selection Window (See Fig.6-40) by
clicking the mouse on the Hour (0 – 23 hour) you wish to start to copy.
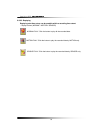
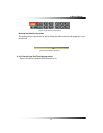
The green active buttons indicate the HOUR that contains recorded data, and the red
active buttons indicate the selected Start HOUR.
[Fig.6-39 Calendar for Copying]


