PLAYBACK RECORDING
4342
Follow the instructions below to record a TV program.
1 Turn on the DVD Recorder+VCR and load a recordable disc or tape.
Make sure your TV input is set to view the DVD Recorder+VCR.
2 Set the desired Recording mode by pressing [REC MODE] repeatedly.
DVD: HQ (High Quality - 1 hr/disc), SP (Standard Play - 2 hrs/disc), EP (Extended Play - 4 hrs/disc), or SLP
(Super Long Play - 6 hrs/disc).
VCR: SP (Standard Play), LP (Long Play - 2 times SP)
3 If your DVD Recorder+VCR does not show a TV program, press [TV VIEW] on the remote control. Use [PR+/–] to
select the TV channel you wish to record.
4 Press [AUDIO] to select the audio channel to record (Stereo, BIL, or Mono).
The table below shows what audio channel will be recorded with different settings and different types of
broadcasts.
The last column (Monitor Audio) shows what you will hear during recording. For example, if the TV
broadcast is in Stereo, then setting the DVD Recorder+VCR to Stereo will record the broadcast in Stereo,
and the Monitor Audio will also be in Stereo.
5 Press [REC (●)] once.
Recording will start. The REC indicator lights on the front panel display.
Recording continues until you press [STOP] or the disc is full.
To record for a fixed length of time, see One Touch Record on the next page.
6 Press [STOP (■)] to stop recording.
Recording from TV
Basic Recording
Basic Recording
• The maximum number of DVD titles per disc is 49. If the DVD Recorder+VCR is powered off during DVD recording,
the recording will not be saved.
• If a DVD+RW or unfinalized DVD+R disc is inserted in the tray, no title is played automatically after loading is
finished.
• If you are recording to a blank DVD+R (+RW) disc, it may take up to 7 minutes (it depends on disc) for post
processing after recording.
Broadcast Audio Monitor
L Ch R Ch Audio
MONO MONO MONO MONO MONO
STEREO L R STEREO
MONO MONO MONO MONO
BIL I BIL I BIL I BIL I
BIL BIL II BIL II BIL II BIL II
(BIL Off) (BIL I) (BIL I) (BIL Off)
TV Broadcast
STEREO
Selected Audio
Other Disc Playback
3
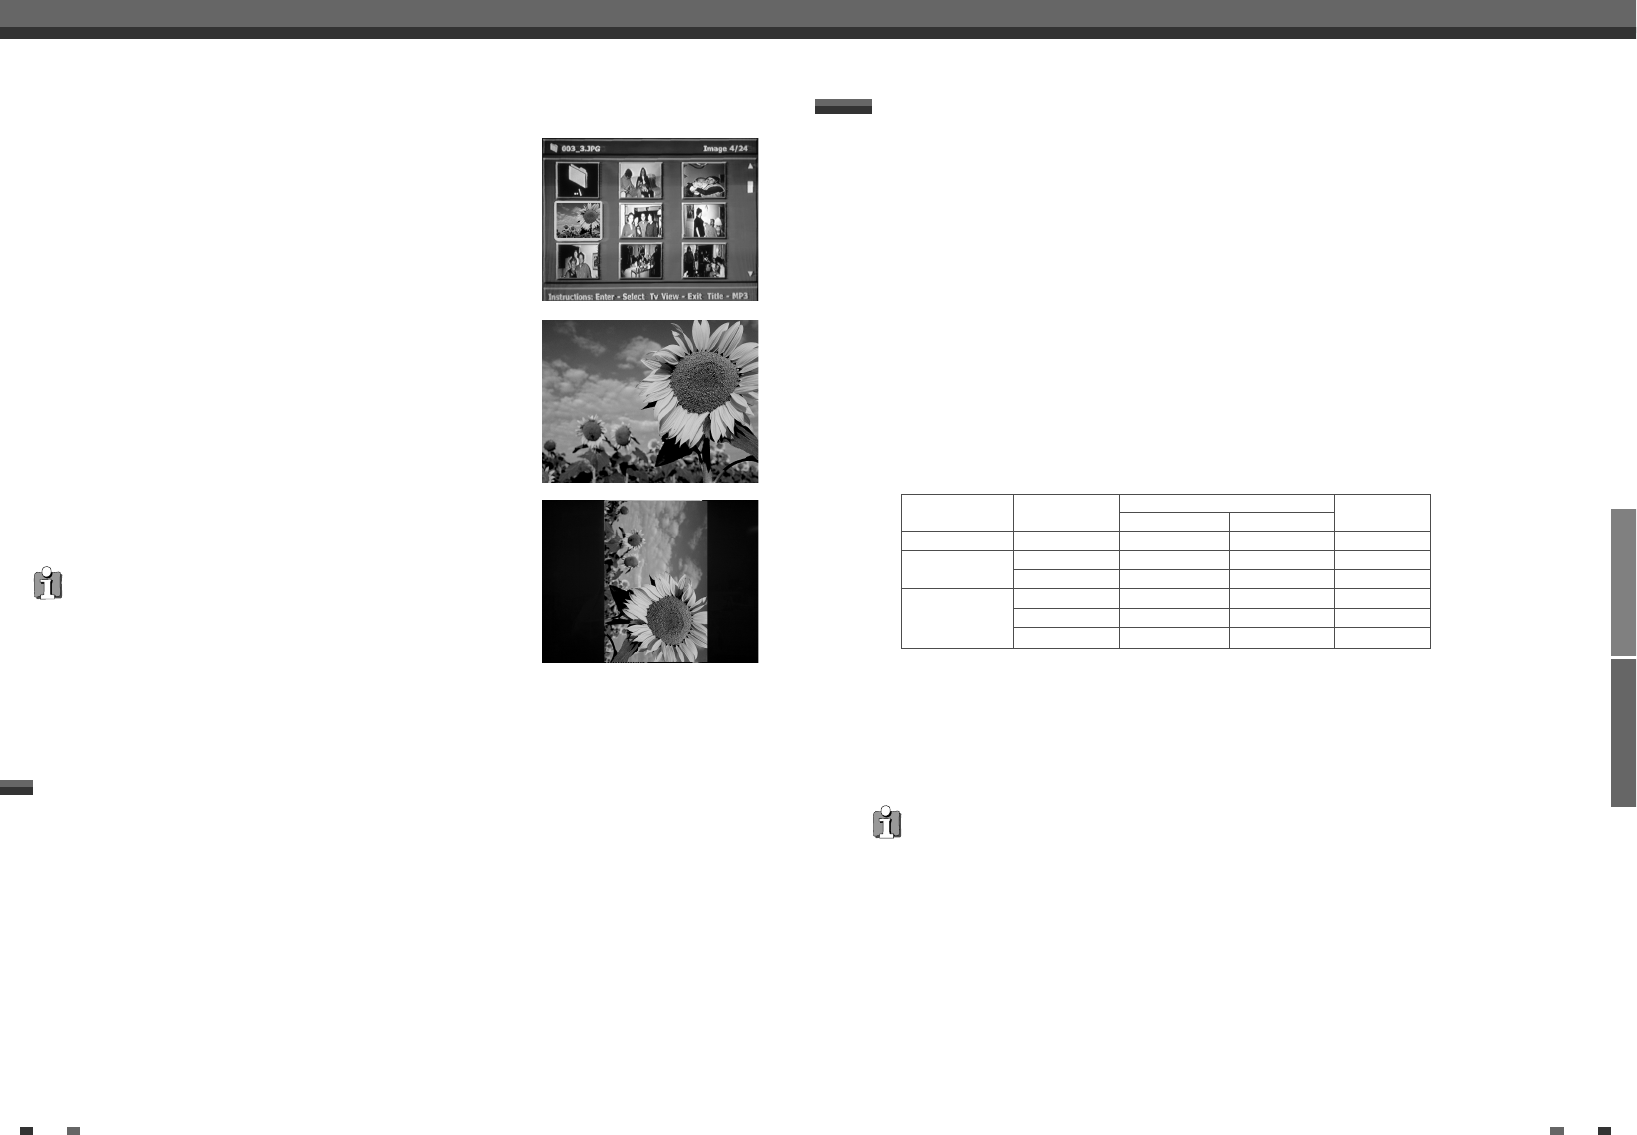
Select the thumbnail you want to display using [
…†œ √
] and press
[ENTER].
4
The full size image will be displayed and a slide show starts
automatically with a time interval of 10 seconds.
5
Press [NEXT] or [PREV] to manually skip to the next or previous image.
6
Press [
√
] (or [
œ
]) to rotate the image (counter) clockwise.
7
Press [STOP] to exit the slideshow.
• If the disc contains MP3 files as well as JPEG files, you can change the
Play mode to play MP3 files by pressing [TITLE].
• When a CD contains both MP3 files and JPEG files, the default Play
mode is JPEG image files.
• The DVD Recorder+VCR can playback up to 1000 files per disc.
• MP3 files encoded below 64kbps are not supported.
You can enjoy a slide show while listening to MP3 music files.
1
Prepare a CD which includes both MP3 and JPEG files.
2
Insert the CD and play an MP3 file.
3
Press [TITLE] while playing the MP3 file to change the Play mode. The music playback will not stop.
4
Select an image file and press [ENTER] to start the slide show.
5
The MP3 file you selected continues to play during the JPEG slide show.
Playing MP3 Files During a Slide Show


