Using a USB flash drive
35
DX-32L200A12/DX-37L200A12/DX-46L262A12
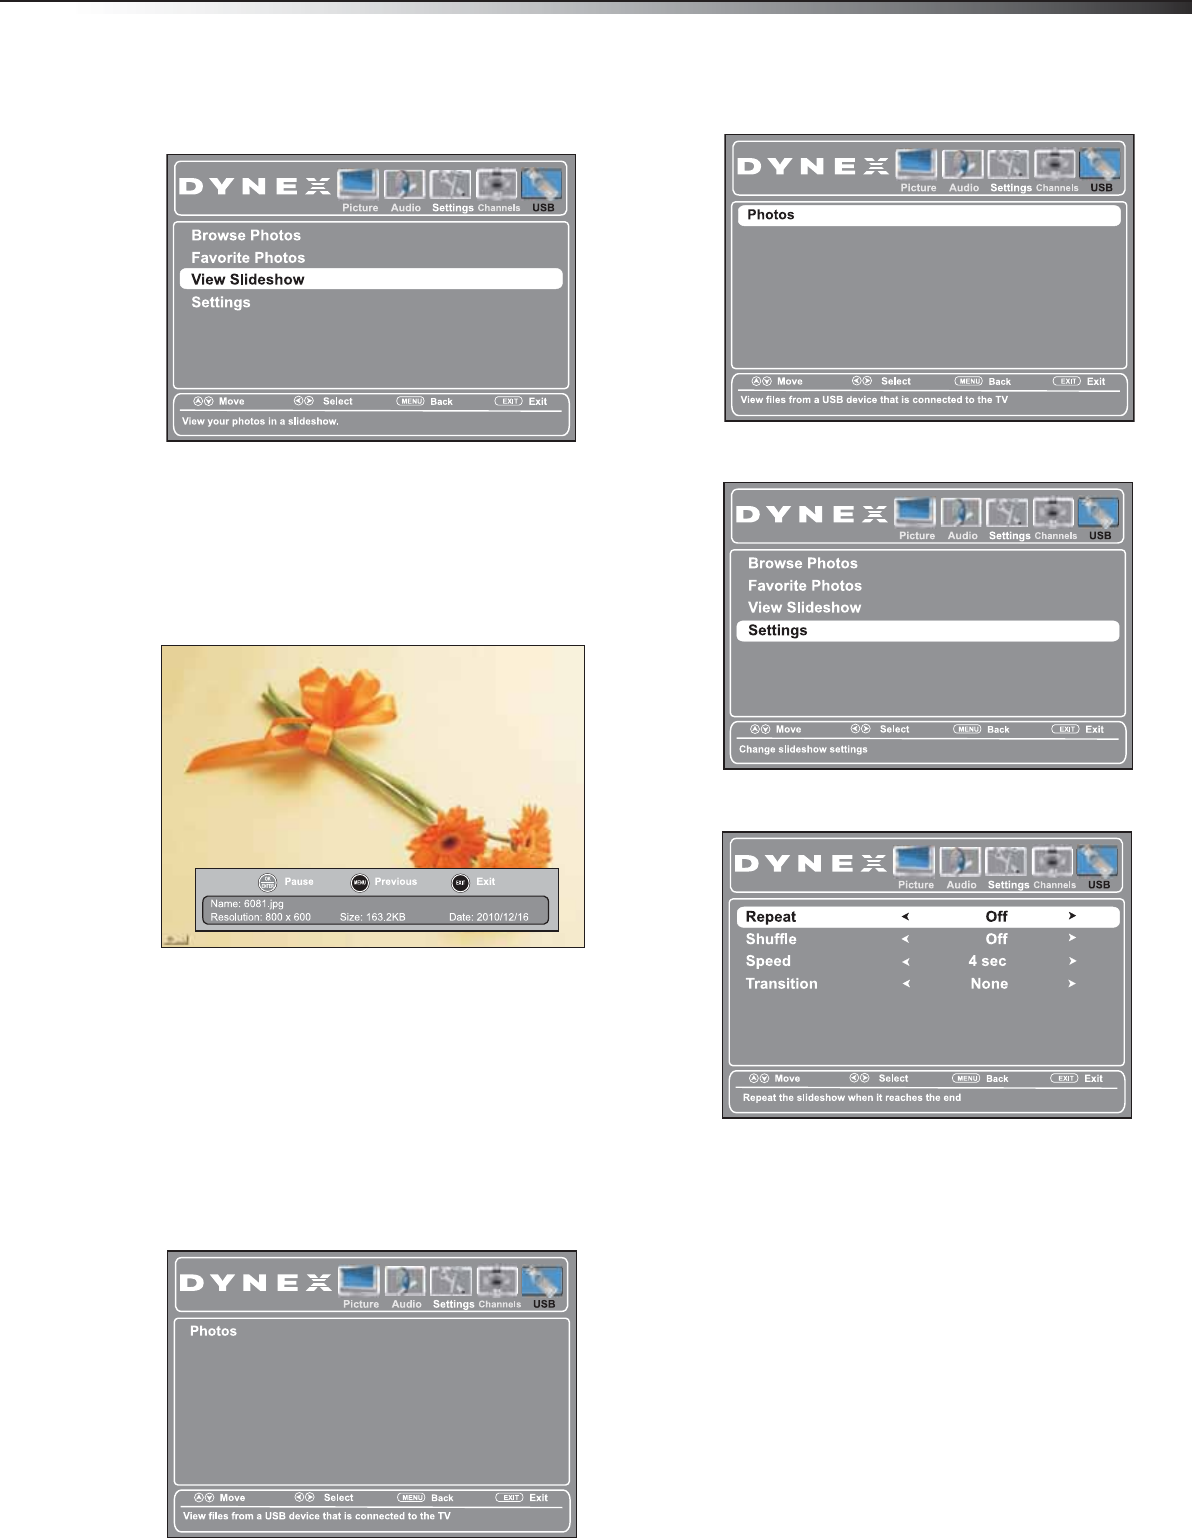
4 Press ENTER to access the menu. The USB Photos
menu opens.
5 Press or to highlight View Slideshow, then
press ENTER. A slideshow begins with the first photo
in the current folder.
When a photo is displayed full screen, a control bar
appears at the bottom of the photo. The file name,
picture resolution, size, and date are displayed on
the bottom of the control bar. If you do not press a
button within 10 seconds, the control bar closes.
Press any button to open the control bar again.
6 To control the slideshow, press:
• ENTER to pause or start the slideshow.
• EXIT to exit the slideshow and return to the
thumbnail index.
• MENU to return to the USB menu.
Customizing slideshow settings
You can customize the slideshow settings by selecting
Repeat, Shuffle, Speed, and Transition settings.
To customize slideshow settings:
1 Switch to USB mode (see above).
2 Press MENU. The USB menu opens.
3 Press to access the menu. Photos is highlighted.
4 Press ENTER to access the menu. The USB Photos
menu opens.
5 Press or to highlight Settings, then press
ENTER. The USB Photos Settings menu opens.
6 Press or to highlight an option, then press
ENTER. You can select:
• Repeat—To repeat the slideshow when it
reaches the end. You can select On or Off.
• Shuffle—To display the photos in random order.
You can select On or Off.
• Speed—To set the amount of time a photo is
displayed before the next photo is shown. You
can select 4 sec, 6 sec, or 8 sec.
• Transition—To select the way photos transition
when moving to the next file in the slideshow.
You can select:
• None—for no transition effect.
• Fade to Black—to fade the screen to black
between photos.
• Vertical Wipe—to wipe the screen from top
to bottom between photos.
• Horizontal Wipe—to wipe the screen from
left to right between photos.
DX-32L-37L-46L_11-1082_MAN_V2_EN.book Page 35 Tuesday, November 22, 2011 1:09 PM


