


6
Setting up your TV
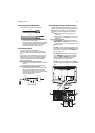
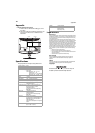
Using the remote control
To use the remote control:
• Point the remote control towards the remote sensor on the front
of your TV.
Notes:
Do not expose the remote control to shock or liquids.
Do not use the remote control in an area with high humidity.
Do not place the remote control in direct sunlight.
Do not place objects, such as furniture, between the remote control and
the remote sensor.
The remote control may not work if direct sunlight or bright light shines on
the remote sensor. Either move your TV or change the angle at which
you use the remote control.
Setting up your TV
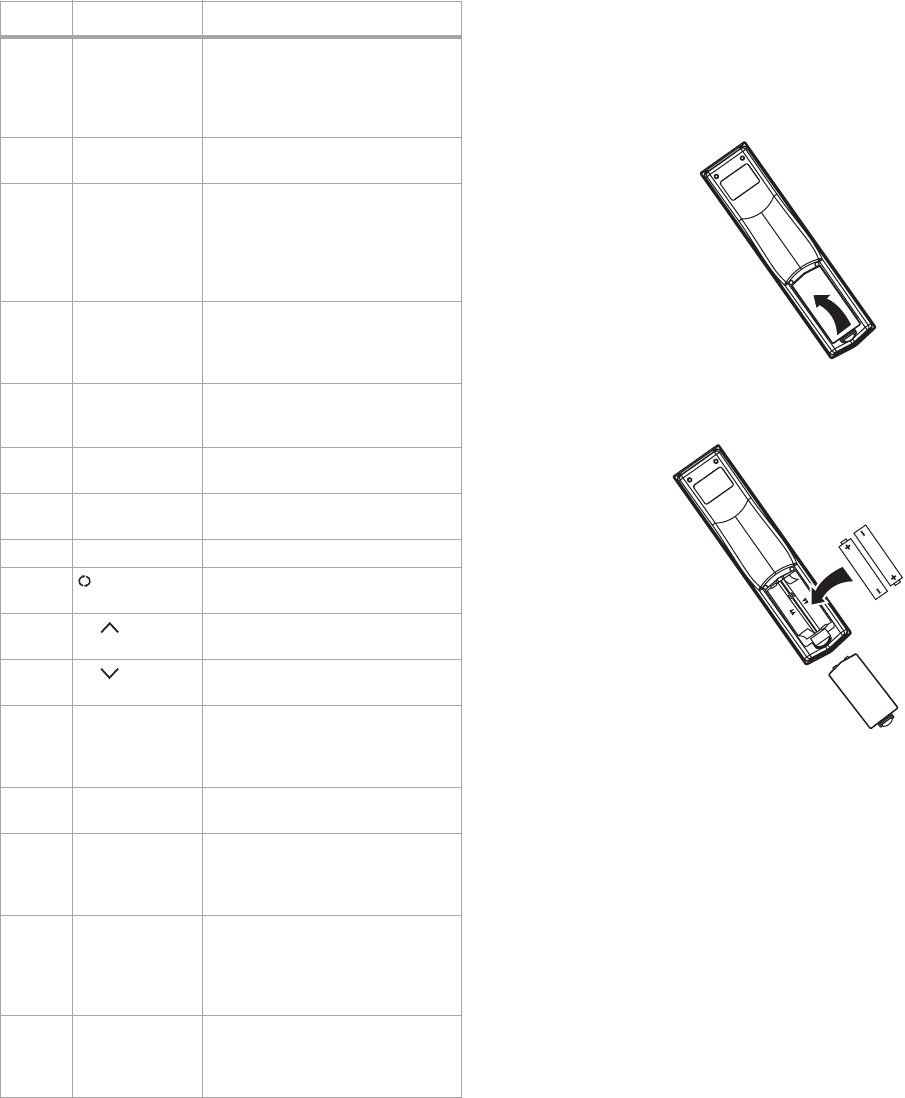
Installing remote control batteries
To install the remote control batteries:
1 Remove the battery cover.
2 Insert two AAA batteries into the battery compartment. Make
sure that you match the + and – symbols on the batteries with
the + and – symbols in the battery compartment.
3 Replace the cover.
Notes:
Do not mix batteries of different types.
Do not mix old and new batteries.
Remove batteries when the charge is depleted.
Battery chemicals can cause a rash. If the batteries leak, clean the battery
compartment with a cloth. If chemicals touch your skin, wash
immediately.
If the remote control is not going to be used for an extended period of time,
remove the batteries.
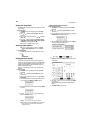
Connecting your TV to a power outlet
To connect your TV to a power outlet:
• Plug the power cord into a power outlet.
Notes:
Make sure that you use the correct type of power. See the label on your TV.
If you do not intend to use your TV for an extended period of time, unplug
the power cord from the power outlet.
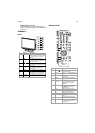
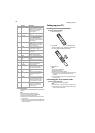
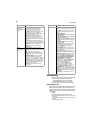
13 P.LOCK Press to activate or deactivate
parental controls. See “Setting
parental controls” on page 10 for
information on setting up
parental controls.
14 ZOOM Press to select the display aspect
ratio.
15 MTS/SAP In NTSC mode, press to select one
of the preset audio modes. You
can select MONO, STEREO, or
SAP (secondary audio program).
In ATSC mode, press to select the
audio language.
16 PICTURE Press to select the Brightness or
Contrast setting. You can adjust
these settings without opening
the on-screen menu.
17 SLEEP Press to set the sleep timer. For
more information, see “Setting
the sleep timer” on page 10.
18 COMP Press to select the component
source mode.
19 TV Press to select the ATSC (digital),
or NTSC (analog) TV source.
20 HDMI Press to select the HDMI mode.
21
RECALL
Press to watch the previous
channel.
22
CH
Press to tune to the next higher
channel in the channel list.
23
CH
Press to tune to the next lower
channel in the channel list.
24 FAVORITE Press to toggle the
Favorite/Normal mode. See
“Setting up the channel list” on
page 8 for more information.
25 EXIT Press to close the on-screen
menu.
26 CCD Press to turn closed captions on
and off. For more information, see
“Viewing closed captions” on
page 10.
27 FREEZE Press to freeze the video image.
Press again to unfreeze the
image. Do not freeze the video
image for long periods of time.
You may damage the TV screen.
28 AUDIO Press to select the Bass or Treble
setting. You can adjust these
settings without opening the
on-screen menu.
# Button Description