


Using your TV
9
Changing channels
To change channels:
•Press CH or CH on the remote control to go to the next
lower or higher channel.
Or
Press the number buttons to directly select a channel (for
example, if you want channel 83, press 8, then press 3).
Or
Press RECALL to go to the last viewed channel.
Selecting a digital sub-channel
Most digital TV channels have more than one channel. The main
channel carries the signal for the main TV program. The sub-channels
carry signals for additional or alternate programming, such as a radio or
news broadcast.
For example, if the main channel number is 8, the sub-channel number
might be 8-1, 8-2, or 8-3.
To select a sub-channel:
1 Press the number buttons for the main channel (for example 8).
2 Press –, then press the sub-channel button (for example 1).
Adjusting the volume
To adjust the volume:
•Press VOL – or VOL + to decrease or increase the volume.
•Press MUTE to turn off the sound. Press MUTE again to turn the
sound back on.
Displaying status information
To display status information:
•Press DISPLAY. Your TV displays status information, such as the
channel number or signal source.
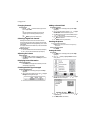
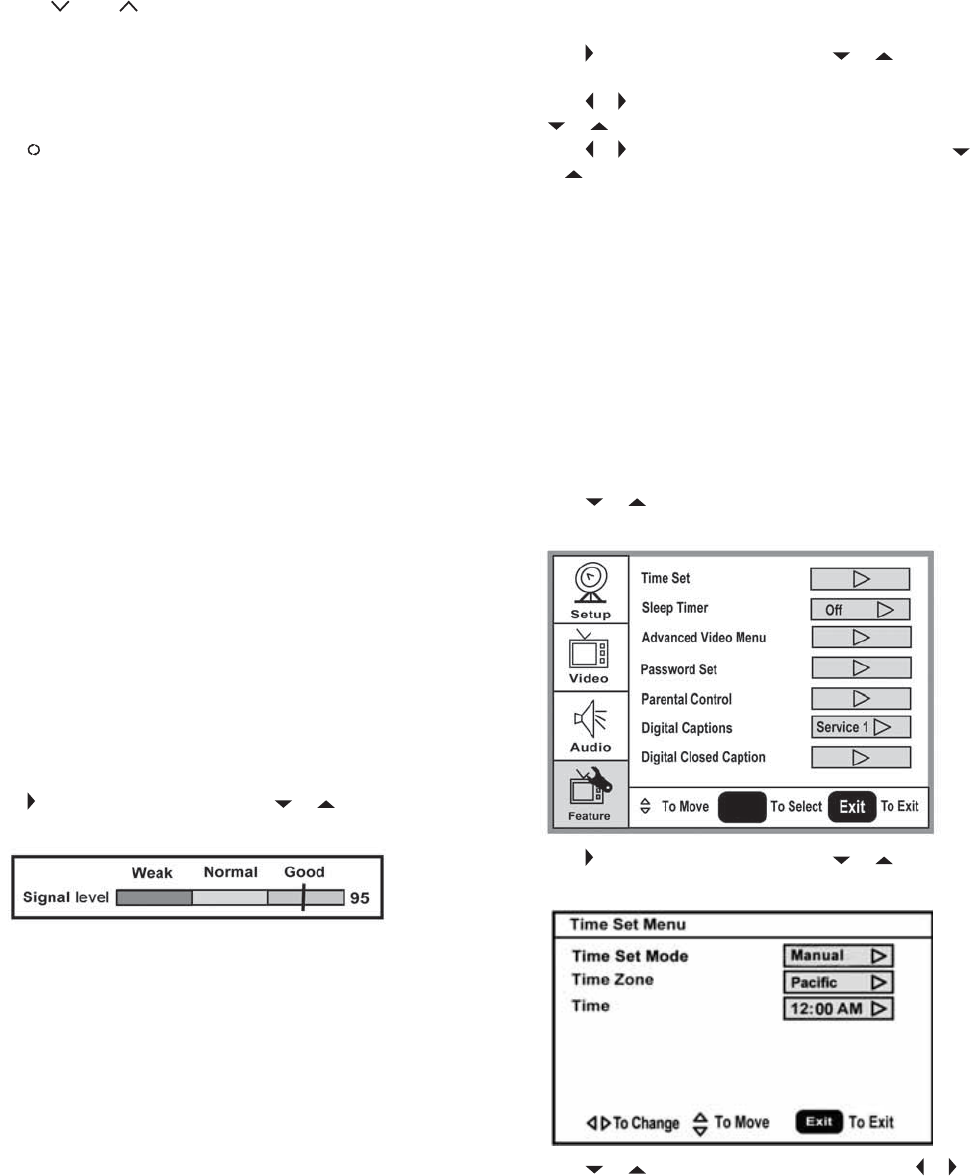
Checking the DTV signal strength
To check the DTV signal strength:
1 Press MENU. The on-screen display menu opens with Setup
highlighted.
2 Press to enter the sub-menu, then press or to highlight
DTV Signal. The DTV signal meter opens.
3 Press MENU or EXIT to close the menu.
Adding a channel label
To add a label to a channel:
1 Press MENU. The on-screen display menu opens with Setup
highlighted.
2 Press to enter the sub-menu, then press or to highlight
Channel Labels. The Channel Label menu opens.
3 Press or to move the cursor to the channel field, then press
or to select a channel.
4 Press or to move the cursor to the label field, then press
or to select the character.
5 Press ENTER to return to the previous menu.
Freezing the picture
You can freeze (still) the screen image.
Caution: To protect your TV, do not freeze the screen image for long
periods of time.
To freeze or unfreeze the picture:
•Press FREEZE.
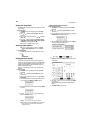
Setting the clock
To set the clock:
1 Press MENU. The on-screen display menu opens with Setup
highlighted.
2 Press or repeatedly to highlight Feature. The Feature
menu opens.
3 Press to enter the sub-menu, then press or to highlight
Time Set. The Time Set menu opens.
4 Press or move to the different fields, then press or to
change the settings.
5 Press MENU or EXIT to close the menu.
ENTER