31
Recording
Basic recording
Recording Playing discs EditingBefore you start
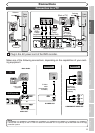
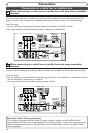
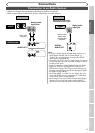
Connections Getting started
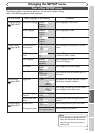
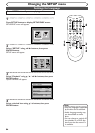
Changing the SETUP menu
Others Español
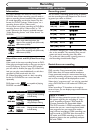
Note
• Recording starts immediately
and continues until the disc is
full or you stop recording.
• When the clock setting has
not been made, the space for
a date and time of title names
in the original or playlist will
be blank.
•You cannot mix two formats
on one DVD-RW disc.
When you load a disc once
recorded before, the record-
ing format cannot be changed
even you change it in SETUP
menu.
•You cannot change the
recording speed during the
REC pause mode.
•You can change a channel
during the REC pause mode.
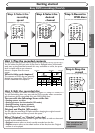
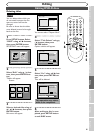
Follow the steps below to record
TV programs.
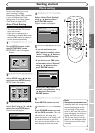
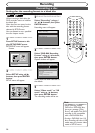
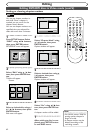
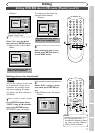
1
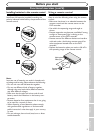
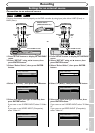
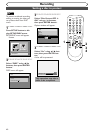
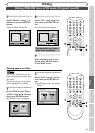
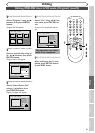
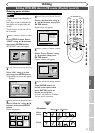
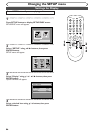
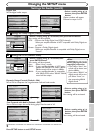
Turn on the DVD recorder
and load a recordable disc.
Make sure that the TV input is set
on the DVD recorder.
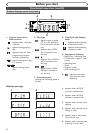
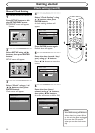
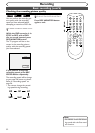
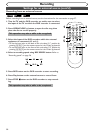
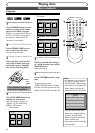
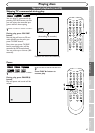
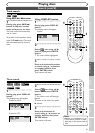
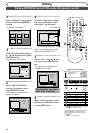
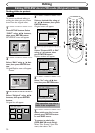
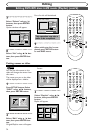
2
Select a recording speed
using REC SPEED button.
Refer to “Recording speed” on
page 26.
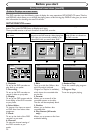
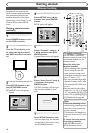
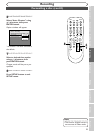
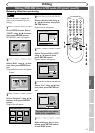
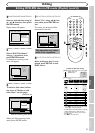
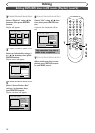
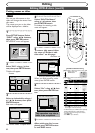
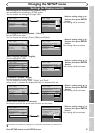
3
Make sure that the recording
format is set to the desired
mode.
Refer to “Formatting a disc” on
pages 28-30.
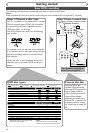
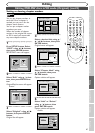
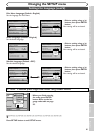
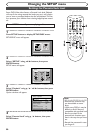
When a DVD-RW disc is
loaded:
Yo u can choose Video mode or
VR mode from SETUP menu.
“Video mode” has been selected
as the default. Refer to “Settings
for the recording format to a
blank disc” on pages 28-29.
When a DVD-R disc is loaded:
DVD-R discs will always be in
Video mode.
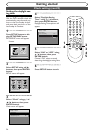
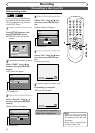
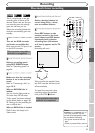
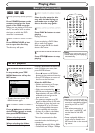
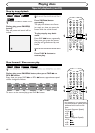
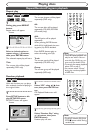
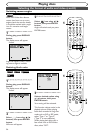
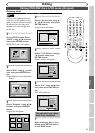
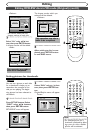
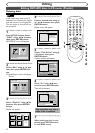
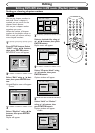
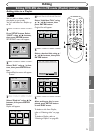
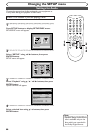
4
Select a desired channel to
record using CH
K / L but-
tons or number buttons.
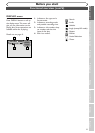
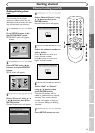
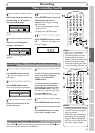
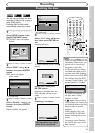
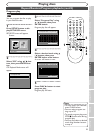
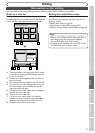
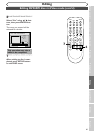
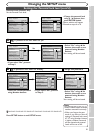
5
Press REC button to start
recording.
REC mark will be displayed for 5
seconds.
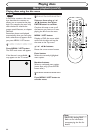
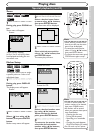
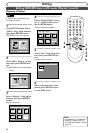
To pause the recording, press
PAUSE
F button. Press REC but-
ton to restart the recording.
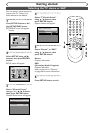
6
Press STOP C button to stop
the recording.
This operation may take a
while to be completed.
PROG.