49
Special playback (cont’d)
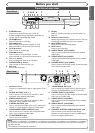
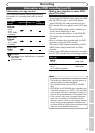
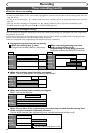
Playing discs
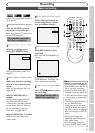
Recording Playing discs EditingBefore you start
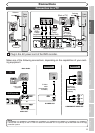
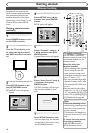
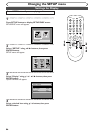
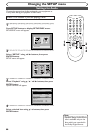
Connections Getting started
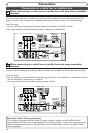
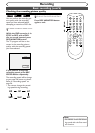
Changing the SETUP menu
Others Español
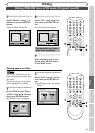
Note
•When selecting a smaller factor
than the current one, the zoom
area will not be displayed.
•To cancel the zoom function,
select x1.0 using { / B buttons,
then press ENTER button.
•To remove the zoom menu, press
ZOOM button again at step 1.
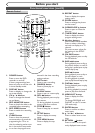
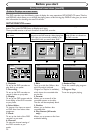
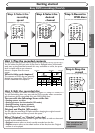
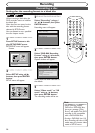
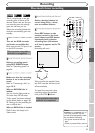
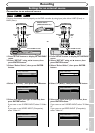
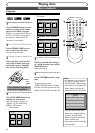
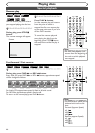
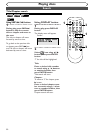
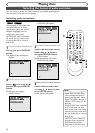
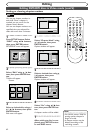
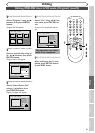
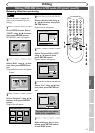
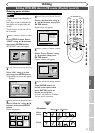
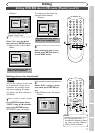
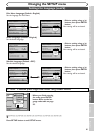
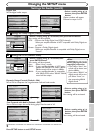
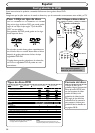
Zoom
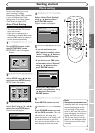
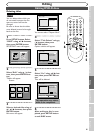
1
During play, press ZOOM but-
ton.
Zoom menu will appear.
Screen:
There are four options
(x1.0,x1.2,x1.5 and x2.0), these
are displayed excluding the cur-
rent zoom rate.
2
Select a desired zoom factor
to zoom using { / B buttons,
then press ENTER button.
The zoom area will be displayed.
3
Select a desired zoom position
using
K / L / { / B buttons, then
press ENTER button.
The zoom play will start.
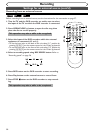
1
2
3
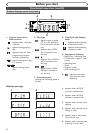
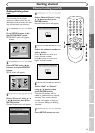
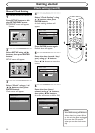
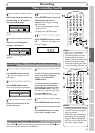
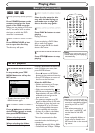
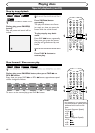
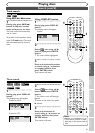
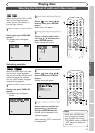
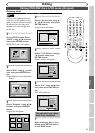
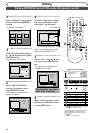
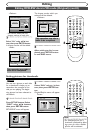
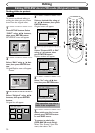
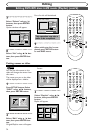
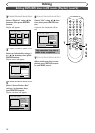
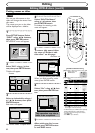
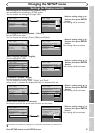
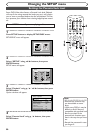
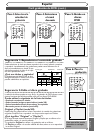
Marker Setup
This feature allows you to assign
a specific point on a disc to be
called back later.
1
During play, press DISPLAY
button.
The display menu will appear.
Screen:
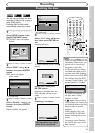
2
Select icon using { / B
buttons, then press ENTER
button.
Marker setup menu will appear.
Screen for DVD:
Screen for CD:
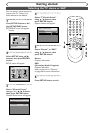
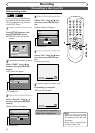
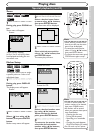
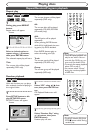
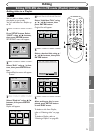
3
Select a desired marker num-
ber using
{ / B buttons.
When reaches the desired
point, press ENTER button.
4
To return to the marker later,
select the desired marker
number using { / B buttons,
then press ENTER button.
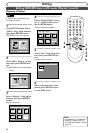
Note
•To clear a marker, select the
marker number to be cleared,
then press CLEAR button.
• All markers will be erased
when you operate these opera-
tions listed below.
– Opening the disc tray.
– Turning off the power.
– Recording to a recordable
disc.
–
Changing the mode between
Original and Playlist.(VR mode)
•You can mark up to 6 points.