E-32
OTHER ADJUSTMENTS (FEATURES MENU)(Continued)
• Assigning Numbers to Displays (Monitor No.)
When you use two or more displays, you can use a single remote control to control individual
displays by assigning a unique number to each of the displays.
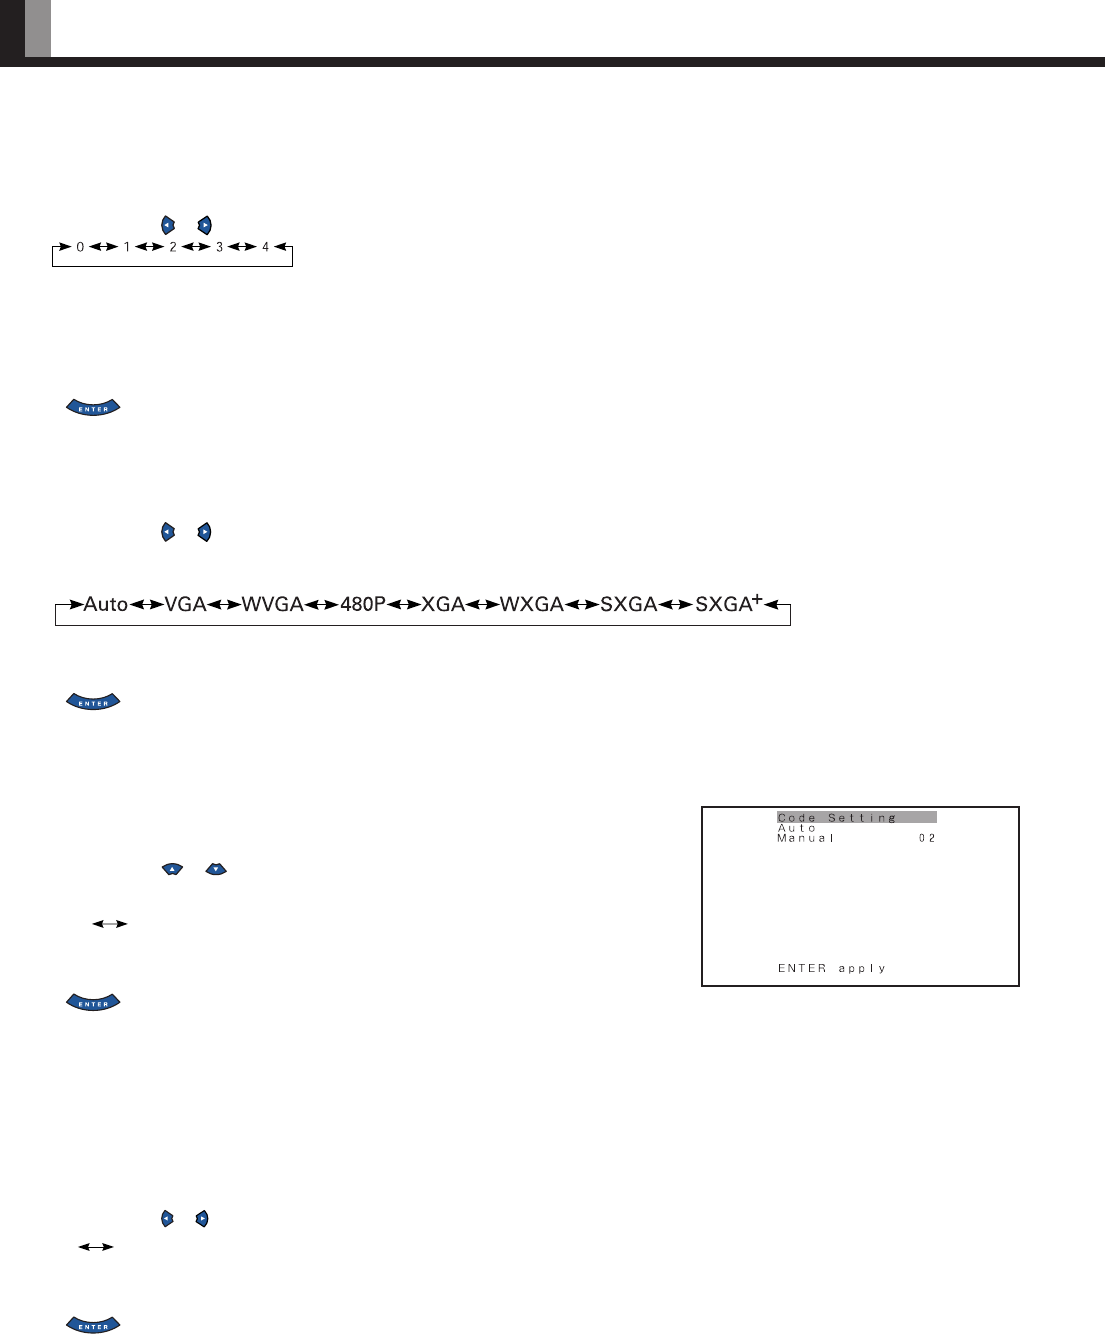
Each time you press or , one of the available numbers appears in the following sequence:
0: You can normally control displays.
You cannot control displays if you press any of [SHIFT 1] through [SHIFT 4].
1–4: Allows you to control a desired display by pressing the corresponding button (one of
[SHIFT 1] through [SHIFT 4]).
When you do not press any of the SHIFT buttons, you can control all displays.
Press to store.
* You can check the “Monitor No.” on the Information screen. (See P. E-33.)
• Setting RGB Input Signal Compulsorily (Direct Setting)
You can use this option to switch the setting for RGB input signal.
Each time you press or , one of the available choices appears in the
following sequence:
For RGB mode:
Auto: The optimum display is obtained automatically for input signals.
Others: The optimum resolution setting is fixed for each signal.
Press to store.
* In Auto mode, the resolution of VGA, WVGA, 480P, XGA, WXGA, SXGA and SXGA
+
may
not be automatically distinguished. Switch to the fixed display when the image is not displayed
properly.
• Specifying RGB Input Signal (Code Setting)
You can use this option to specify and display the type of RGB input signal by code number.
Each time you press or , one of the available choices appears in the following
sequence:
Auto Manual
Auto: Automatically displays the input signal to the optimum.
Manual: Selects RGB code number.
Press to store.
* In Auto mode, the optimum resolution may not be set up automatically depending on the type of
signal.
Select the type of signal when the image is not displayed properly.
However, note that when the type of signal is selected directly, the signal of other resolution
may not be displayed properly.
• Displaying white over entire screen (White Screen)
You can use this option to display white over the entire screen to minimize phosphor burn-in.
Each time you press or , one of the available choices appears in the following sequence:
On Off
Off: Does not display white.
On: Displays a white screen immediately.
Press to store.
"Code Setting" setting screen
02.12.3, 10:42Page 32


