14
EN
3 For TV channels, using [
K
/
L
], select “Air”.
For CATV channels, select “Cable”.
• Press
[ENTER].
Scanning and memorizing the channels auto-
matically starts.
• When the scanning and memorizing are com-
pleted, the lowest memorized channel in the
broadcasting will be displayed.
NOTES:
• If you do not operate this TV for more than 45 seconds
during initial setup, the message boxes start to move to
the lower left-hand corner of the screen.This is to save
your screen from burn-in. Press any key except
[POWER] to cancel it.
• If you connect a cable system directly, contact the CATV
installer.
• If you press
[POWER] or [SETUP] during Autoscan, this
setting will be canceled.
• If there is no reception connected or a poor signal is detect-
ed, a Hint will appear on screen once scanning stops.
Now the system is scanning for channels, please wait.
Exit
SETUP
72%
Analog channels 10ch
Digital channels 6ch
Autoscan
Autoscan
Autoscan will rescan all channels.
This may take a while to complete.
Select the destination of "ANT IN" jack.
Back
Air
Cable
Cable
1hour
Air
Cable
Or
ANT IN
AUTOSCAN
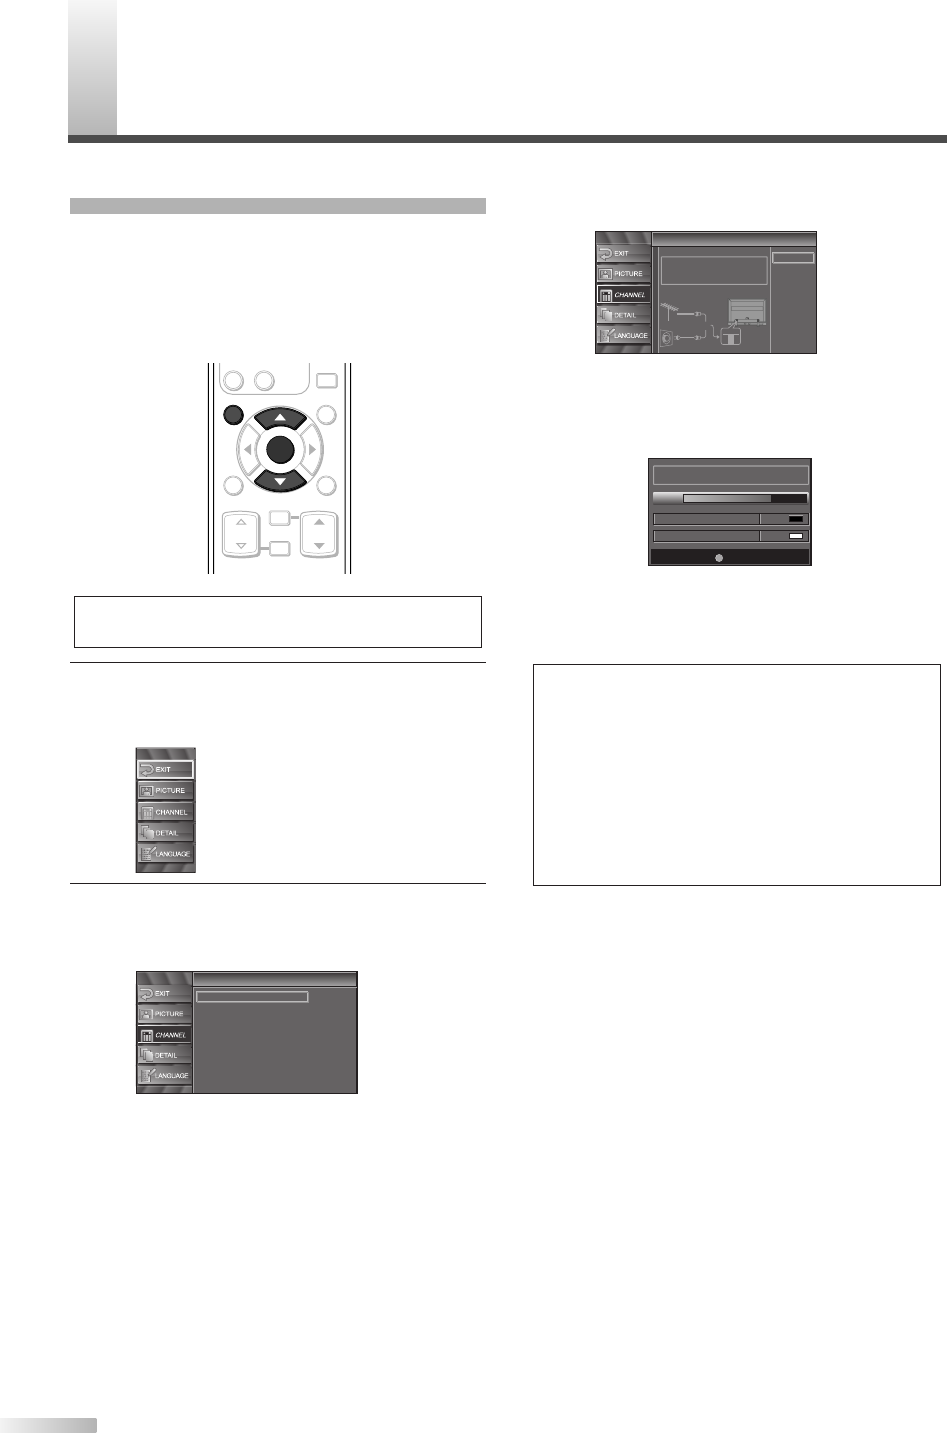
With AUTOSCAN, your TV automatically scans and
memorizes your area’s viewable channels. Activate
AUTOSCAN when you turn on your TV for the first
time, change broadcast sources (e.g. from antenna
to CATV), or move your TV to a different broadcast
area.
1
Display the setup screen.
• Press
[SETUP].
The following setup screen appears.
2 Select “CHANNEL” and press [ENTER] to con-
firm.
• Using [
K
/
L
], select “Autoscan”.
• Press
[ENTER].
Channel
Channel
Autoscan
Channel List
Manual Register
Antenna
NOTE:
• Make sure the TV is connected to antenna or cable.
ENTER
STILL
SETUP
BACK
SCREEN
MODE
INFO
CH RETURN
MUTE
VOL. CH
-
0
ENTER
SETUP
C
HANNEL SETTINGS


